Last Updated on April 28, 2023 by Dee
Are you wondering how to add text in Procreate? This can be a great way to add titles, labels, and other important information to your artwork.
In this article, I’ll show you how to add text in Procreate and some simple ways you can edit it in the text editing menu. You’ll also learn how to format and style your text using the built-in tools available in the app.
Let’s get started!
Working with Text: How to add text in Procreate
The text function in Procreate is a really important feature! It’s handy to know how to add and style text so you can create dynamic and interesting titles, subtitles, or even just to add some fun words to your illustrations.
[Related article: Digital Art Canvas Size]
Text Basics
Add and edit text content in crisp vector form. Moving and resizing your textbox. Convert the result in Raster images as a component of artwork.
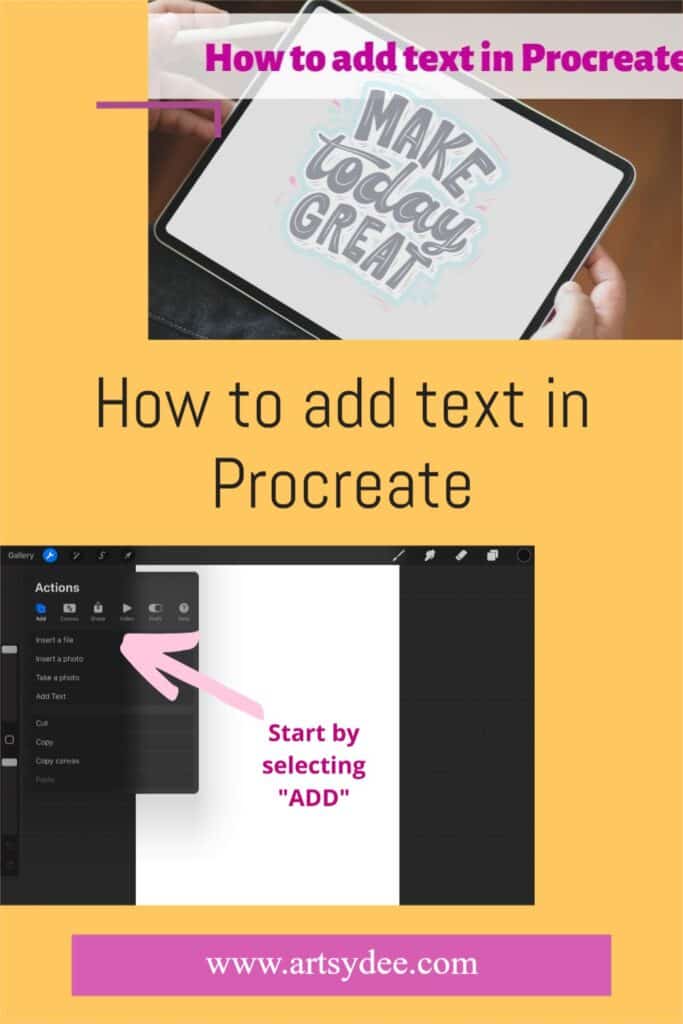
Select the ‘Add’ icon Under the Wrench Icon Symbol
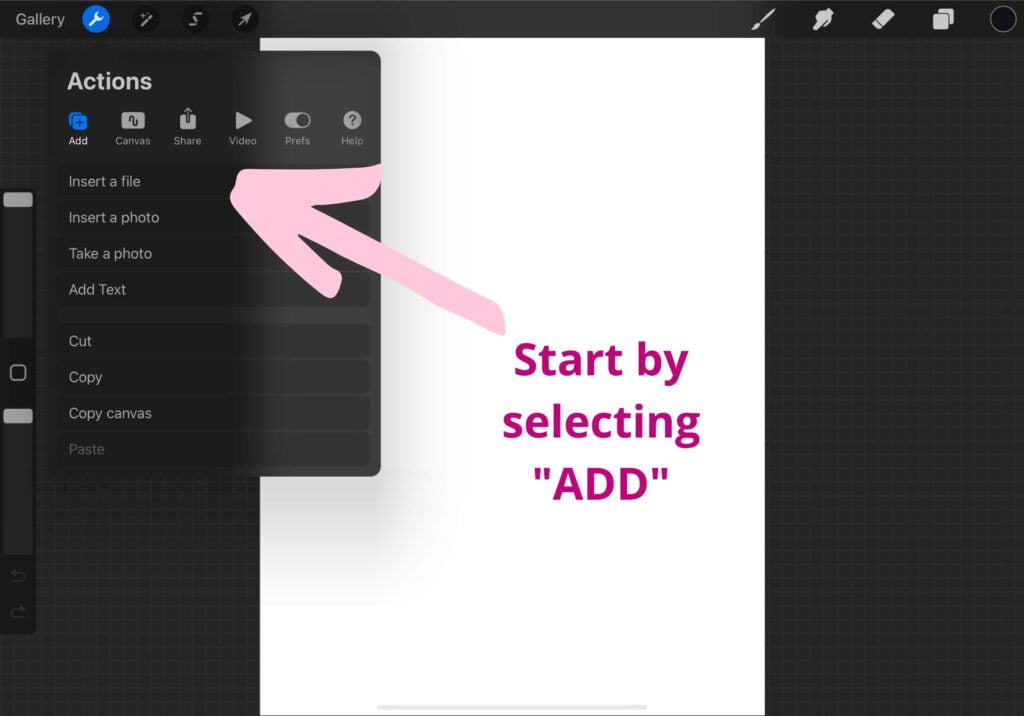
Add new text to your creation! Clicking the Add icon under the wrench tool will open a new window with a variety of options for your artwork. For the purposes of this article, you are going to select Add, and then Add Text.
Add text
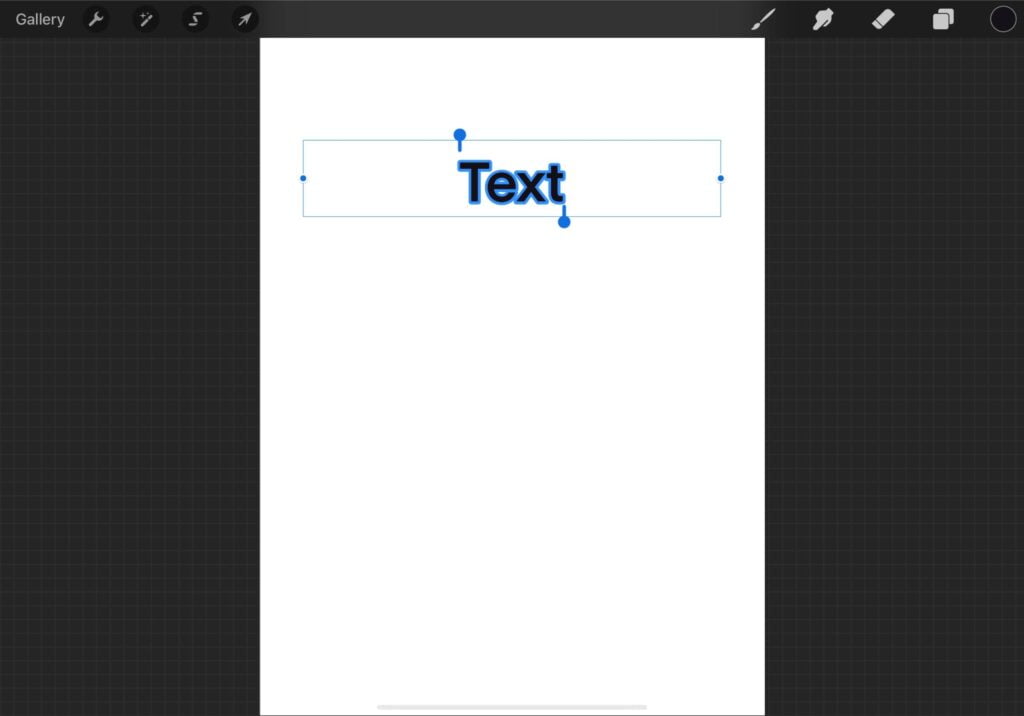
A bounding box containing text will appear on your canvas. The text appears in your currently selected color and will use Procreate’s default font Eina. Text is seen as selected color. This is the fastest and easiest way to add text to any document 🙂
Type your copy into the text box.
Now type your text into the text box that has popped up. This is the first step in using text in your design.
Move text
Simply tap on the text, hold down your finger and drag the text to wherever you want it positioned on your canvas.
Use your finger to drag the text box around the canvas
This is a really simple way to help you decide where to place your text. Play with it and see how this looks. To remove a text box delete the layer or drag the text box off-canvas.
Edit text
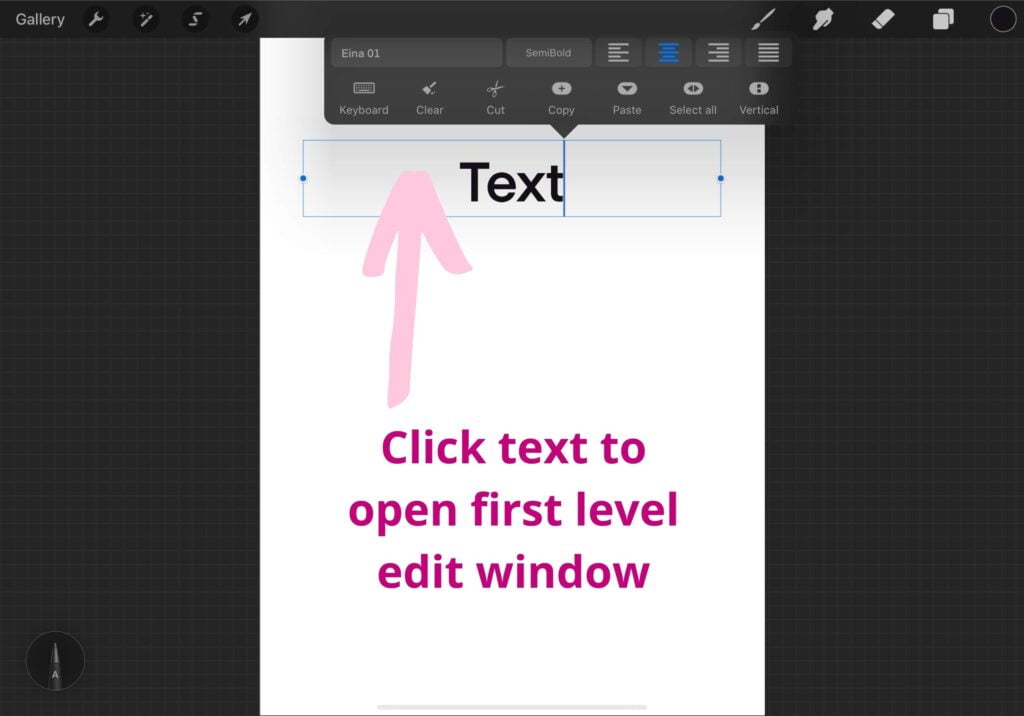
Use the Keyboard to add text or use a stylus of your Apple Pencil to write. You will see that your bounding box automatically expands as you add more text to it.
In order to edit your typed text, you need to tap on the text.
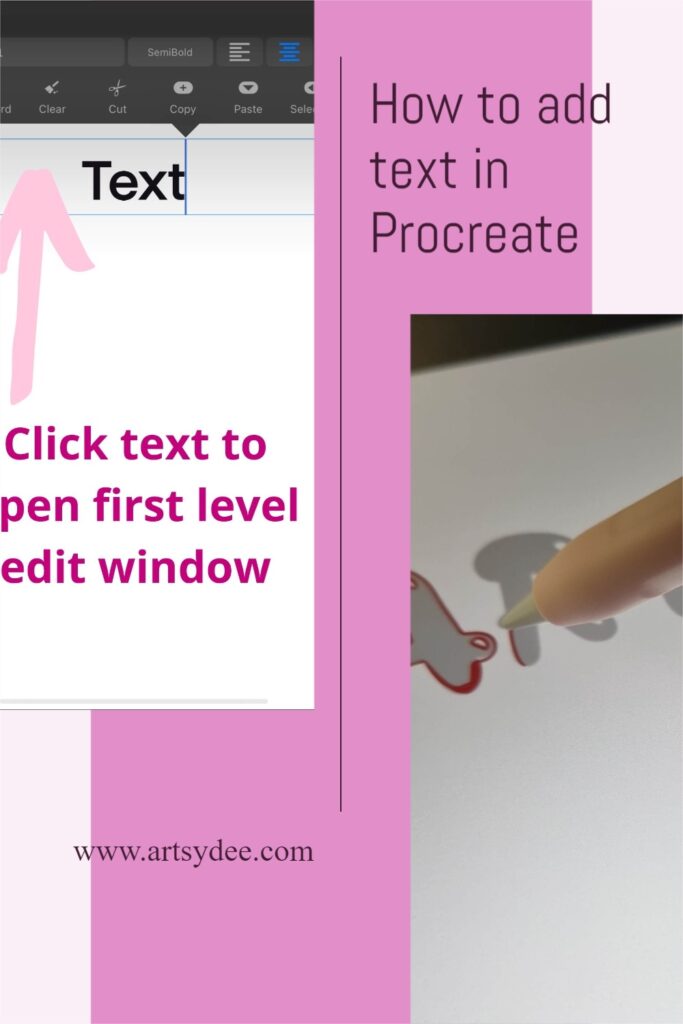
Tapping on the text brings up a window with various selections. If you now tap on this window, you will open a further window with more text editing options.
You can choose to align your text, choose a different font, or increase or decrease the font size.
You can select font and style properties from a list to refine and develop your text design.
Procreate Text Tool Features
The Procreate Application comes with a full-text edit function. You can use this feature to create dynamic titles and subtitles for your illustrations or add fun words to your design.
When you Add Text, a bounding box will appear on your canvas. The text appears in your selected color and will use Procreate’s default font Eina.
To add text to a canvas, head to the wrench and then click on Add > Text. It will open a text window allowing you to type letters on your keyboard or a sentence quickly.
There are several customization options for font dimensions, text alignment, and more.
Using the text tool in your designs
Use Procreate’s text tool to bring two-dimensional graphics to life with drop shadows and integrated text throughout backgrounds. With this powerful text-editing tool, you can select fonts that are already installed on your iPad or download new ones to use in your projects.
The text tool allows you to place text on your canvas. It’s easy to use and compatible with any font installed on your iPad. There are many ways to customize the text after you create it, but if you’re just getting started, here are a few simple changes that can make a big difference.
Text options in Procreate
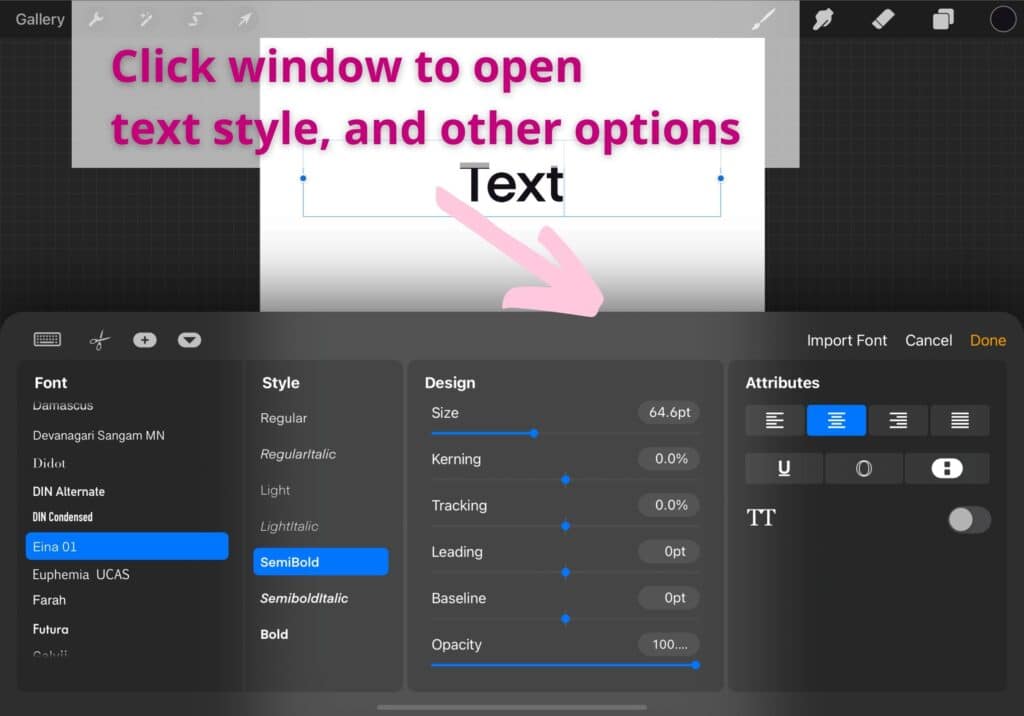
Now you can start to play around with the text itself! There are several ways to modify your text once it’s added to your document.
Pinch or expand the text box that contains your words. You can also tap on the words and drag them around to reposition them on the canvas.
To change the font, color, or size of your text, tap on the text box once it’s been added to your document. This will open up a menu with all of those options and more.
Choose a style
Try to choose a style that goes well with your art. For example, if you’re going for a more vintage look, try using a font like Old English or Cooper Black.
If you want your text to stand out, use a bold or italicized font. You can also experiment with different colors to match the overall tone of your project.
Once you’ve chosen a style, play around with the sizing. You’ll want to use something big enough for people to read clearly, but not too large that it gets in the way of your illustration.
Editing beyond these options
If you want to edit further, you may find some solutions. The obvious one is rasterizing the text and moving each letter.
The other option is to use other software to create this text part of the layout, save it as a PNG with a transparent background and import it into the artwork.
Using this technique, you can have total control over the text and its position on the layout.
Adding Text in Procreate is a very easy process that can be done in a variety of ways to create various effects.
By using different colors, shadows, and fonts, you can make your text really stand out and add an extra level of depth to your work!
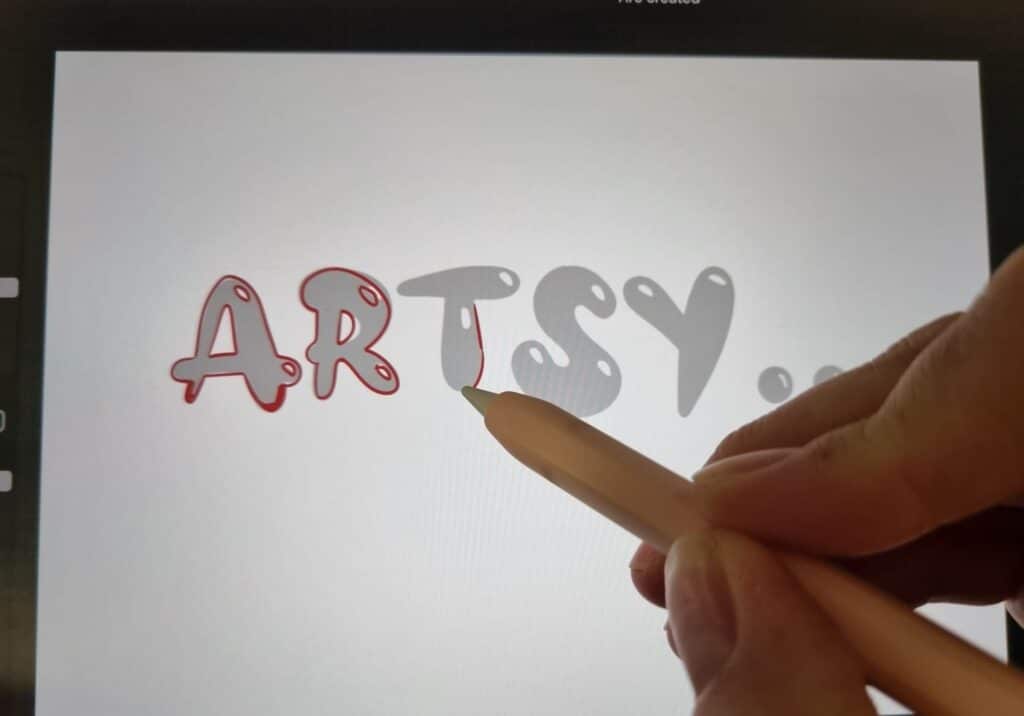
Manipulating Typography
In addition to typing characters in the text, you can manipulate the text layer. Select Rasterize, and you’ll have a graphic font. Two particular effects that work well with typography are Noise and Liquify.
Capitalization
This will change a string containing words from lowercase to uppercase with the pressing of a button. Can you reset all your data and send it to our servers without locking them out for another time?
Underline Outline Vertical
This option allows simple editing. You can use it multiple times. The layout option would be nice too. Vertical means converting a text between vertical and horizontal.
Resize text box
Use the blue node in the box to resize the text box. It doesn’t affect the size of the text. A text edit feature is available on all Style panels.
Style
Some fonts come in different styles – bold, thin, and condensed. Any font that offers stylistic alternatives is also specified here.
Alignment
You can change the position of your text on the screen using the alignment options. Options are: left, center, right and justified.
Simple Design Ideas for adding text to your Art in Procreate
3D Typography to make your designs POP!
A simple element of text in the background can sometimes appear boring or insufficient. By introducing depth and shadows, you can easily improve a previously flat design!
To mimic a drop shadow, duplicate the text layer and recolor the bottom layer to a darker shadow color. Then slightly shift the top layer so that the layer beneath is visible. This will give the illusion of a drop shadow!
To mimic a bevel and emboss effect, create an outer highlight on the top layer of text by selecting the white color with no stroke and at maximum opacity. Finally, add a slight inner shadow in the same fashion but select a dark gray or brown color.
Intertwine text throughout illustrations
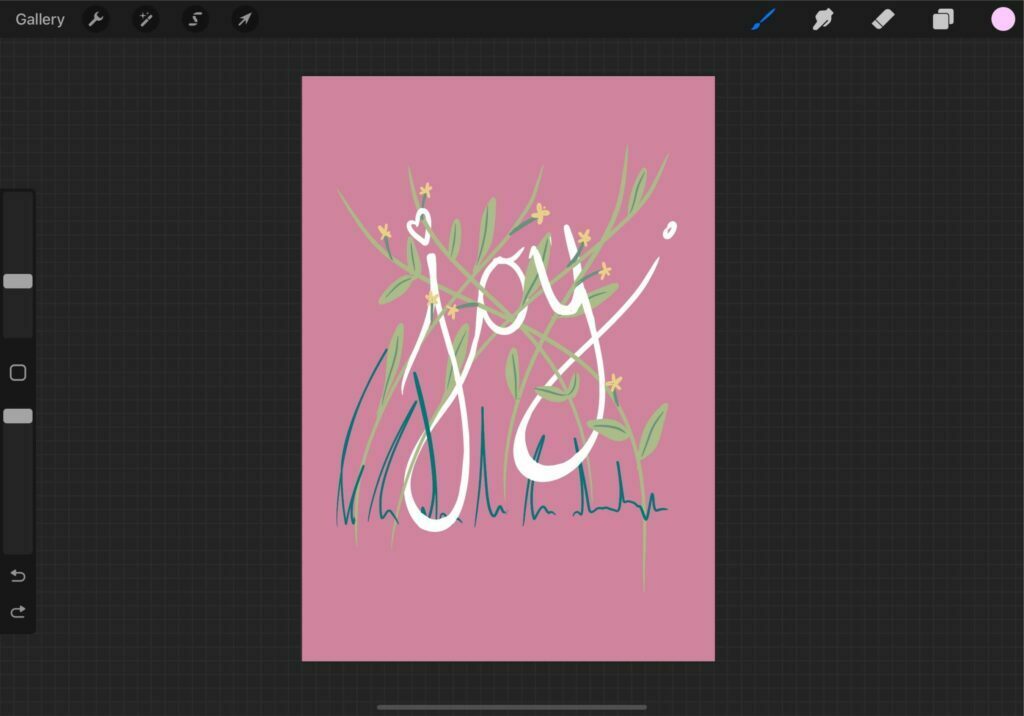
Another exciting way to use typographic techniques in a composition is to weave text throughout an illustration. This allows typography to interact with all elements of a composition rather than sitting only above it.
Make a separate picture using layers. To contrast the delicate and detailed leaves I chose a heavier font such as Futura Bold. Experiment with various tricks until you achieve the desired effect.
[Related article: How To Trace On Procreate in 11 Easy Steps]
Apply shadows for blending text and Background
If you want to apply shadows to your text so that it blends in better with your background, you can do that very easily in Procreate.
First, make sure that both the text and the background layer are selected. (You can tell which layers are selected by looking for a blue border around them.)
Next, select the layer you want to apply shadows to. In this case, it’s the text.
Now go up to Layer > Blend > Blend Options and pick your setting.
We suggest Soft or Hard Light for these types of projects. You can also change the Opacity of your blend if you’re trying to create a darker shadowing effect.
FAQ about adding text in Procreate…
What is vector versus raster?
You can make your text a vector, or you can make it rasterized. A vector is an image file that you can expand infinitely without becoming pixellated.
A raster is created with pixels and sometimes loses the quality in resizing. Changing text from vector to raster makes text become an ‘object’.
It means you can do other things like transformations, selections, adjusting, and integration. Make certain you’ve edited the text before selecting this option and then copy the layer first.
How do I install fonts in Procreate??
You can import fonts into the Procreate app by using two techniques. If you have a long stock of fonts on your computer, the AirDrop option might be the easiest to work with.
You can import fonts from an outside source such as Google Fonts, Dafont, Font Squirrel, or others. IPads allow you to import fonts directly from their devices into Procreate.
Find a font on a site and begin the download. The ZIP file appears when you click OPEN in Files. Find the zip file on your iPad by choosing On my iPad > Procreate > Fonts. Hit PROCREATE to save font files straight into the application.
Here is a great video on how to add text and create an Ombre effect on Procreate!
Conclusion
I hope that this article has been helpful to you as an introduction to the world of Procreate. This app is a great tool for creating art but can be intimidating at first glance.
Knowing how to add text in Procreate will allow you to create more complex designs and projects! If you have any questions or thoughts on our discussion, feel free to leave them below!
Other articles you may enjoy…
[An Easy Guide on How to Change the Opacity of a Layer]
[How to Copy and Paste in Procreate]
[How to Create the Illusion of Depth in Art]
[How to Delete Layers in Procreate]
[What’s the best iPad for Procreate?]
[Can digitally painting your artwork make it better?]
