Last Updated on May 22, 2023 by Dee
Wondering how to blend on Procreate? Blending is one of the essential techniques for digital painting, yet it can be tricky to master. If you’re new to Procreate or digital painting in general, then this blog post is for you!
We’ll be covering 5 easy blending techniques that will help you create beautiful artwork. Whether you’re using layers, transparency, or brushes, these methods will help you get a smoother and more seamless blend. So let’s get started!
How to Blend in Procreate?
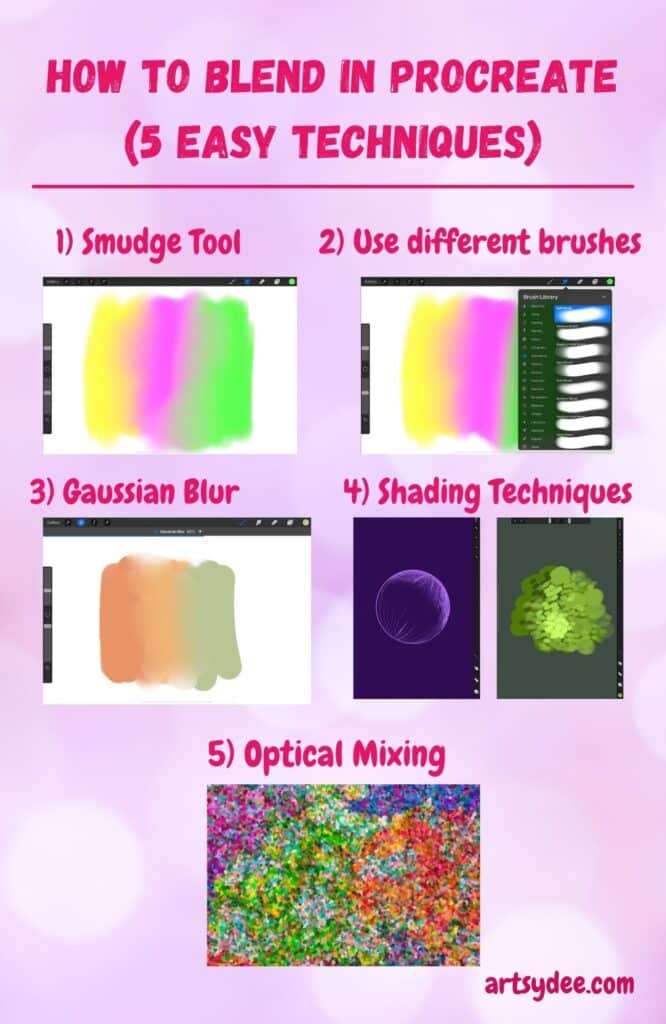
In this blog post, we’ll be discussing 5 easy techniques for blending in Procreate. So whether you’re a beginner or an experienced Procreate user, read on for some handy tips!
5 Easy Methods to Blend in Procreate
1) Blending with the Smudge Tool
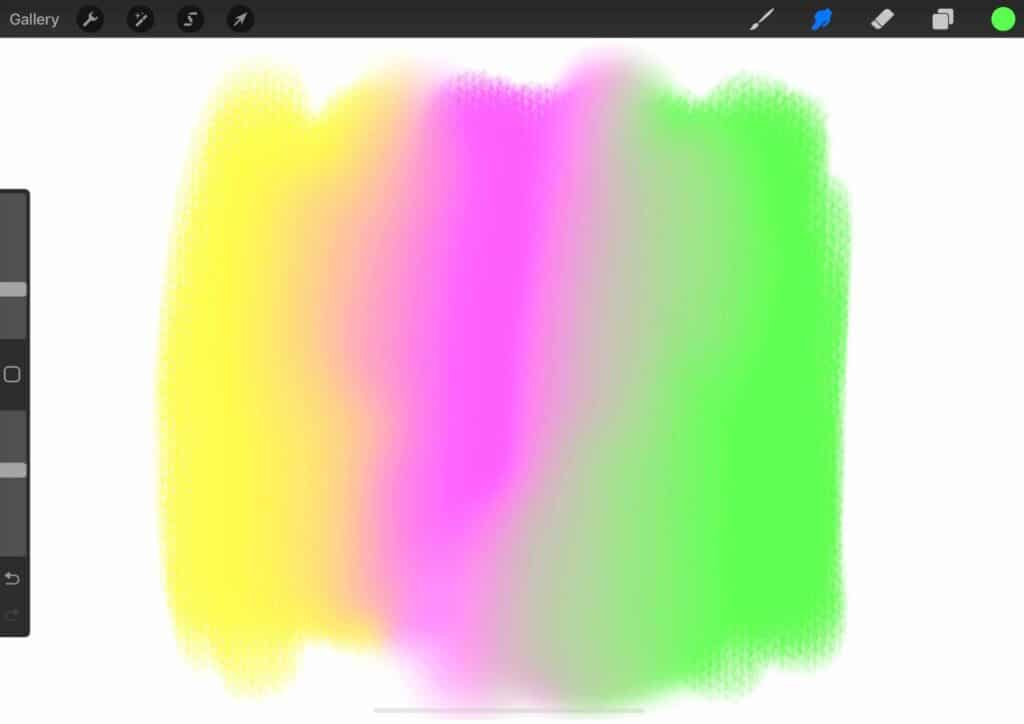
We start with a smudge tool. It is a feature that has been in Procreate since the start and is being updated.
I find that using the soft brush setting under the airbrushing menu as my Smudge tool settings provides a smooth blend between colors.
If you are going for a more painterly effect with your Smudge tool, you can use a Wet Acrylic brush or Stucco brush under the painting menu.
The smudge tool is located at the top right-hand side of the canvas, in between the eraser and the brush icon.
A huge advantage of using this smudge tool is that it immediately turns into a smudger brush. It is used to manipulate existing color patterns on the surface and uses the brush properties you have chosen.
[Related: How to Trace on Procreate]
It is important to mention, the smudge tool is not like a standard Procreate brush because it doesn’t hold color. Essentially, it helps with blending colors that are already on your digital canvas.
2) Blending with different brushes on Procreate
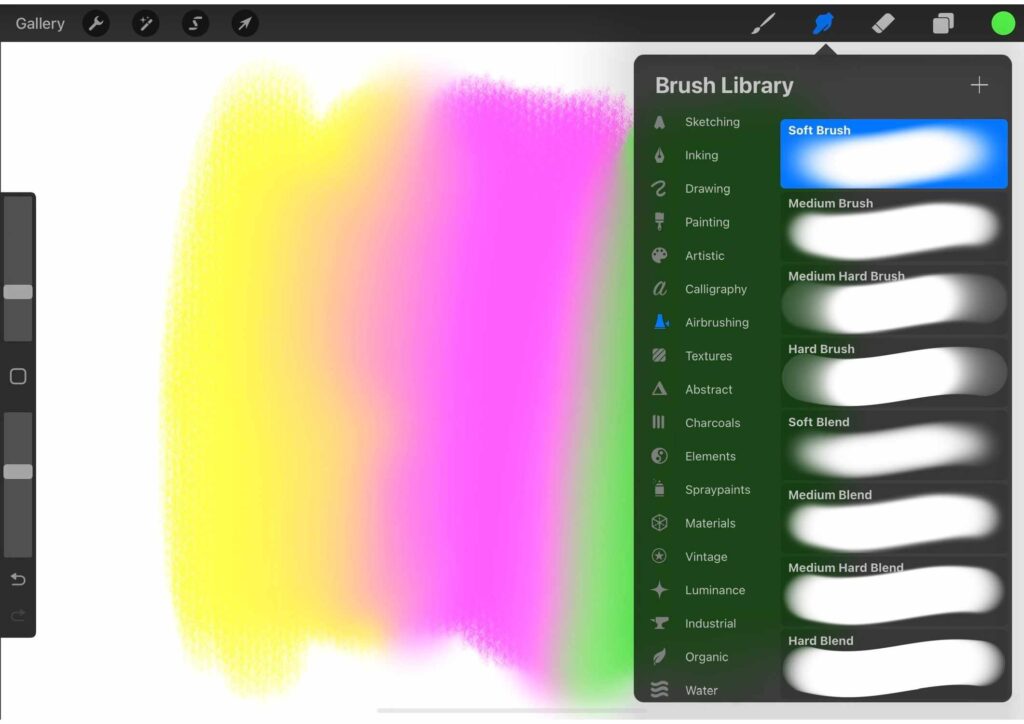
Procreate’s standard brushes can be used for blends, but you must also remember that varying brush styles can have varying effects.
Among the Procreate standard brushes available for use are the gouache (under Painting), Soft Pastel (under sketching brushes), and the Stucco brushes (under Painting Brushes).
The soft airbrush creates a smooth texture while the Carbon Stick and Stucco brushes create textured looks.
Vary your brush size
If you are using Procreate to color blend, test out the different sizes of brushes. Some shapes and objects in your artwork will be easier to blend with large brushes, others require more mixing using medium brushes. Use a smaller brush for blending detailed areas.
When blending brushes are used for large areas you will need to make them bigger. Smaller areas that require extra care at the edges need brushes of smaller dimensions. Use your creative problem-solving and adjust the brush size for the type of blending brushes you need.
[Related article: 21 Procreate Coloring Pages]
How to blend using low opacity brushes?
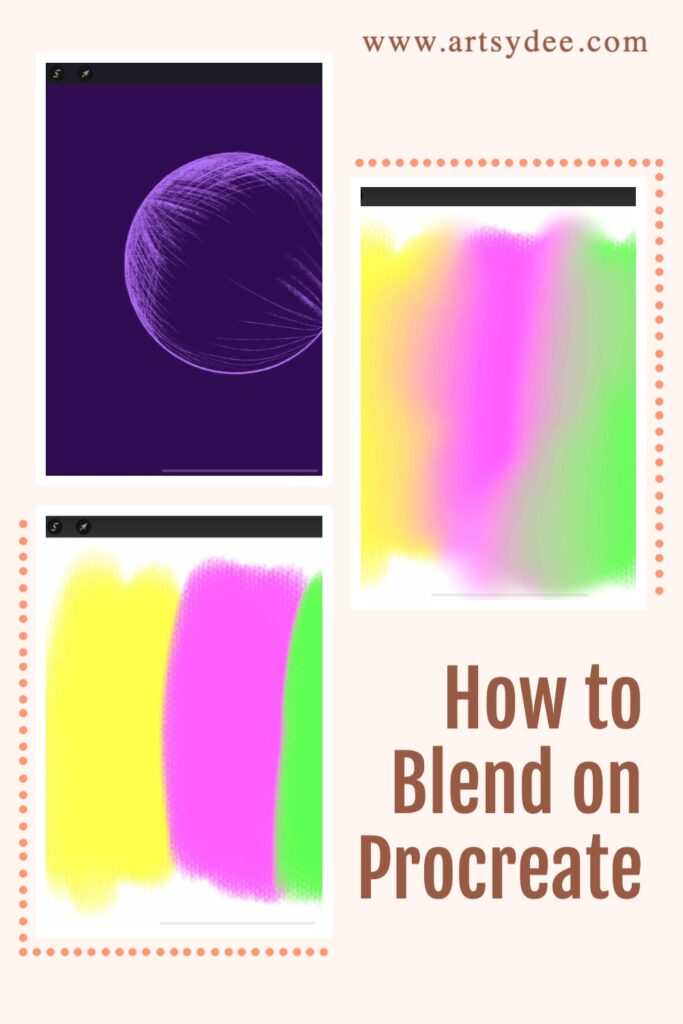
You may have been familiar with using a smudge tool to blend in Procreate but it’s actually quite easy to blend using an ordinary brush tool.
When you adjust the opacity slider on your brushes to low opacity, you can use pen pressure to glaze your brush strokes over one another and a very real-like blending experience will happen.
This is very much like traditional watercolor painting, gouache, or acrylic painting – except you are using your apple pencil!
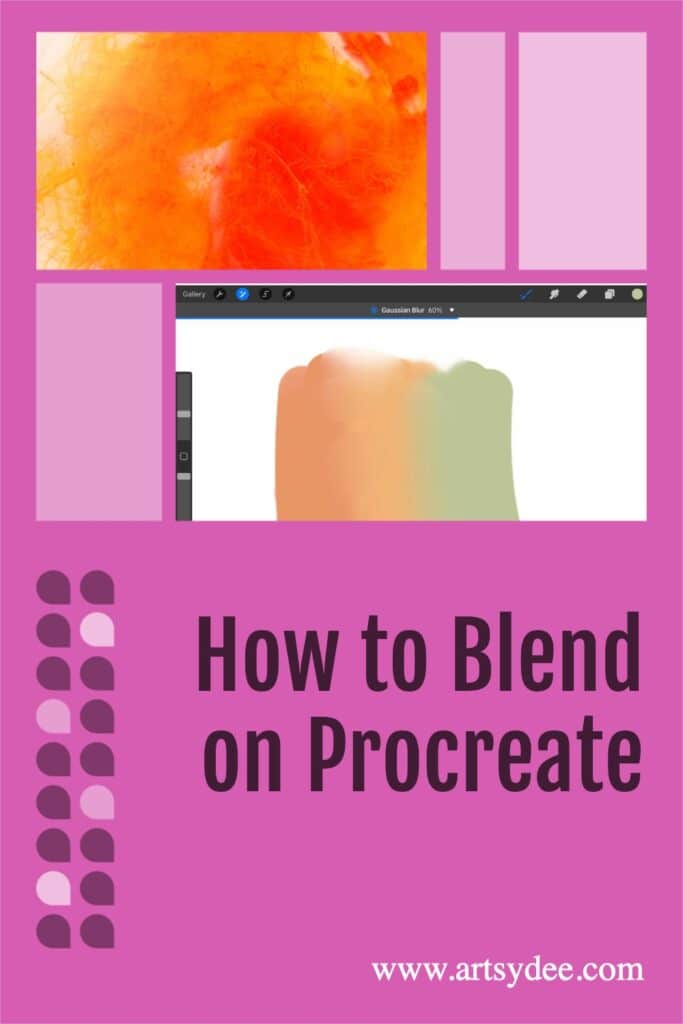
3) Blending in Procreate with a Gaussian blur
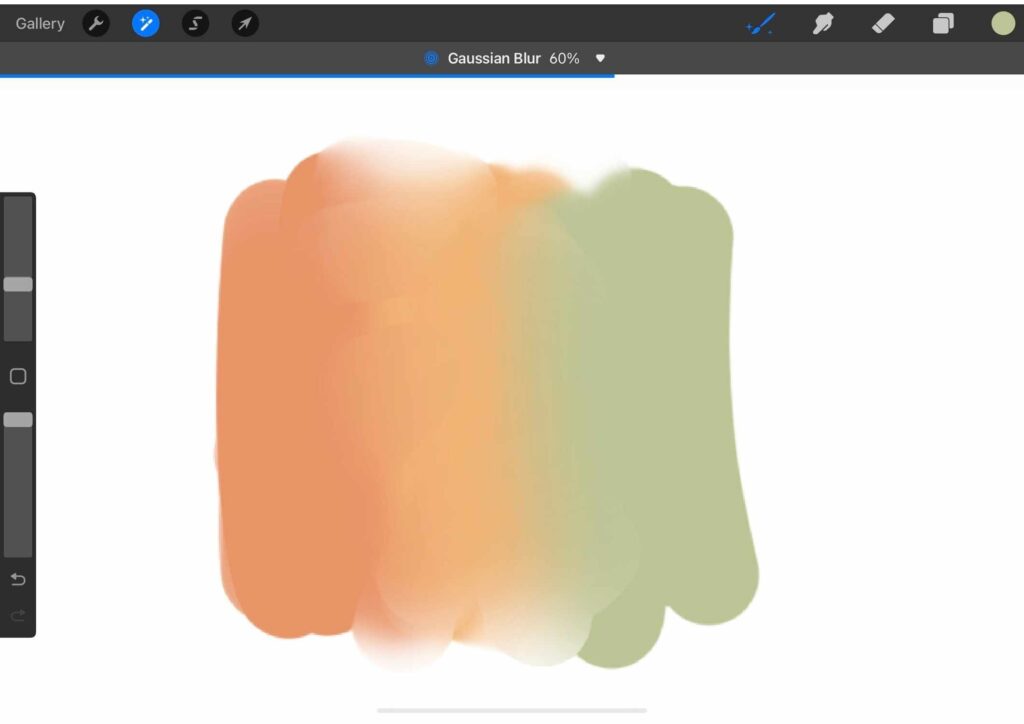
Are you wondering how to blend colors in Procreate using a Gaussian Blur?
To use the Gaussian blur, select the “magic wand” Adjustments icon and then select Gaussian Blur. Drag your finger from left to right to adjust the effect of the Gaussian blur in your digital painting.
4) How to blend in Procreate With Different Shading Techniques
Traditional shading techniques in pencil drawing can be used in the same way on your iPad! Have a look at some of the examples of shading techniques for digital drawing and digital painting below.
[Related article: The Best iPad for Procreate]
Cross-hatching on Procreate
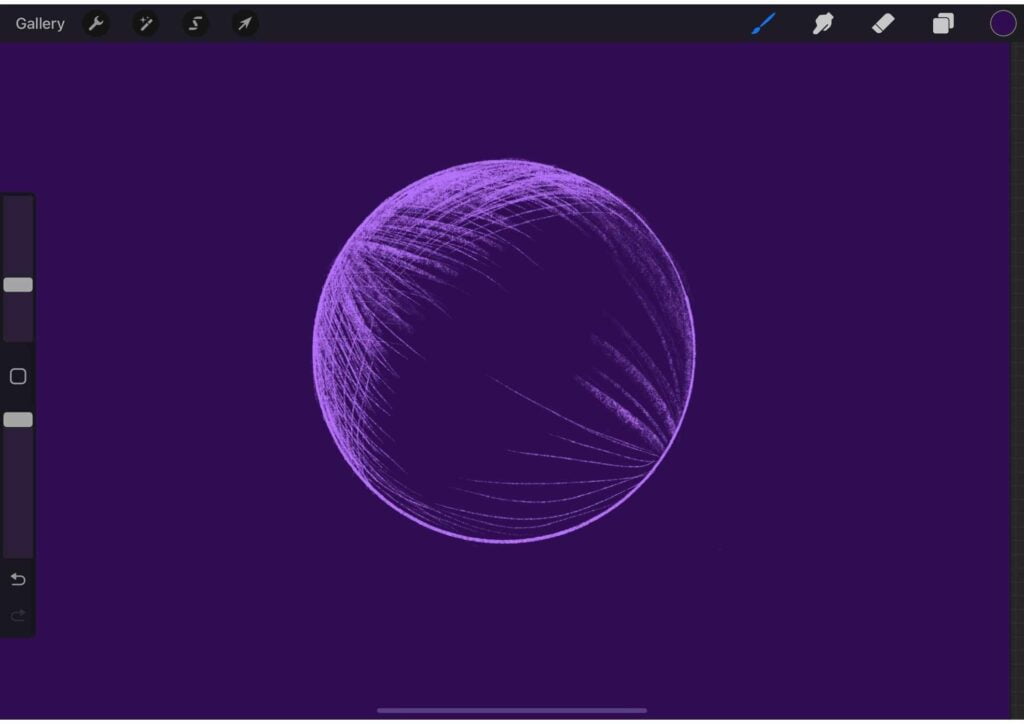
Cross-hatching is a technique where a series of lines are drawn across one another. The closer the lines are to one another, the darker the shadow area is. The further apart the lines are, the lighter the shading is.
Stippling on Procreate
Stippling is a shading technique where small dots are placed in an area to create a shaded or textured effect. The closer together the dots are, the darker the shadow area becomes. The further apart the dots are, the lighter the area becomes.
Shading on Procreate with Scribbling
Scribbling is a great shading technique because you can work quite quickly when you use it, and it can help you to produce a wonderfully expressive piece.
Dabbing
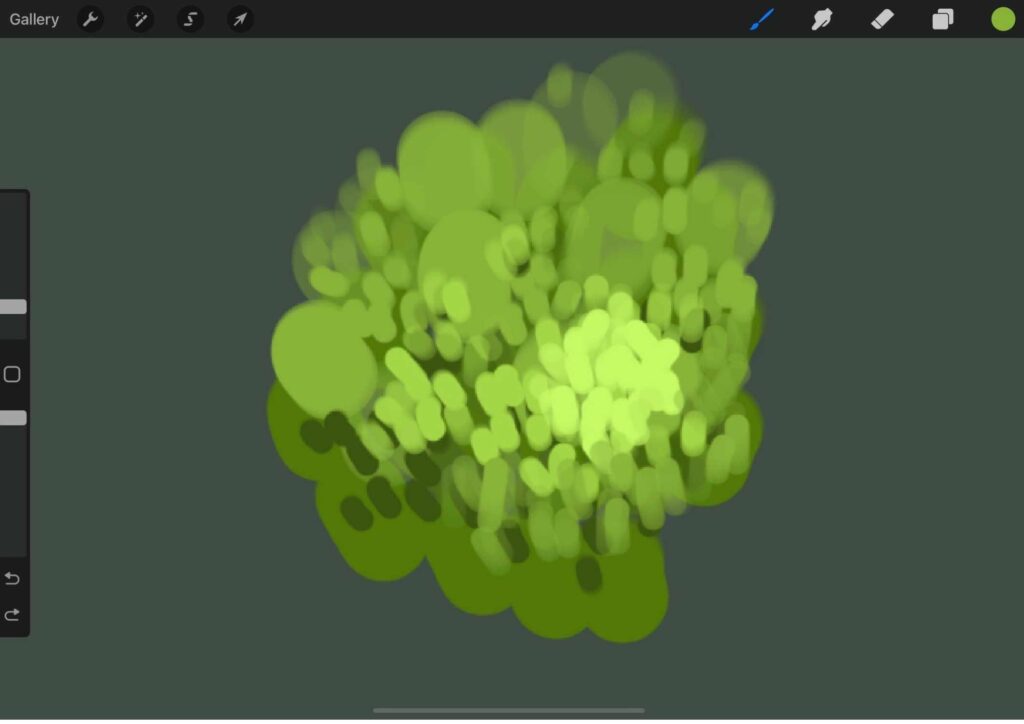
Dabbing is essentially placing “dabs” or “blobs” of color next to, on top of, and overlapping other dabs of color. This helps to build up a textured, painterly surface in your digital painting. I quite enjoy working in this way.
5) Optical Blending on Procreate
Essentially, optical blending is whereby you draw small dashes, dabs, or dots of color close to one another and the human eye then naturally blends them together to create a new color.
Impressionist painters, like Seurat, used optical blending to build up the scenery in their paintings. Seurat’s use of dots was called pointillism.
Check out this quick video on blending in Procreate…
The Wet Mix
Now let’s discuss blender brushes. Procreate has no specific, preset brush as blender brushes, but some brushes are employed for this style.
The dynamic of the brush can be adjusted by selecting the option WET MIX. Here is a blender brush. In essence, any brush using this Wet Mix is a blender.
Tips for Better Blending in Procreate
When you start blending with a painting, you will have fewer mistakes than you think and will be more efficient at making it easier to blend.
- Use analogous colors. These are colors that are directly next to one another on the color wheel. It’s easy to blend these colors on Procreate because they naturally progress into one another.
- Use a monochromatic color range. A monochromatic color range is a selection of colors that are all variations of the same color. This makes it easy to create smooth blends because you only have to worry about how the colors interact with one another, not how they look next to other colors.
- Be careful with your edges. When blending in Procreate, make sure to leave the edges of objects and shapes crisp and clear. It can be easy to over-blend your artwork resulting in a piece that is flat, with less depth in the picture plane.
- Stick to blending on one layer. When blending in Procreate, it’s best to keep all of your blending on one layer. This will help avoid confusion and make it easy to adjust your blending later if necessary.
- Use the selection tool. To keep your blending confined to one area, use the selection tool. This will prevent you from painting the outside of the shape you want.
- Use the Alpha lock. This is another way you can stick to working on a defined shape without painting outside of it.
- Draw Softly. When I teach pencil drawing, I always tell my students to draw with a soft touch in the beginning. I advise the same thing when you are drawing and painting in Procreate. Start off your drawings by sketching your shapes and shadows lightly. It will mean you can easily work over your sketched lines later on.
[Related Article: Does digitally painting your artwork make it better?]
Frequently Asked Questions about blending in Procreate…
Is there a blending tool on Procreate?
There is no specific blending tool on Procreate, but there are ways to blend your colors. You can use the selection tool to confine your blending to a certain area or use the alpha lock to work within a defined shape.
How do you blend things in Procreate?
To blend things in Procreate, you can use the selection tool to select the area you want to blend or use the alpha lock to confine your blending to a certain shape. You can also adjust the wet mix setting on your brushes to create more of a blending effect.
Other easy ways to blend in Procreate include using the Smudge tool, the Gaussian Blur tool, adjusting the opacity of brushes and glazing, and using different shading techniques (cross-hatching, stippling, scribbling, and dabbing)
Where is the blend brush on Procreate?
There is no specific blend brush on Procreate, but you can use the selection tool to select the area you want to blend or use the alpha lock to confine your blending to a certain shape. You can also adjust the wet mix setting on your brushes to create more of a blending effect.
How do you blend in Procreate 2022?
To blend in Procreate 2022, you can use the selection tool to select the area you want to blend or use the alpha lock to confine your blending to a certain shape. You can also adjust the wet mix setting on your brushes to create more of a blending effect.
You can also use the Smudge tool, the Gaussian Blur tool, adjust the opacity of brushes and glazing, and use different shading techniques (cross-hatching, stippling, scribbling, and dabbing).
How do you blend shapes in Procreate?
To blend shapes in Procreate, you can use the selection tool to select the area you want to blend or use the alpha lock to confine your blending to a certain shape. You can also adjust the wet mix setting on your brushes to create more of a blending effect.
You can also use the Smudge tool, the Gaussian Blur tool, adjust the opacity of brushes and glazing, and use different shading techniques (cross-hatching, stippling, scribbling, and dabbing).
Where is the blend button on Procreate?
There is no specific blend button on Procreate, but you can use the selection tool to select the area you want to blend or use the alpha lock to confine your blending to a certain shape. You can also adjust the wet mix setting on your brushes to create more of a blending effect.
How do you blend layers in Procreate?
To blend layers in Procreate, you can use the selection tool to select the area you want to blend or use the alpha lock to confine your blending to a certain shape.
You can also adjust the opacity of each layer to blend colors.
Is there a blending brush on Procreate?
There is no specific blending brush on Procreate, but you can use the selection tool to select the area you want to blend or use the alpha lock to confine your blending to a certain shape. You can also adjust the wet mix setting on your brushes to create more of a blending effect.
What brush is best for blending in procreate?
This depends on what sort of blending effect you want to create. If you want a very smooth blended effect between colors, I suggest using the smudge tool with the soft large airbrush settings.
If you are looking for a more painterly effect, use the setting of the blending brush you are using to dab or scribble on your canvas. This will give you a more textured blending effect.
How do you use blending brushes in procreate?
To use blending brushes in Procreate, select the brush you want to use and adjust the wet mix setting on the toolbar. You can also adjust the opacity of the brush if you want a lighter or darker blend.
Then, simply paint over the area you want to blend. The more strokes you apply, the more blended the colors will be.
Where is the smudge tool in Procreate?
The smudge tool is located in the toolbar on the right-hand side. It is in between the eraser and paintbrush icon.
How do you color smudge in Procreate?
To color smudge in Procreate, select the smudge tool and set the brush to a soft, large airbrush. You can then adjust the pressure on your device to control how hard or soft you want the smudging effect to be.
How do you smudge and blur in Procreate?
The smudge tool can be used to blur or smudge areas of your painting. To blur an area, select the smudge tool and set the brush to a soft, large airbrush. Then, hold down your finger on the area you want to blur and drag it in the desired direction.
How do you blur in pocket procreate?
To blur in pocket procreate, select the smudge tool and set the brush to a soft, large airbrush. You can then adjust the pressure on your device to control how hard or soft you want the smudging effect to be.
Conclusion
If you have been wondering how to blend on Procreate, these blending techniques are just a few of the many ways that you can create realistic digital paintings in Procreate. Experiment with these and other techniques to see what works best for you, and keep practicing until you achieve the results you want.
We hope that this article has helped give you some ideas on how to improve your digital painting skills. Are there any blending techniques that you use in Procreate that we didn’t mention?
Let us know in the comments below! Happy digital painting 🙂
Other Procreate Tutorials you may enjoy…
[18 Awesome Color Palettes for Procreate]
[How to Mirror in Procreate| 2 Easy Methods]
[5 Free Skin Tone Collections | Skin Color Palette Procreate]
[How to Unstack in Procreate | Tips & Tricks]
[How to curve text in Procreate | The Ultimate Guide]
[Wondering how to make a perfect circle in Procreate?]
[How to add text in Procreate]
[How to Change the Opacity of a Layer in Procreate]
[How to copy and paste in Procreate]
