Last Updated on May 24, 2023 by Dee
Are you wondering how to move something in Procreate?
Procreate is an incredible platform that has endless possibilities – but only if you know how to navigate it!
Creating something from nothing can be daunting and potentially overwhelming, even for the most experienced digital artists out there.
Today, I’ll be talking all about how to move objects – whether they’re flat shapes, 3D models, text, or drawn lines – within the Procreate app so you can really master your art game 😉
Follow along as I explore tips and techniques to help make moving objects around on ProCreate easy-peasy lemon squeeze.
Let’s get started!
Quick Guide for How to Move Something in Procreate:
If you’re new to Procreate, figuring out how to move something can be tricky.
Not to worry- it’s a surprisingly easy task once you get the hang of it!
To get started and move your object, line, or text in procreate, simply select the layer the object is on and tap the transform tool (which is shaped just like an arrow).
From there, you’ll be able to drag and drop your selection anywhere on your project for dynamic and interesting placement.
That’s all there is to it! With just a few steps, how to move something in procreate becomes a simple operation for all kinds of unique designs.
For a more in-depth look at how to move something in Procreate, read on…
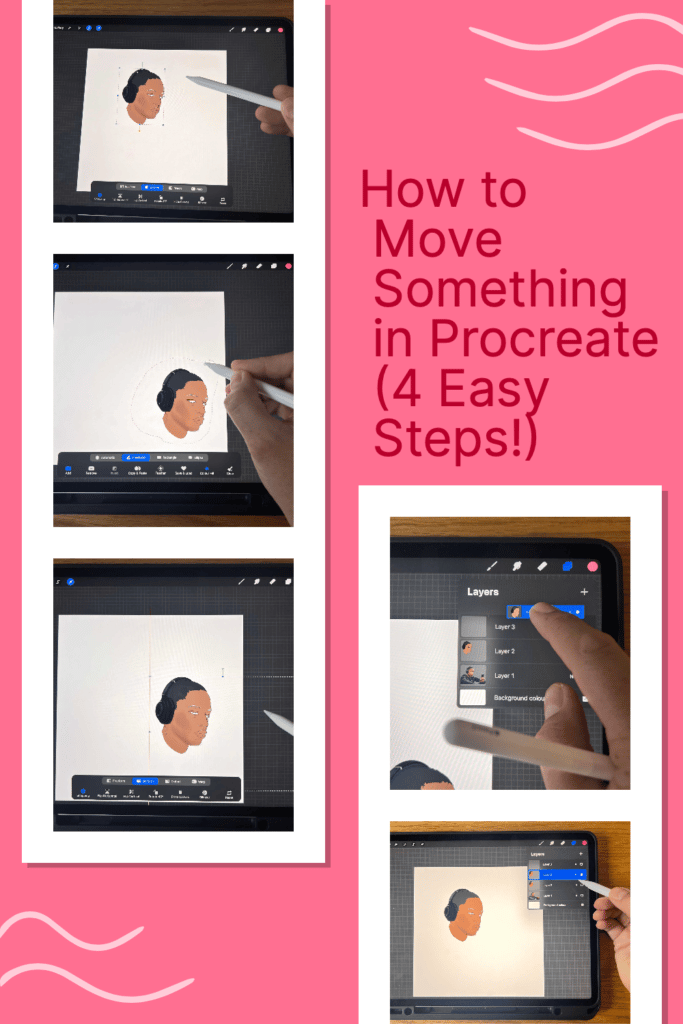
How to Select and Move in Procreate
Moving objects, lines, or selections in Procreate is made faster and easier with just a few simple steps!
[Related: How to Trace on Procreate]
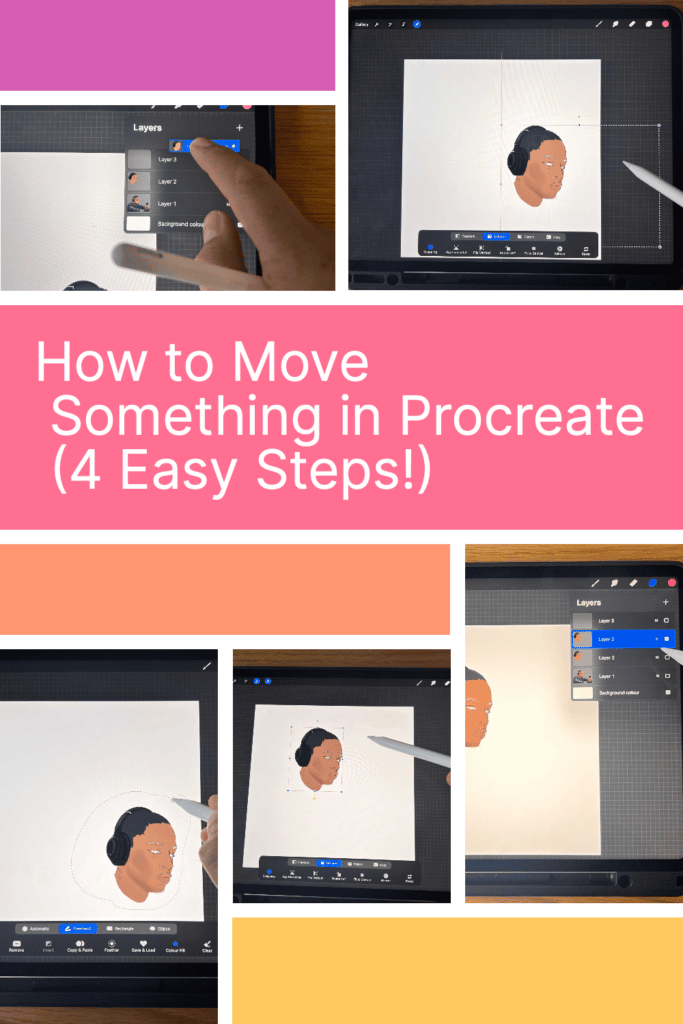
Step 1: Select the layer that contains the selection or object you want to move.
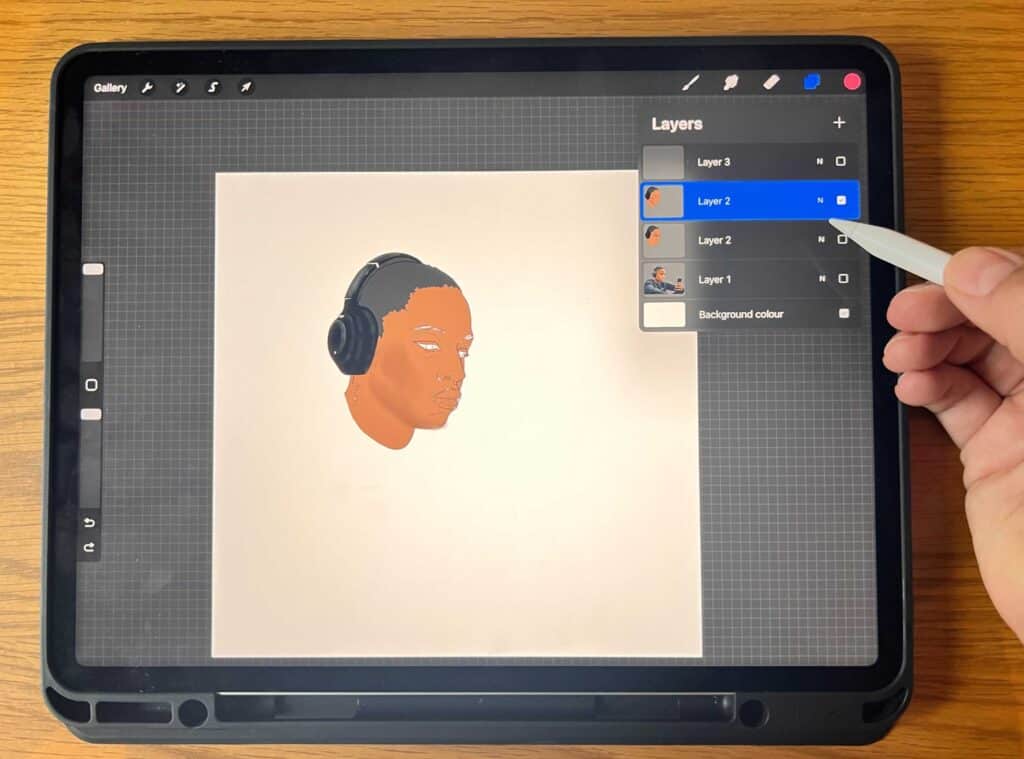
First, open the Layers panel by tapping on the square icon in the top right corner of your screen, and then select the layer that contains your desired selection or object.
You’ll know you have the correct layer selected when it highlights blue.
If you choose the wrong layer, then you won’t be able to move the selection in Procreate.
Step 2: Use the Selection tool to create a selection around the object or selection you want to move.
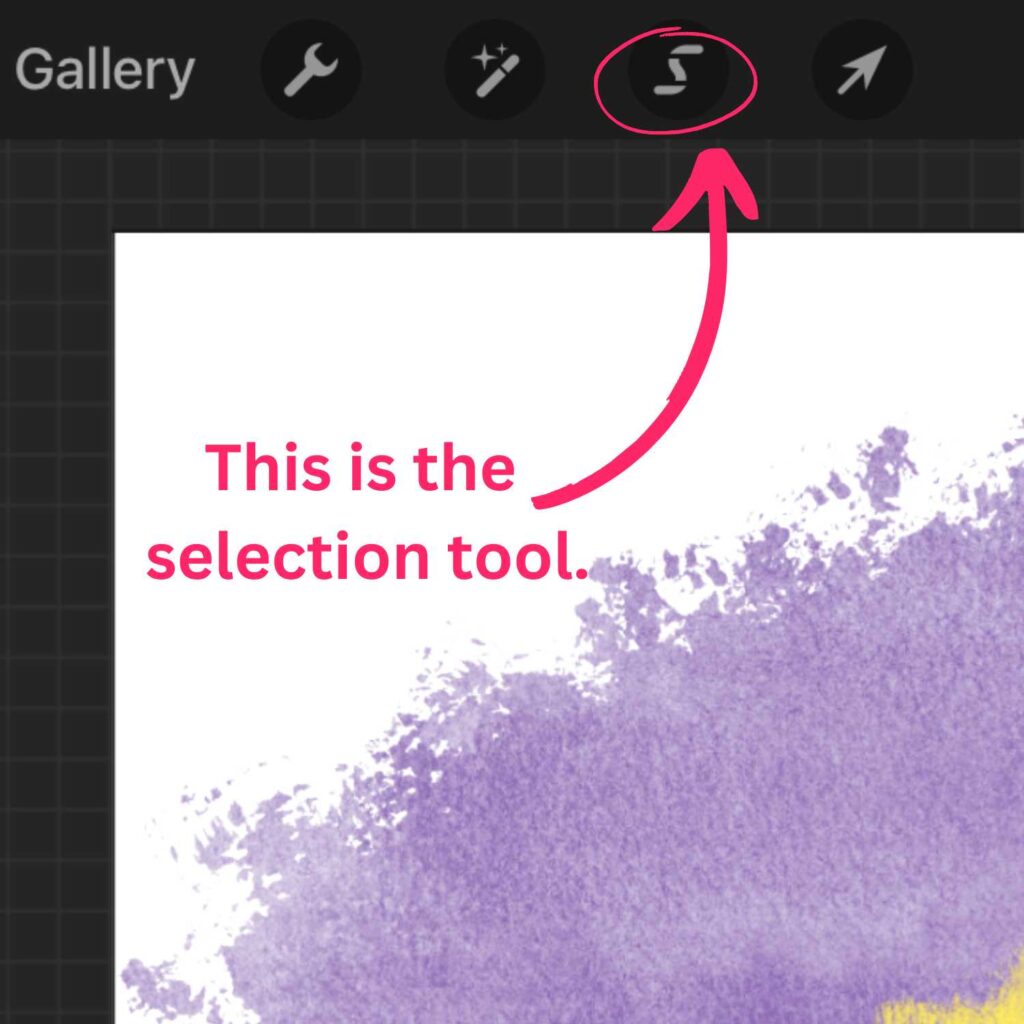
Next, tap on the Selection tool (it looks like an ‘s-shaped’ ribbon) in the toolbar at the top of the screen.
Use this tool to create a selection around the object or selection you want to move.
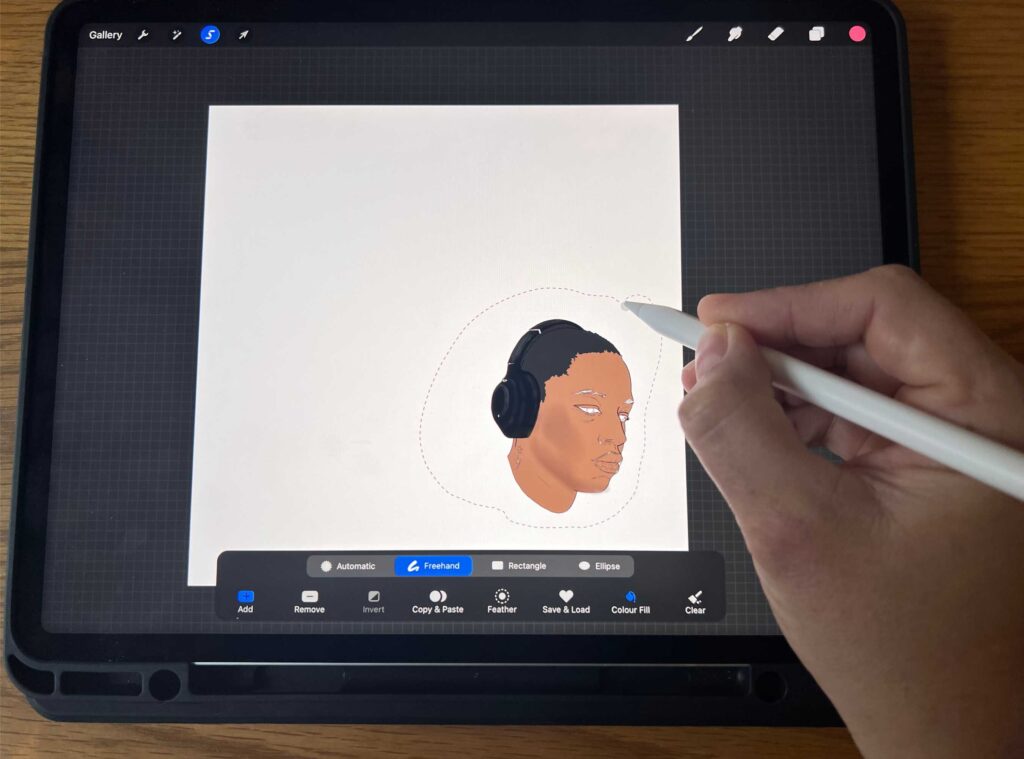
You can use one of the selection options (freehand, automatic, rectangle, or ellipse).
Each of these options helps you select areas of your artwork differently. The rectangle and ellipse selection tools literally select whatever artwork you have within those shapes.
I personally use the freehand option the most because it’s easy to draw around the object or area you want to move.
How to use the Freehand Selection Option in Procreate
To use the freehand selection option, draw around the object. Make sure to end your freehand shape at the same spot (the grey dot) you began at.
[Related article: What’s the right digital art canvas size?)
How to use the Automatic Selection Option in Procreate
The automatic selection option is essentially just that – it automatically selects the object you tap on.
Personally, I have found that while the automatic option can be time-saving, it can also cause problems and leave areas of the object behind.
To prevent this from happening, it’s a good idea to adjust the threshold to a higher level so that the entire object is selected.
To do this, tap and hold your finger or Apple Pencil on the object, and then drag your finger/ pencil to the right-hand side.
You will see a bar pop up at the top of the screen that shows you the threshold – and ultimately helps you determine how much of the object you have selected.
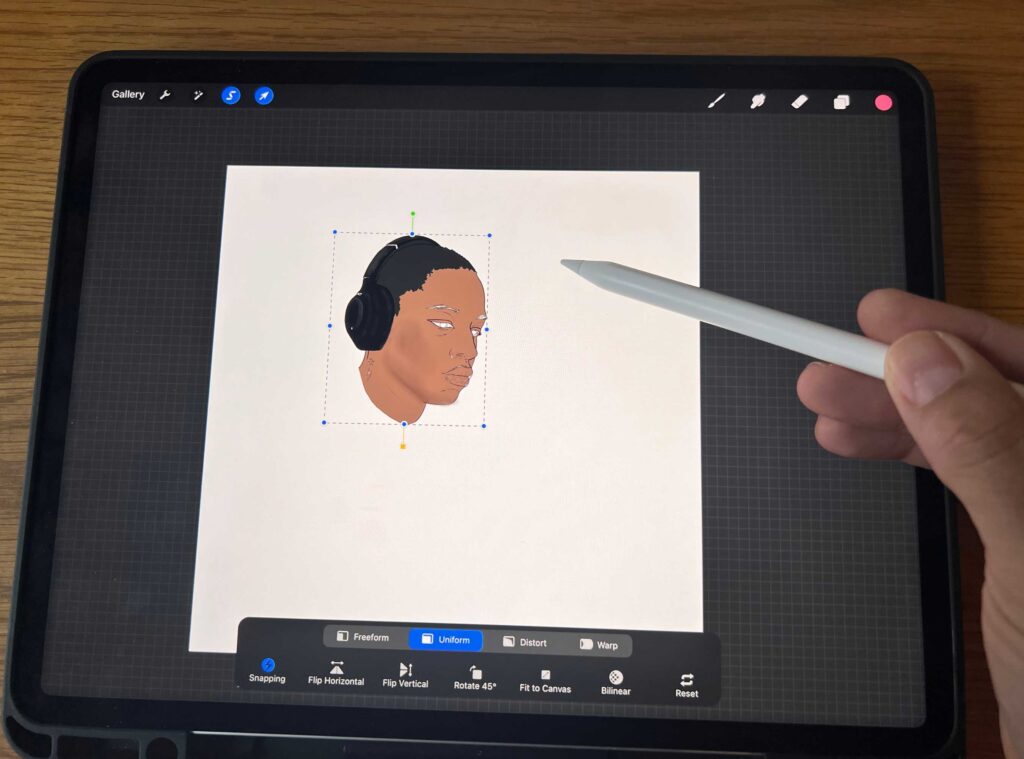
Step 3: Tap on the Transform tool to move the selection or object.
Okay, so now to get to the actual ‘moving’ part.
Once you’ve created a selection around the object or selection you want to move, please tap on the Transform tool (it looks like an arrow) in the toolbar at the top of the screen.
This will allow you to move the selection or object around the canvas.
Simply tap and hold on the selection or object, and then drag it to the desired location on the canvas.
You can also use the arrow keys on the keyboard to nudge the selection or object in small increments.
Step 4: Release your finger or Pencil from the screen to confirm the movement.
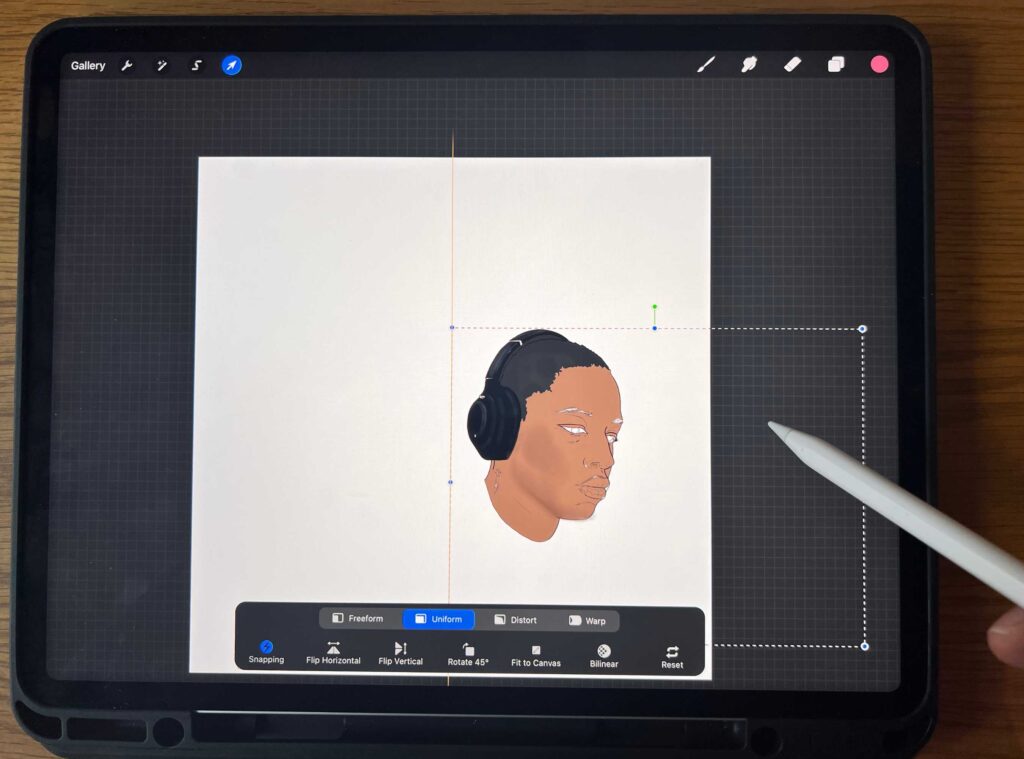
When you’re happy with the position of the selection or object, release your finger or stylus from the screen to confirm the movement.
You can also use the anchor points on the selection box to scale or rotate the selection or object if needed.
Just tap and hold on an anchor point, and then drag it to the desired location to make the changes.
And that’s it! You’ve successfully moved a selection or object in Procreate.
How to Select and Move Text in Procreate
Knowing how to move a text box in Procreate is a great way to add extra dimension and movement to your artwork!
We’ve got you covered with this simple step-by-step guide. Firstly, select the text layer – when you first add text, it will automatically be placed on its own layer in the layers menu (unless you choose to merge it.)
Then, simply move the text around the canvas with your finger – no transform tool needed.
If you’d like further to adjust the font size, color, or more, just tap on the text and open up the menu for even more options!
Playing around with Procreate’s extensive array of tools can breathe new life into any artwork – have fun experimenting!
How to Move an Entire Layer in Procreate
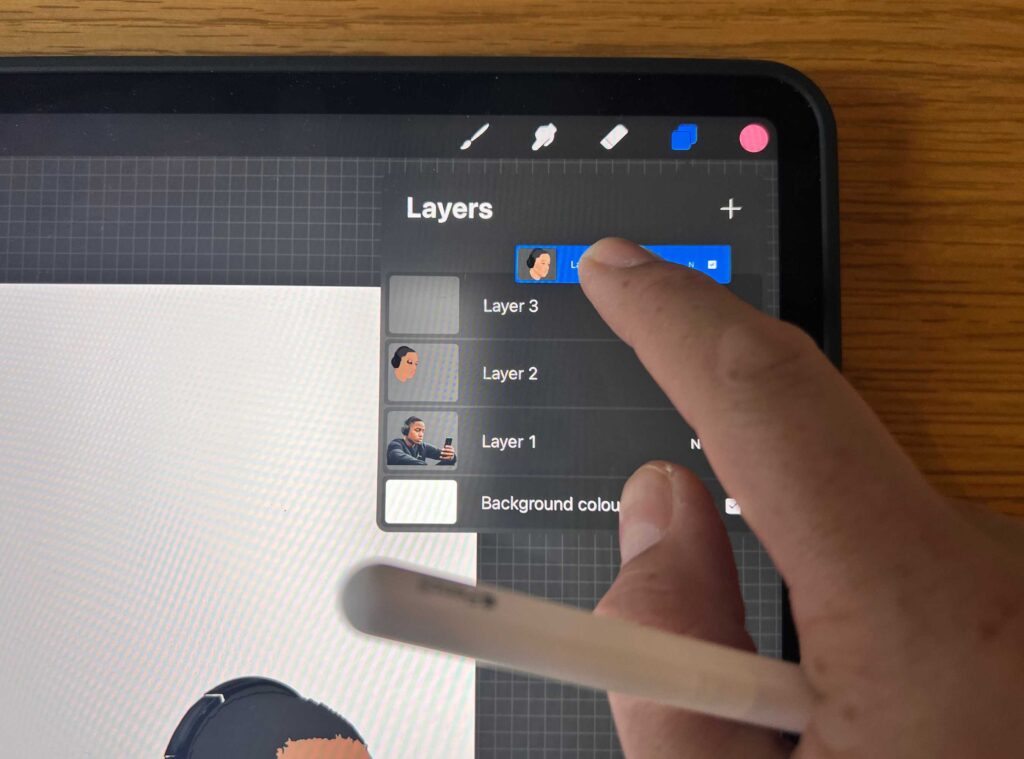
Moving an entire layer in Procreate is incredibly easy to do – and can be a great way to rearrange the elements of your artwork quickly.
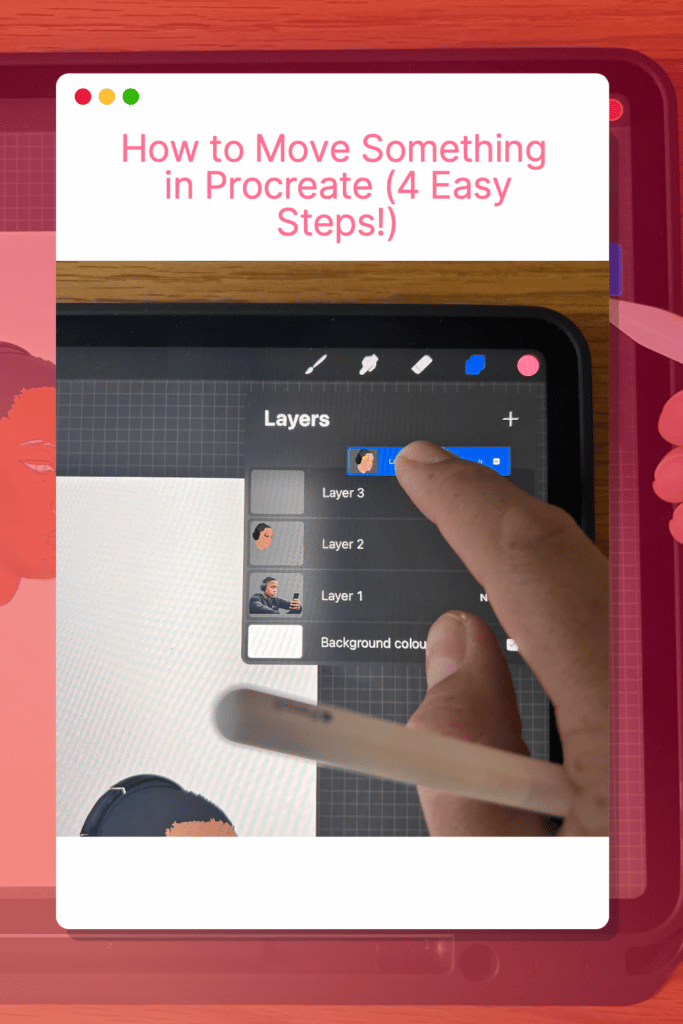
To move an entire layer, simply tap on it and then drag it up or down in the layers panel.
You can also select multiple layers at once by tapping on one layer, holding it down, and then tapping on the other layers, you would like to move.
Once you’ve chosen your layers, simply drag them up or down in the layers panel until they’re arranged exactly how you’d like!
And that’s it – moving an entire layer in Procreate is as simple as that.
For Procreate tutorials and step-by-step videos check out my Youtube Channel HERE.
Frequently Asked Questions about How to Move Something in Procreate…
What is a layer?
A layer is a separate element or object that you can add to your artwork in Procreate. You can have multiple layers, and each layer can be moved separately from the others.
The benefits of layering.
Layering in Procreate is great because it allows you to move objects and selections independently from each other – plus, you can also adjust the order of the layers easily. This is particularly useful when creating complex pieces of artwork.
When should I create a new layer?
Whenever you want to add a new element or object to your artwork, creating a new layer is best. This will make sure that the object is separate from any existing layers and can be moved separately.
How to copy and paste a layer?
The easiest way to copy and paste a layer in Procreate is to swipe left on the layer in the layer panel and tap “duplicate.” This will quickly make a copy of the layer.
How do I name my layers?
To name your layers in Procreate, tap on the layer you want to name and open up the properties panel. From there, select “rename,” where you can type in a new name for the layer.
How to move layers at the same time?
You can select multiple layers by swiping right on each layer. Once you have selected the layers you want to move, drag them to the desired location.
How do I turn off or hide a layer?
Simply tap on the layer and remove the tick from the checkbox. This will hide the layer until you’re ready to reveal it again.
How to Erase Everything on a Layer?
The way I do this is by tapping on the layer and selecting “clear.”
[Related article: How to Undo on Procreate]
How do I select part of an image and move it in Procreate?
In order to move part of an image in Procreate, you’ll need to use the selection tool. To do this, just tap on the selection tool at the top of the screen and then draw a shape around the part of the image that you want to move. Then, simply drag it around the canvas.
How do I move a specific object in Procreate?
To move a specific object, you’ll first need to select it. To do this, make sure you have the correct layer selected and then use the freehand selection tool and draw a shape around the object. Then, drag it with your finger or stylus to move it around the canvas.
How do you move objects in Procreate without resizing?
To move objects without resizing them in Procreate, you’ll need to use the transform tool. To access this tool, simply tap on the layer you want to move and select “transform.” Then, select a point of origin
How do you lasso select in Procreate?
There is no “lasso” tool in Procreate per se, but rather the selection tool with various options: automatic, freehand, rectangle, and ellipse. In my experience, the easiest option is the freehand selection tool.
Can you cut and move things in Procreate?
Yes, you can cut and move things in Procreate. To do this, simply use the selection tool to select the object or area that you want to cut and then tap on “cut.” This will remove the selected section from your image and allow you to move it around the canvas.
How do you move something straight in Procreate?
To move something straight in Procreate, you can use the ruler tool. To access this tool, simply tap on the “ruler” icon at the top of the screen and then adjust it to the size you need.
You can then use your finger or stylus to draw a line along the ruler as a guide when moving objects around the canvas.
This will allow you to make sure that the object is moved in a straight line without any distortion.
[Related article: Cool Ideas For Things To Draw On Your Hand :p)
How do I move a selection without changing the size in Procreate?
You can use the transform tool to move a selection without changing its size. To access this tool, simply tap on the layer you want to move and select “transform” (the arrow-shaped icon in the toolbar).
Then, select a point of origin and drag it around the canvas. This will ensure that your selection is moved in its original size.
Conclusion
Procreate offers a wealth of tools and features that allow you to manipulate your artwork with ease. From copying and pasting layers to selecting specific objects and moving them straight or without resizing, Procreate has you covered.
If you have been wondering how to move something in Procreate, these tips should help you to get the most out of your digital painting process in Procreate!
Happy digital painting 😉
Other articles you may enjoy…
How to Make a Stamp in Procreate | Easy DIY Procreate Tips!
Best iPad for Procreate in 2023
35 Procreate Shapes for Beautiful Design
