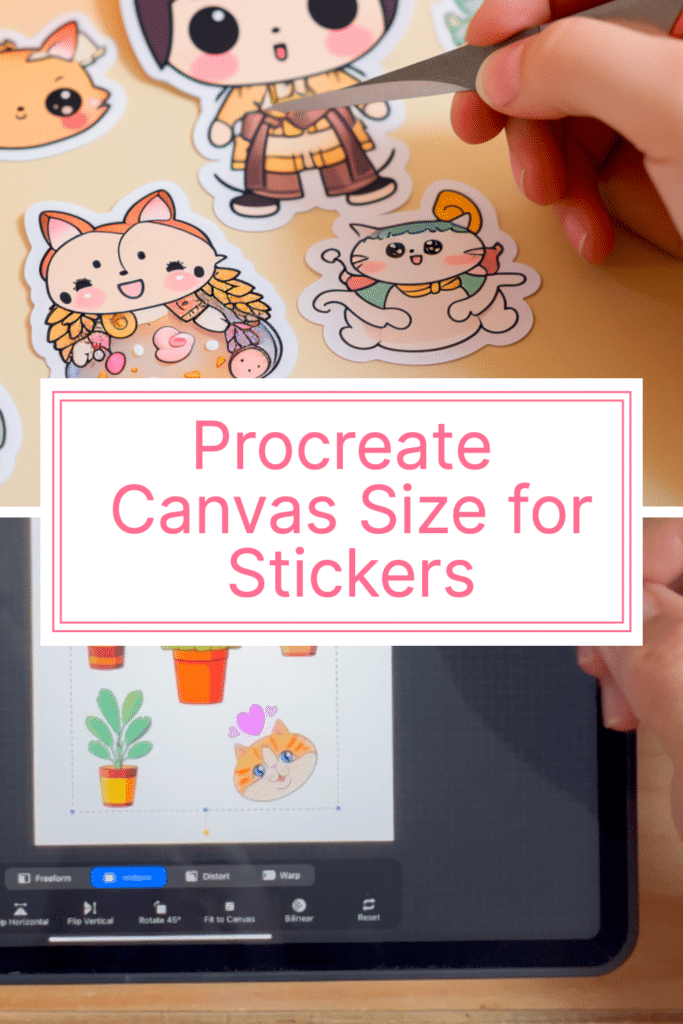
Are you interested in making stickers on Procreate but not sure how to choose the right canvas size? Look no further! In this article, we’ll guide you through the process of selecting the perfect Procreate canvas size for stickers.
Getting the canvas size right is crucial when it comes to creating stickers in Procreate. The size and settings for your canvas will depend on how you plan to create your stickers.
If you aim to print high-quality stickers, you should use CMYK as the color profile and 300 DPI as the resolution.
On the other hand, if you intend to use your stickers digitally, you can use RGB as the color profile and a lower resolution.
We’ll cover more about these settings in this article to help you make the best decision for your project. Read my in-depth article on Digital Art Canvas Size for other digital illustration apps.
**This page may contain affiliate links to products I have used or recommend. If you purchase something from this page, I may receive a small percentage of the sale at no extra cost to you.**
Understanding Procreate
If you’re looking to create stickers with Procreate, understanding the app is crucial. Procreate is a digital painting app designed for the iPad. It offers a wide range of tools and features that make it a popular choice for artists and designers.
The Procreate app is user-friendly, and you can easily navigate through the different tools and features. You can create a new canvas by tapping the “+” icon on the top right corner of the screen. Procreate offers a variety of canvas sizes that you can choose from, depending on your project.
When creating stickers, it’s important to have a clear understanding of the canvas size. Procreate canvas size determines the size and resolution of your artwork. You can choose the canvas size that best suits your project, whether it’s for digital or print use.
Procreate offers a range of canvas sizes, including square, portrait, and landscape orientations. You can also customize the canvas size by entering the desired dimensions. It’s important to choose the right canvas size to ensure that your artwork is of high quality.
In summary, Procreate is a powerful app that offers a range of tools and features for digital painting. Understanding the app and canvas size is crucial when creating stickers. With Procreate, you can create high-quality stickers that are perfect for digital and print use.
Creating a Canvas in Procreate
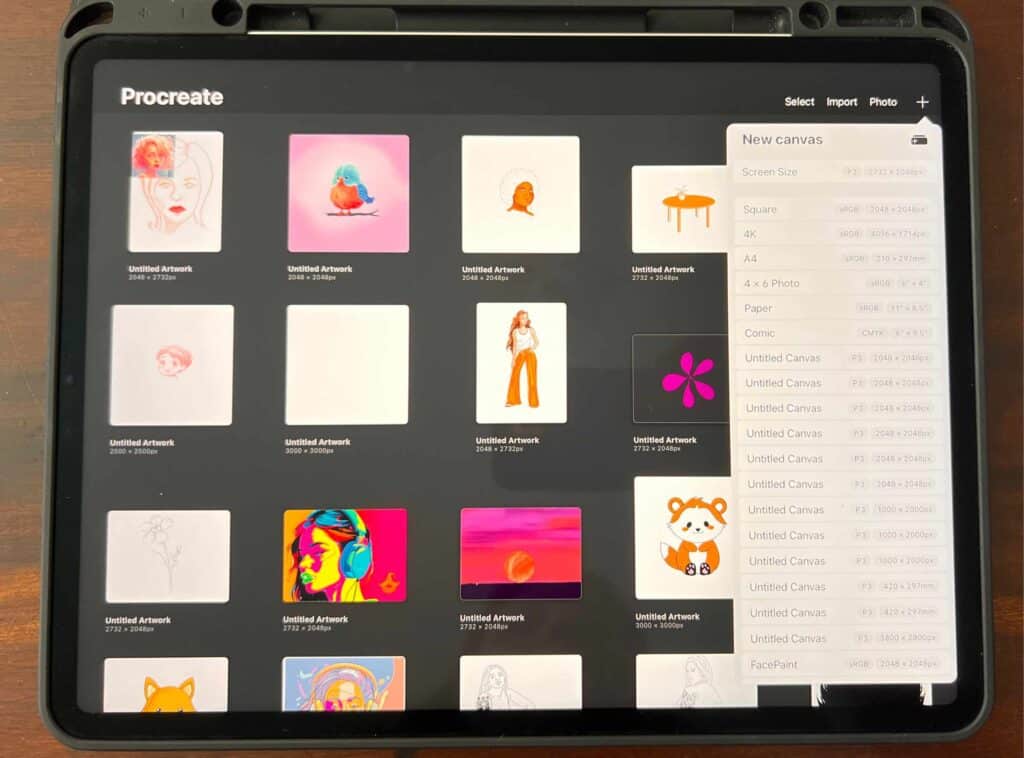
When creating stickers in Procreate, the first step is to create a new canvas. To do this, open Procreate and tap the + icon in the top right corner. You can choose from a variety of preset canvas sizes or create a custom size by tapping on “Custom Size.”
When creating a custom canvas size, you can enter the exact dimensions you need. This is important if you plan to print your stickers, as you want to make sure they are the correct size and resolution. You can also choose from different measurement units, such as inches, millimeters, or pixels.
Once you have created your canvas, you can start adding layers above your background layer. Layers are like transparent sheets stacked on top of each other. You can draw on each layer separately without affecting the others. This is useful for creating different parts of your sticker or digital art, and for making changes without affecting the entire design.
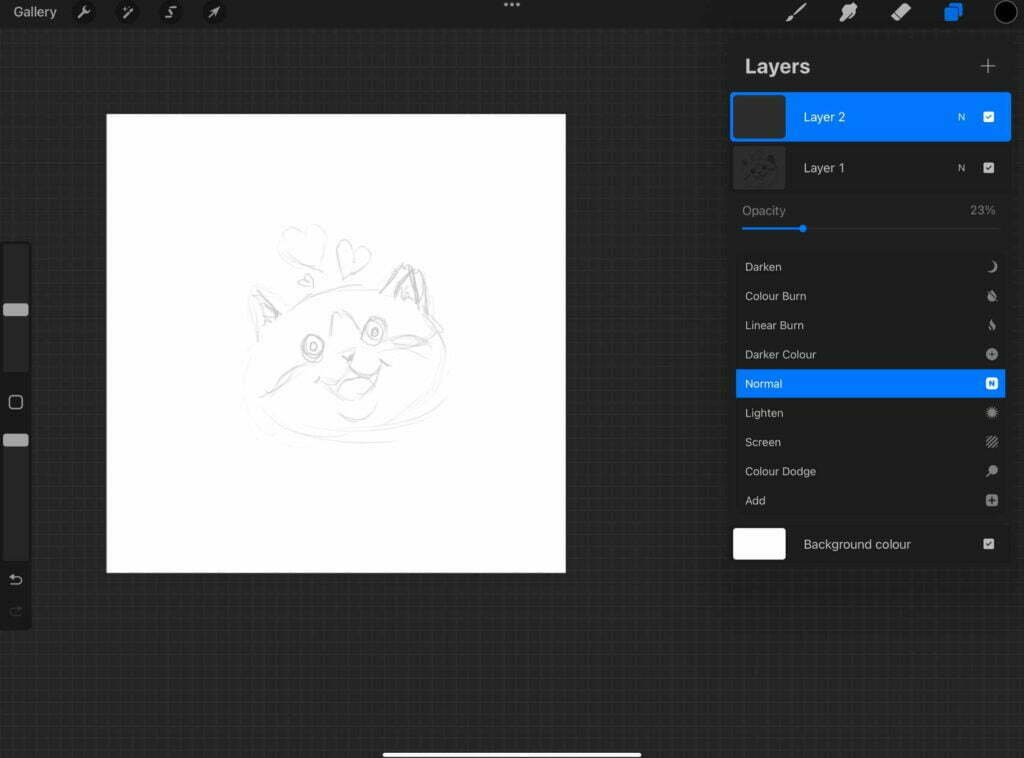
To add a new layer, tap on the Layers icon in the top right corner and then tap on the + icon. You can also duplicate layers, merge layers, or delete layers as needed.
It’s important to keep in mind the canvas size when creating your stickers. If you plan to print your stickers, you want to make sure the resolution is high enough for the print quality you need. A resolution of 300 DPI is recommended for high-quality prints.
Creating a canvas in Procreate is the first step in making stickers. You can choose from preset sizes or create a custom size with exact dimensions and measurement units. Layers are used to separate different parts of the design, and it’s important to keep the canvas size and resolution in mind for printing purposes.
Designing Stickers in Procreate
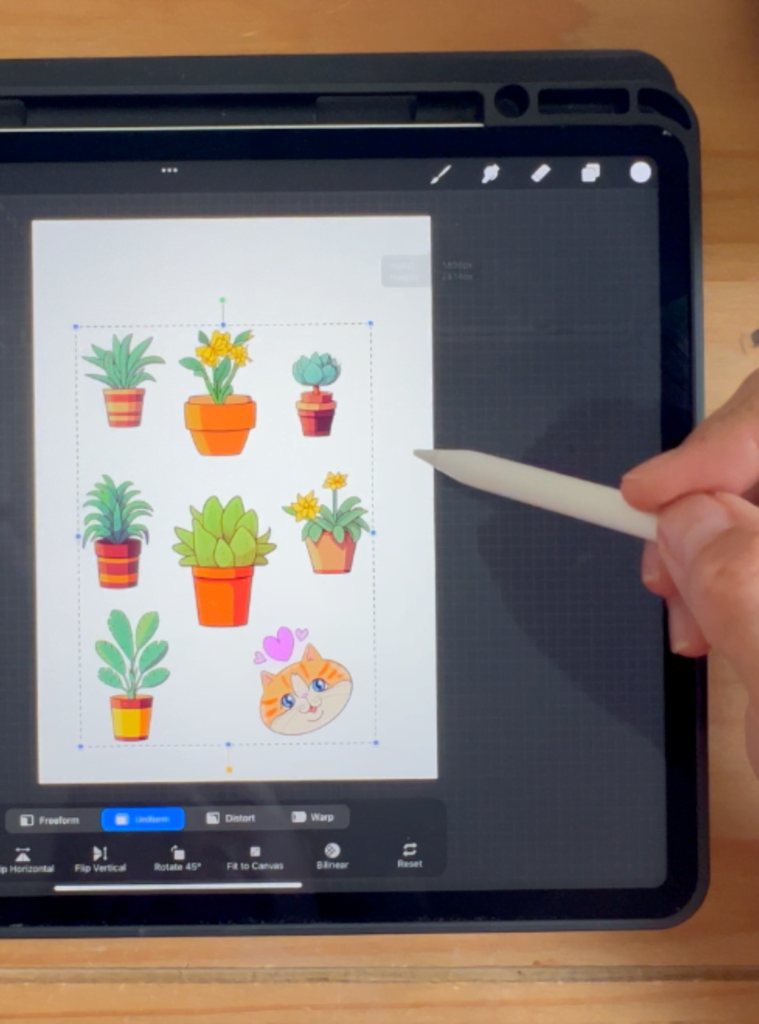
If you are looking to create your own stickers in Procreate, the first step is to choose the right canvas size.
You want to make sure that your canvas is large enough to accommodate all of your designs, but not so large that the file becomes unwieldy or difficult to work with.
To start, open the Procreate app and click on the “+” icon to create a new canvas. You can choose from a variety of canvas sizes, including square, paper, and comic canvases.
However, for sticker design, it is best to create a custom canvas. You can do this by clicking on “Custom Size” and entering the dimensions you want.
When creating your custom canvas, we recommend making it 8.5 x 11 inches or 850 x 1100 pixels. This size is perfect for sticker paper and will allow you to fit as many stickers as possible on one page. If you need help creating a custom canvas, you can find a tutorial here.
Once you have your canvas set up, it’s time to start designing your stickers. Using an Apple Pencil makes the sketching process feel like you are drawing on actual paper!
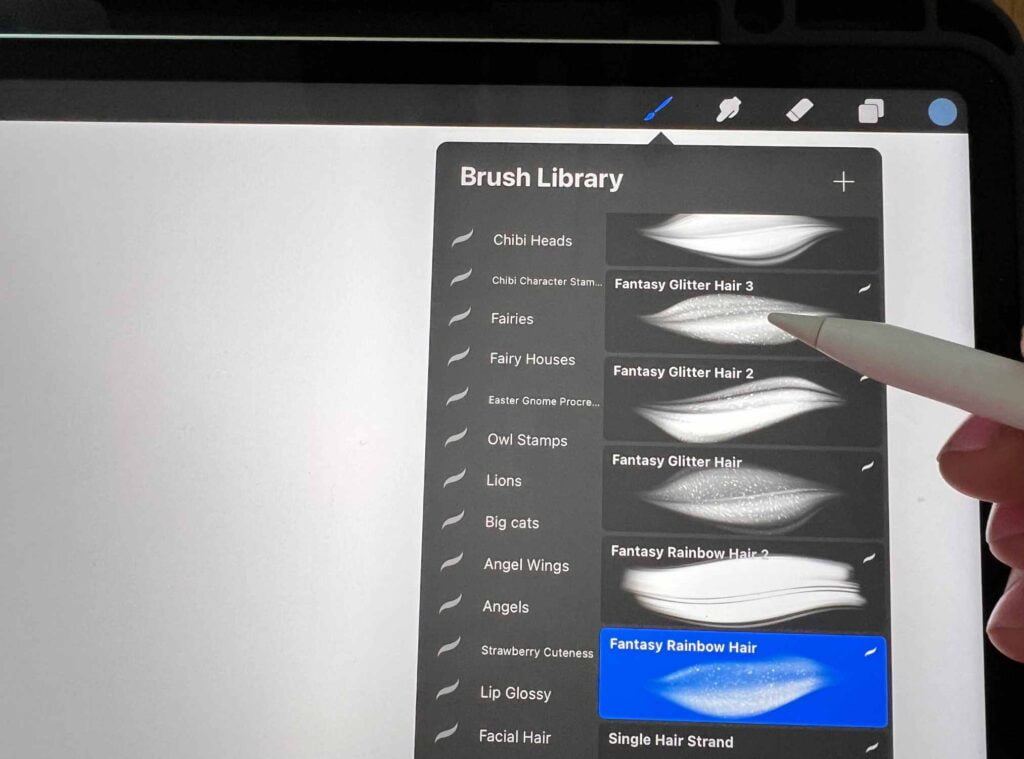
Procreate also offers a variety of brushes and tools to help you create your designs.
You can choose from a range of brush types, including pencils, pens, and markers. You can also adjust the size and opacity of your brush to create different effects.
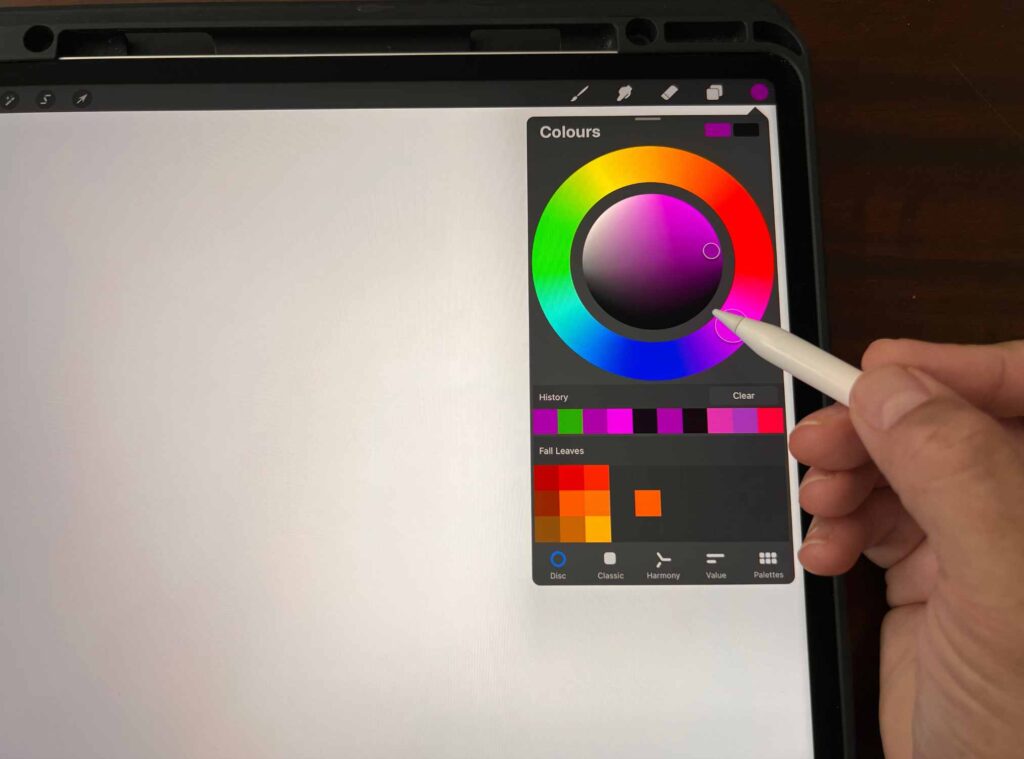
When designing your stickers, it’s important to keep in mind the color scheme and overall aesthetic you want to achieve.
You can use the color picker tool to select different colors and create a cohesive look for your stickers.
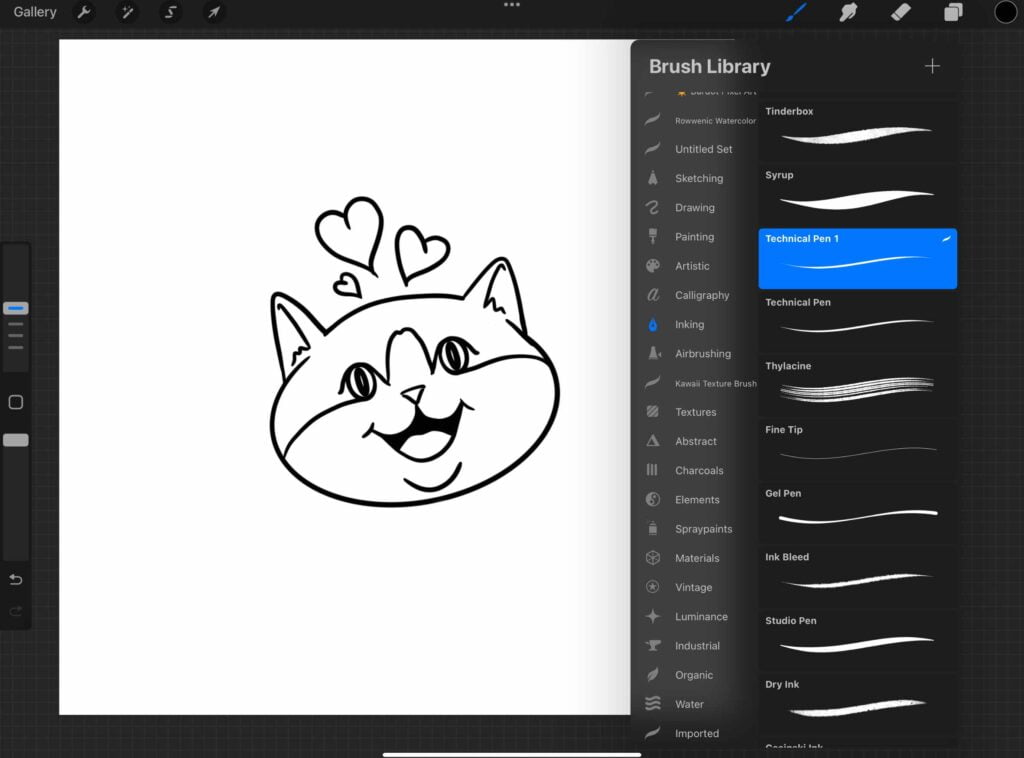
To add an outline to your stickers, you can use the “Add” function to create a new layer and draw an outline around your design.
You can also use the brush library to find different brush styles and effects to enhance your artwork.
Once you have finished designing your stickers, it’s time to export them for printing.
Overall, designing stickers in Procreate is a fun and artistic process. With the right tools and canvas size, you can create beautiful and unique stickers that are perfect for personal or commercial use.
Understanding Resolution and Color Modes
When designing stickers in Procreate, it’s important to understand resolution and color modes to ensure that your final product looks great. Here are some key terms to keep in mind:
Resolution: Refers to the number of pixels in an image. The higher the resolution, the more detail and clarity in the image.
DPI: Stands for “dots per inch” and refers to the number of ink dots that a printer can produce in one inch. This is important to consider if you plan on printing your stickers. For best results, aim for a DPI of at least 300.
PPI: Stands for “pixels per inch” and refers to the number of pixels in one inch of an image. This is important to consider when creating digital designs that will be viewed on screens.
Color mode: Refers to the way colors are represented in an image. The two most common color modes are RGB and CMYK.
- RGB stands for “red, green, blue” and is used for digital designs that will be viewed on screens. This color mode produces a wider range of colors than CMYK.
- CMYK stands for “cyan, magenta, yellow, black” and is used for designs that will be printed. This color mode is more limited than RGB but is necessary for accurate color representation in print.
Color profile: Refers to a set of instructions that tells a device how to display colors. Different devices may have different color profiles, so it’s important to consider this when creating designs that will be viewed on multiple devices.
By understanding these terms, you can make informed decisions about the resolution and color mode of your designs to ensure that your stickers look great both digitally and in print.
Exporting and Printing Stickers
Once you have designed your stickers on Procreate, it’s time to export and print them. Make sure you have the right printer for stickers.
Follow these simple steps to get your stickers printed and ready to use.
Exporting Your Stickers
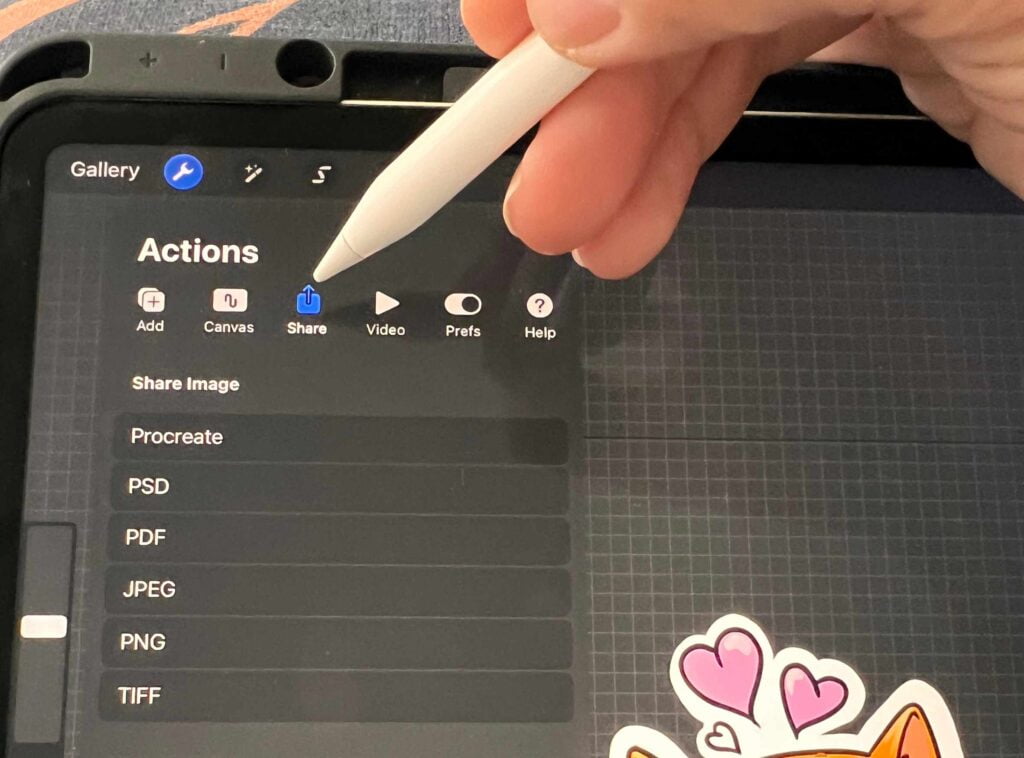
The first step is to export your stickers as a PNG file with a transparent background. This will ensure that your stickers look professional and clean when printed.
To do this, go to the “Share” button in Procreate and select “PNG”. Make sure to select the “Transparent Background” option before exporting.
Preparing for Printing
Before printing your stickers, it’s important to make sure that your canvas size is set up correctly. Set the dimensions of your document to the exact size you want your stickers to be, in inches or millimeters.
Set the DPI (dots per inch) to at least 300, which is the standard resolution for printing. This will ensure that your stickers come out looking sharp and high-quality.
Printing Your Stickers
When it comes to printing your sticker sheet, you have a few options. You can print them at home using a home printer or you can send them to a professional printer.
If you choose to print them at home, make sure to use high-quality sticker paper for the best results.
If you choose to send them to a professional printer, make sure to select a printer that specializes in sticker printing.
Print and Cut
If you want to create a sheet of stickers, you can use the print and cut method. This involves printing your stickers onto sticker paper and then using a cutting machine to cut them out.
Make sure to set up your sticker sheet correctly in Procreate before exporting to ensure that your stickers are the correct size and spacing.
Black and White Stickers
If you want to create black and white stickers, make sure to set your canvas to black and white before starting your design.
This will ensure that your stickers come out looking crisp and clean when printed.
Background Colors
If you want to include background colors in your sticker design, make sure to set your canvas to the color you want before starting your design.
Keep in mind that transparent backgrounds are typically preferred for stickers, but including a background color can add a nice touch to your design.
Overall, exporting and printing stickers from Procreate is a simple process that can yield professional-looking results.
With the right setup and materials, you can create high-quality stickers that are perfect for personal use or for selling.
Using Cutting Tools
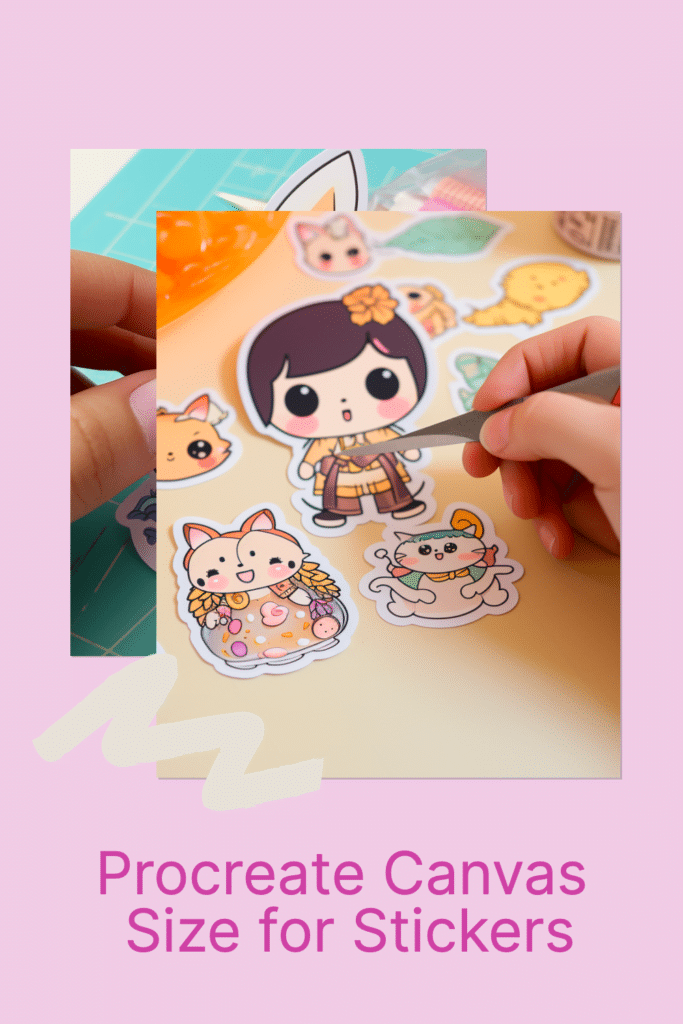
Once you’ve created your custom stickers in Procreate, it’s time to cut them out. There are several cutting tools you can use, including scissors and a cutting machine like the Cricut.
Here are some tips for using cutting tools with your Procreate stickers.
Scissors
If you’re cutting your sticker image by hand with scissors, you’ll want to make sure your canvas size is appropriate. A good size for hand-cut stickers is the size of printer paper (8.5″ x 11″ in the US).
You can adjust the canvas size in Procreate by tapping the plus sign on the gallery page and selecting “Custom Size.”
Once you’ve cut out your stickers, you may want to add a white border around them to make them stand out.
Cutting Machines
If you’re using a cutting machine like the Cricut, you’ll need to upload your sticker design to the Cricut Design Space.
You can do this by exporting your Procreate design as a PNG file and then uploading it to the Design Space.
Before cutting your stickers, you’ll need to set up the cut settings in the Design Space.
This includes selecting the type of material you’re cutting (e.g. vinyl, paper), as well as the type of cut you want (e.g. kiss-cut, die-cut).
Once you’ve set up your cut settings, you can load your material into the Cricut machine and let it do the cutting for you. Make sure to follow the manufacturer’s instructions for loading and cutting your material.
Die-Cut vs. Kiss-Cut
When using a cutting machine, you have the option to create either die-cut or a kiss cut stickers.
A die-cut cuts all the way through the material, while a kiss-cut only cuts through the top layer of material, leaving the backing paper intact.
Kiss cut sticker sheets are a nice way to create sticker sheets you want to sell.
If you’re making stickers, you’ll most likely want to do a kiss-cut. This allows you to easily peel the stickers off the backing paper and apply them to whatever surface you’d like.
Overall, using cutting tools with your Procreate stickers can be a fun and creative way to bring your designs to life.
Whether you’re using scissors or a cutting machine, make sure to take your time and follow the instructions carefully for the best results.
Digital and Physical Stickers
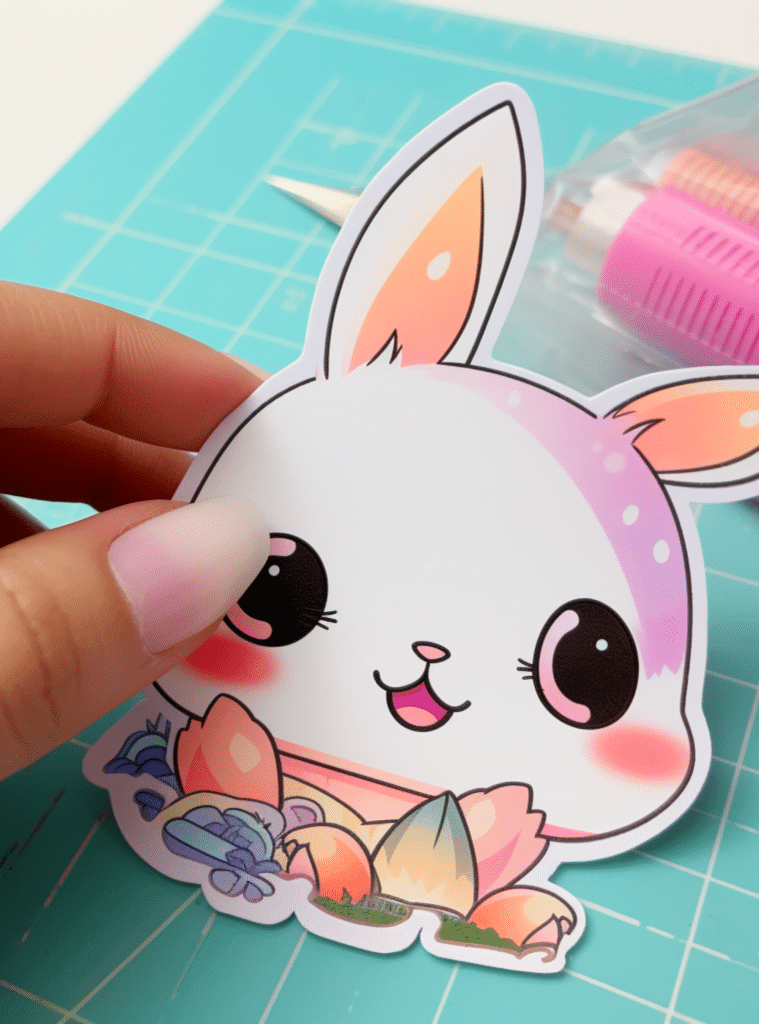
When it comes to creating stickers, you have the option of making them digitally or physically. Digital stickers are great for use in digital planners, while physical stickers are perfect for decorating notebooks, bullet journals, and other physical items.
One of the benefits of creating digital stickers is that you can easily resize them to fit your needs. You can also create them with pixelated designs or add borders to give them a unique look.
Additionally, you can use Gaussian blur to soften the edges of your stickers for a more natural appearance.
Creating physical stickers is just as easy! You can use Silhouette Studio to cut out your designs, or you can print them onto sticker paper using an inkjet printer.
You can even print your stickers onto kraft paper for a more rustic look.
If you’re interested in selling your stickers, creating digital stickers is a great way to start a small business.
You can create printables that customers can download and print themselves, or you can sell pre-printed physical stickers.
Overall, whether you choose to create digital or physical stickers, Procreate makes it easy to create high-quality designs.
With automatic canvas size selection, you can start creating stickers right away without worrying about getting the dimensions just right. So, get creative and start designing your own stickers today!
Additional Tips and Resources
Now that you know the best canvas size for Procreate stickers, here are some additional tips and resources to help you create amazing designs:
- Watch Procreate tutorials on YouTube or Vimeo to learn new techniques and get inspiration for your designs. There are many talented artists who share their knowledge and tips on these platforms, so take advantage of them.
- Use a white outline around your stickers to make them stand out on any background. This is especially useful if you plan to print your stickers on transparent or colored paper.
- If you want to use your stickers on social media, you can easily export them from Procreate to the Photos app on your device. From there, you can share them on Instagram, Facebook, or any other platform.
- Check out Pinterest for sticker design ideas and inspiration. You can search for specific themes or styles and save your favorite designs to a board for future reference.
- If you’re interested in calligraphy, Procreate is a great tool to practice and improve your skills. There are many brushes and tutorials available to help you create beautiful lettering and typography.
- Consider adding a QR code to your stickers to make them interactive. You can link the code to a website, social media profile, or any other online resource.
- Don’t forget to share your stickers on app stores like the App Store or Google Play. This can be a great way to reach a wider audience and get feedback on your designs.
By following these tips and exploring these resources, you can take your Procreate sticker designs to the next level. Have fun creating and sharing your art with the world!

Frequently Asked Questions
What are some tips for creating stickers in Procreate?
Read this article on how to make stickers in Procreate. When creating stickers in Procreate, it’s important to keep in mind the size and resolution of your canvas. For high-quality prints, use CMYK as the color profile and 300 DPI as the resolution. You can also consider creating your stickers with a transparent background to make them easier to use in other applications.
How do I create a custom brush for making stickers in Procreate?
Creating a custom brush is easy in Procreate. Simply select the brush tool, tap the brush library, and then tap the + icon. From there, you can customize your brush settings, including the shape, size, and opacity.
What are some popular Procreate brushes for making stickers?
There are many great brushes available for making stickers in Procreate. Some popular options include the Monoline brush, the Gouache brush, and the Watercolor brush.
What are the recommended dimensions for sticker designs in Procreate?
The recommended dimensions for sticker designs in Procreate depend on how you plan to use them. For most stickers, a 1″ square or 3″ x 2″ size is common. However, it’s always best to check with your printing service to ensure that your designs meet their specific requirements.
How can I export my Procreate stickers for printing?
To export your Procreate stickers for printing, simply select the layers you want to export and tap the share button. From there, you can choose the file format and resolution that works best for your needs.
Are there any Procreate tutorials specifically for making stickers?
Yes, there are many Procreate tutorials available that focus specifically on making stickers. Some great resources include YouTube channels, online courses, and tutorial websites.
Other articles you may enjoy…
Gloves for Drawing on Ipad | 9 Best Options
The Best Printer for Stickers: 14 Top Options
How to Save Procreate Files to Photos on iPad: Quick and Easy Steps
