Last Updated on October 18, 2024 by Dee
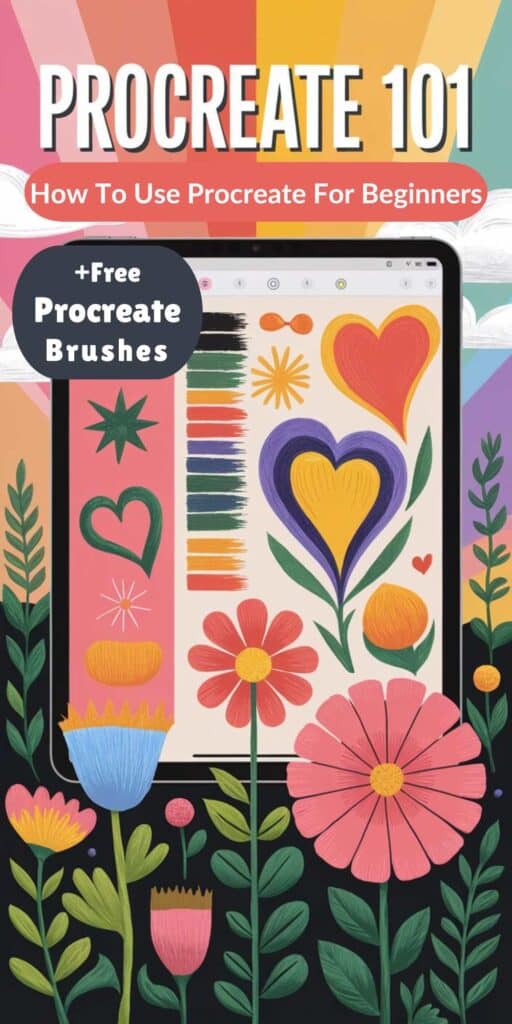
Welcome to Procreate 101, your ultimate guide to mastering the basics of Procreate! This step-by-step cheat sheet follows along with my YouTube tutorial and is perfect for anyone new to digital art. We’ll walk through everything you need to know, including setting up your canvas, using essential tools, and starting your first Procreate Drawing. Get my Free Procreate Brushes at the end of this post!
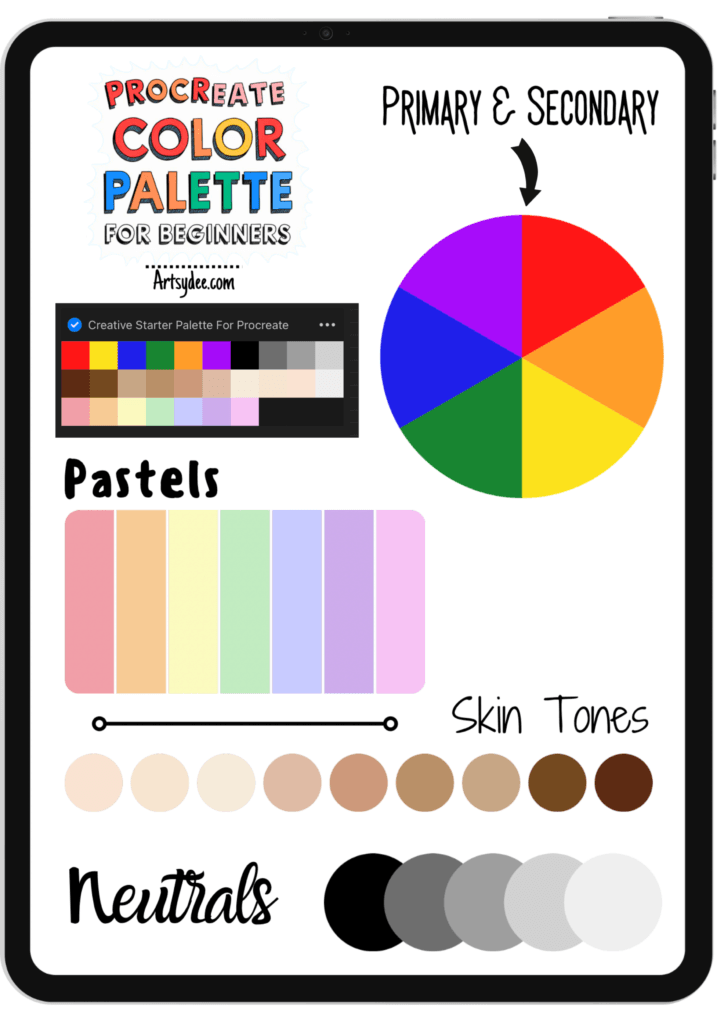
If you’re looking for additional resources like a custom color palette, practice canvas, and more Procreate brushes, check out my Patreon for exclusive member perks! 🌟
Table of Contents
Procreate 101: How to Use Procreate For Beginners
Step 1: Getting Started
Before you start creating, you need the right setup:
- Open Procreate and tap the + icon in the top-right corner.
- Choose your canvas size—A4 is a great standard size to start with.
- Adjust the DPI (300 DPI is perfect for high-quality prints) and set the color profile to RGB for digital art or CMYK for print.
For more information on Procreate setups, check out my post on how to print from Procreate.

Step 2: Understanding Procreate’s Tools
Procreate offers various tools for digital art. Here’s how to get familiar with them:
- Brush Tool: Tap on the brush icon and explore the default brush sets. The free flower brush I’ve provided is perfect for creating floral illustrations. You can find and download it [here].
- Eraser Tool: Switch to the eraser icon to refine your lines—Procreate allows you to use any brush as an eraser for different effects.
- Layers Panel: Tap on the layers icon (two squares) to create and manage your artwork layers. Layers help keep different parts of your drawing separate, making editing easier. Learn more about how to group layers in Procreate to keep your workflow organized.
Pro Tip: Use the Opacity Slider in the layers panel to adjust the transparency of your layers, perfect for creating subtle effects. If you need to unmerge layers in Procreate, follow these steps to make adjustments easily.
Step 3: Using Gesture Controls
Mastering Procreate’s gesture controls will save you time and make your workflow more efficient:
- Pinch to zoom in and out of your canvas.
- Tap with two fingers to undo, and three fingers to redo. You can read more about how to undo on Procreate.
- Hold down on the canvas with one finger to activate the color picker.
These shortcuts are designed to keep your focus on creating, so practice using them to become more comfortable!

Step 4: Exploring the Color Palette
Procreate’s color palette is versatile and intuitive:
- Tap the color circle in the top-right corner to access your palette.
- Choose colors from the Disc, Classic, Harmony, or Value tabs.
- For a cohesive start, use my free flower brush with the colors available in Procreate’s default palettes.
Want a custom beginner-friendly color palette? It’s available exclusively for my Patreon members, along with other resources to enhance your digital art journey. 🌈 For more tips on color, check out how to mix colors on Procreate.
Step 5: Using the QuickShape Tool
Creating perfect shapes is easy with Procreate’s QuickShape feature:
- Draw a shape (circle, square, etc.), and hold your pen down on the screen. Procreate will automatically snap it into a perfect shape. If you want to refine your technique, see my guide on how to make a perfect circle in Procreate.
- For further adjustments, tap Edit Shape at the top of the screen.
This tool is great for creating clean, precise elements in your illustrations.
Step 6: Adding Procreate Brushes and Free Resources
To get started, download my free flower brush and import it into Procreate:
- Download the brush set at the end of this post.
- Open Procreate, go to the Brush Library, and tap + to create a new brush set.
- Tap Import and select the brush file from your device.
This brush is perfect for creating floral designs and experimenting with Procreate’s brush settings. For more exclusive brushes, canvases, and color palettes, join my Patreon for access to all resources!
If you’re interested in creating your own brushes, you can learn how with my tutorial on how to make a stamp in Procreate.
Step 7: Practicing Your Digital Art Skills
Now that you’ve set up your canvas and tools, try these Procreate practice exercises:
- Create Simple Shapes: Practice drawing and refining shapes using the QuickShape tool.
- Play with Brushes: Experiment with different brush types and see how they interact with the free flower brush.
- Layer Management: Work with multiple layers to create depth and add details to your art. Need help with layers? Check out how to select multiple layers in Procreate.
These exercises will help you become more comfortable with Procreate’s features and build a solid foundation in digital art.

Step 8: Exploring Procreate Resources
Procreate offers a wide range of resources, and I’m excited to share more with you:
- Access Procreate brushes free by downloading the free flower brush provided.
- Join my Patreon for additional brushes, color palettes, and practice canvases.
- Stay tuned for more Procreate tutorials that dive deeper into techniques and advanced features.
If you’re curious about different techniques, you can explore more, like how to invert colors on Procreate.
Final Tips for Learning How To Use Procreate
- Practice Regularly: The best way to improve your skills is to create consistently. Set aside time each week for your Procreate practice.
- Explore Tutorials: Check out my Procreate iPad tutorials for beginners on YouTube to follow along and learn new techniques.
- Use Procreate Resources: Make the most of free resources, and if you want more in-depth guidance and exclusive tools, consider becoming a Patreon member.
If you’re still wondering if Procreate is the right fit for you, read my post on is Procreate worth it for beginners for a detailed review!
Procreate is an incredible app for artists of all levels, and with the right tools and resources, you can create amazing digital art. This Procreate app tutorial is just the start—let’s continue exploring and learning together!

Grab the Free Procreate Doodle Flower Brushes HERE (below)!
To access the free in-post printables for this post, you’ll just need to create a free account or login with the Grow.me tool. Then, confirm by email and refresh the page and ALL my free printables will automatically unlock in every post!
Love These Procreate Brushes? Get Even More Exclusive Creative Goodies on My Patreon! 🎨
If you’re enjoying these free printables, why not join my Artsydee Patreon community? As a member, you’ll gain access to exclusive Procreate tutorials, watercolor lessons, and tons of resources like this one—delivered to you monthly (and sometimes even twice a month!). Plus, you’ll get sneak peeks at upcoming projects and have a say in what content I create next. ✨
Join today and unlock premium resources to take your creativity to the next level!
Check out my Free Procreate Color Palettes HERE!


1 thought on “Procreate 101: Step-by-Step Guide for Beginners”