Last Updated on February 2, 2023 by Dee
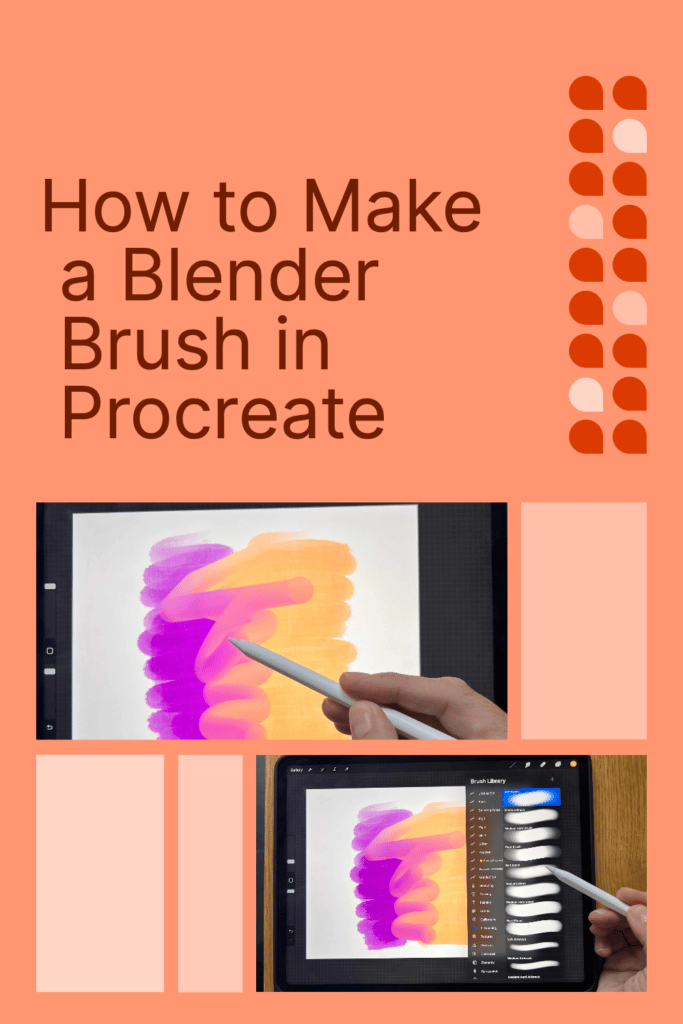
Blender brush Procreate: If you’re a digital artist using Procreate, you may be wondering how to create a blender brush. Blender brushes can be used to soften the edges of your drawings, blend colors together, and more!
In this tutorial, I’ll show you how to make a blender brush in Procreate so you can start experimenting with these handy tools.
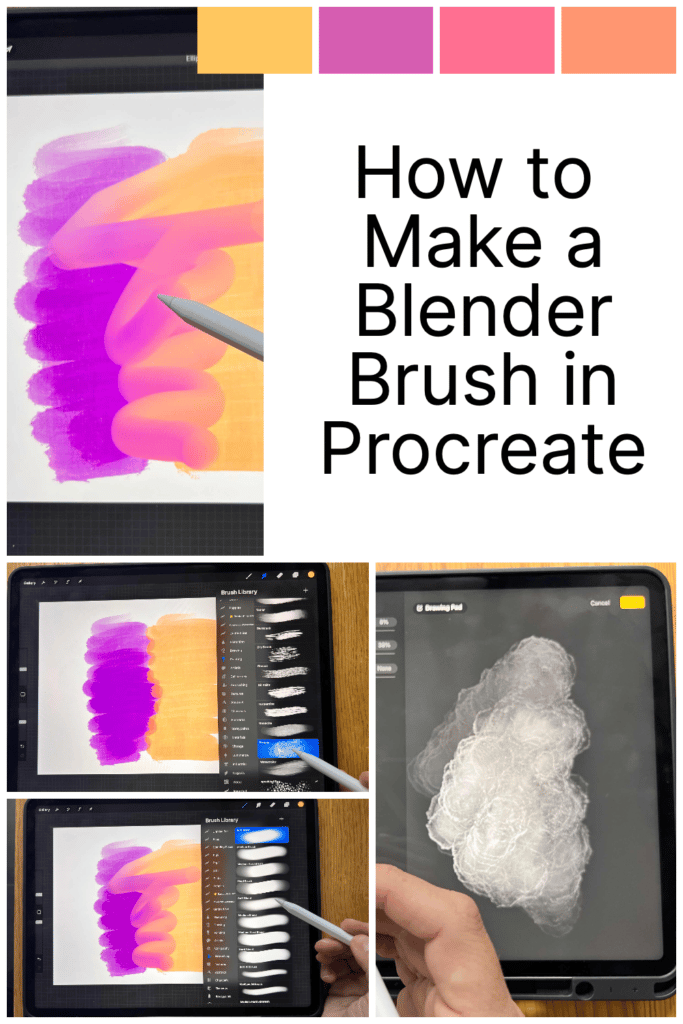
What is a Procreate Blending Brush?
The best blender brush in Procreate is the smudge tool. However, you can easily create your own personalized blender brush. A blender brush in Procreate is a type of digital brush that can be used to create gradients, smudges, and other blended effects.
What are Blender brushes for?
Making a blender brush in Procreate is an invaluable tool for any artist who loves to blend seamlessly.
Here are some ways you can use a blending brush:
- Smooth Transitions between colors
- Gentle gradients
- Softening lines
- Softening shadows
- Creating Luminosity
Mostly, using a blender brush allows me to create beautiful transitions between colors and bring more life and vibrancy to my art.
[Related: How to Undo on Procreate]
It’s also a great way to fill in backgrounds and blend colors without having access to traditional painting tools.
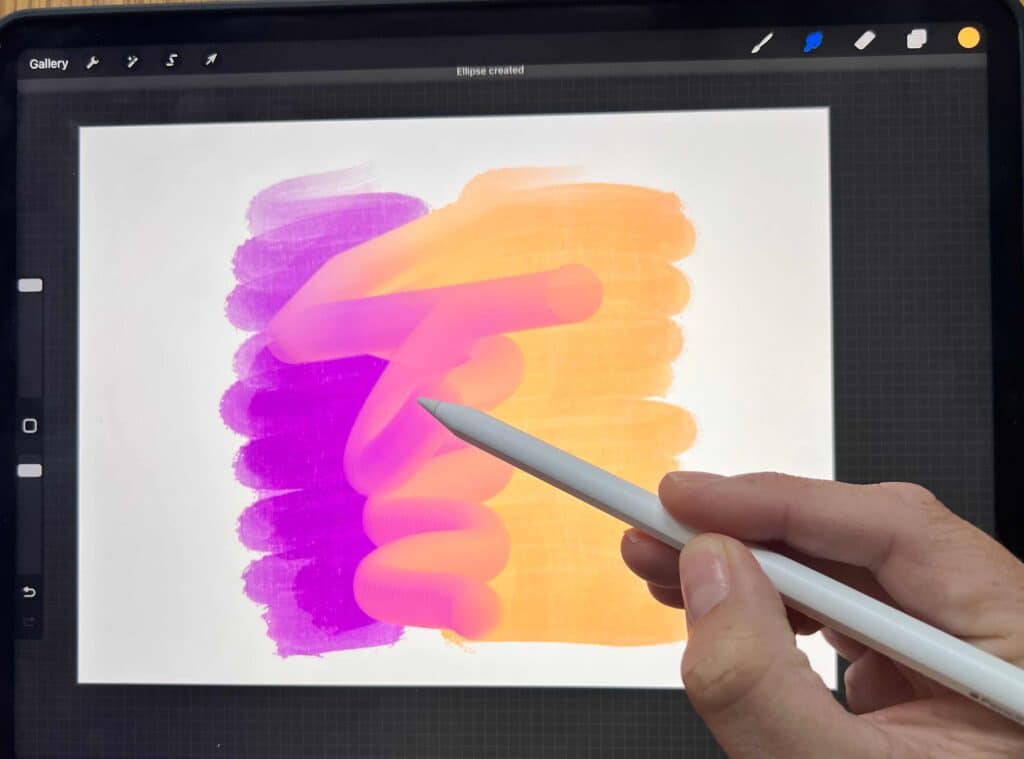
The Advantage of Building Your Own Blender Brushes
Building your own Procreate brushes to use as blender brushes has its advantages. Beyond the Smudge Tool, which works with any brush in your library, customizing a blender brush through the Brush Settings can really streamline your workflow.
With an array of options to choose from while creating or importing brushes into Procreate, during the process of tinkering with settings like Wet Mix – you have control over how much or how little diffusion will take place when smudging color layers around.
It is awesome to be able to create and fine-tune your own special brush to suit your digital painting.
The Smudge Tool vs. A Blending Brush
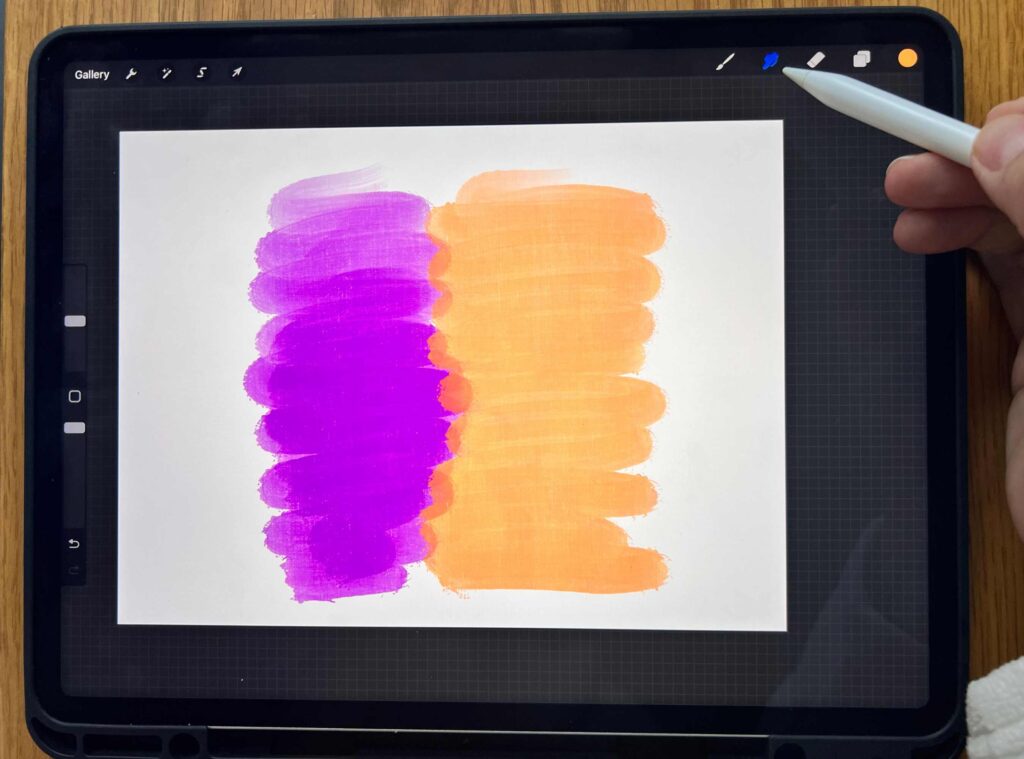
If you’re an artist that’s been using Procreate to bring your visions to life, then you may be familiar with both the Smudge Tool and Blender Brush.
The Smudge Tool is by far the most convenient way to blend in Procreate. However, with a homemade Blender Brush, you can take your creations to the next level by fine-tuning the brush settings until it becomes truly yours, from consistency, shape, and opacity to pressure sensitivity.
Not only will this give your work some signature finesse, but it also gives you full control over what your artwork will look like – something that no other tool can provide.
How to make a blending brush in Procreate
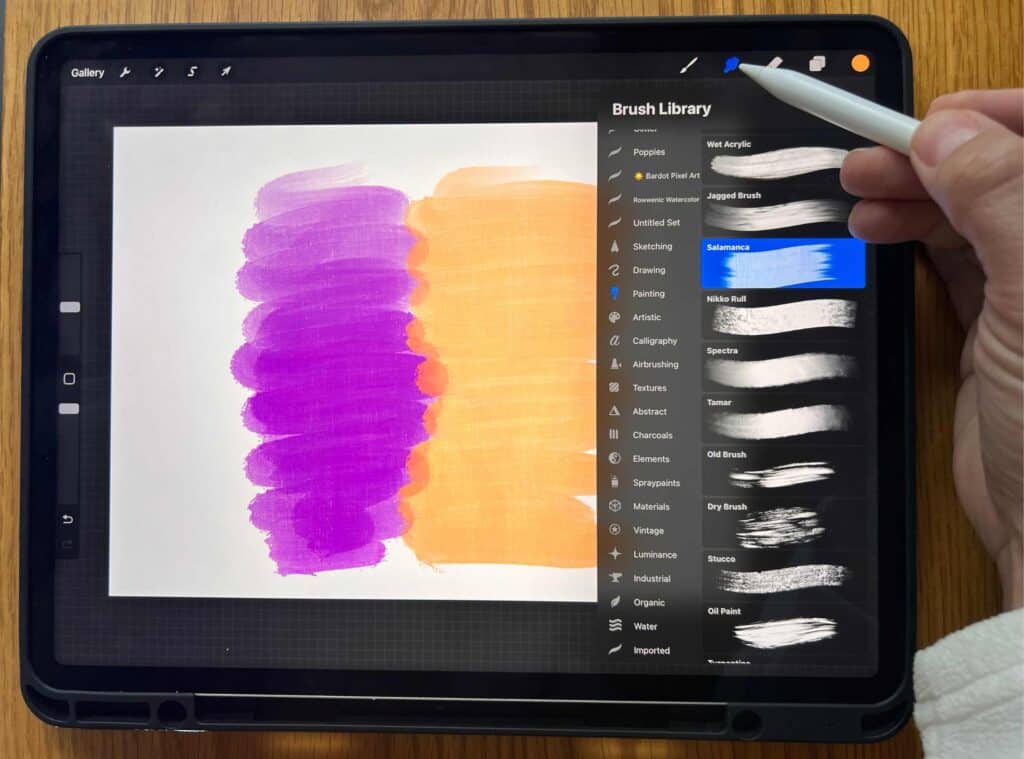
Creating a blender brush in Procreate is easy and super customizable!
Start by heading into the brush settings and then exploring the DYNAMICS section.
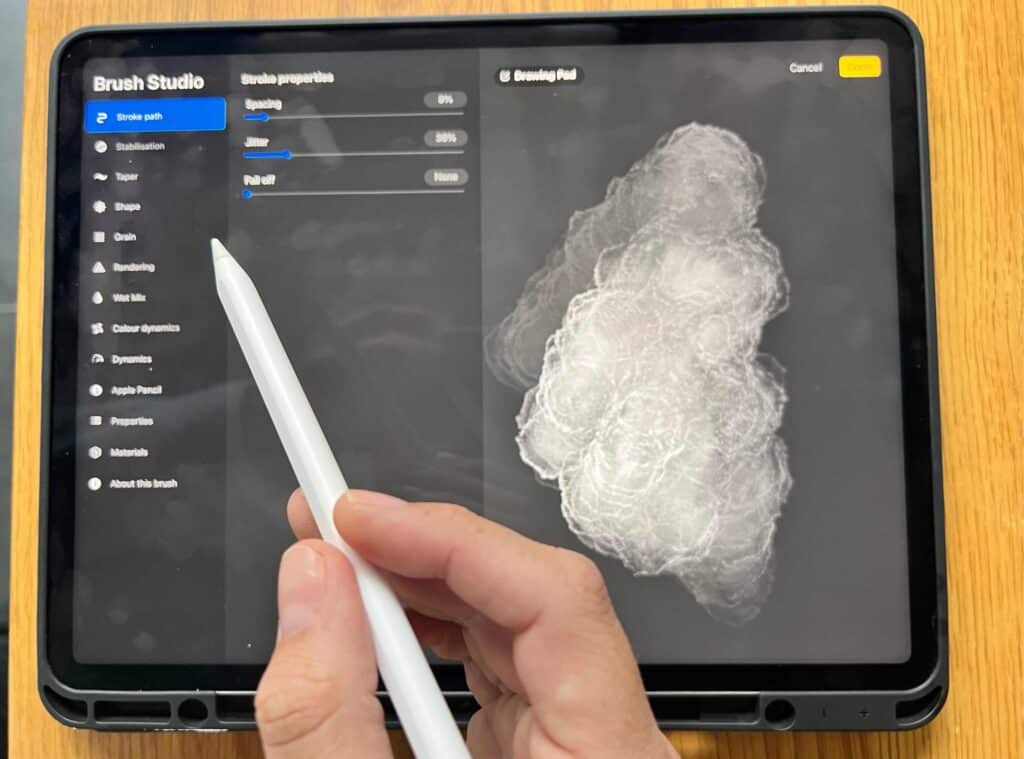
There you’ll find the WET MIX option, which is basically where any blending brush comes from.
But the best part is you get more than just the simple 0-100 option of a smudge slider – instead, five different settings give you lots of freedom to personalize your blend brush exactly how you’d like it.
These include dilution, charge, attack, pull, and grade.
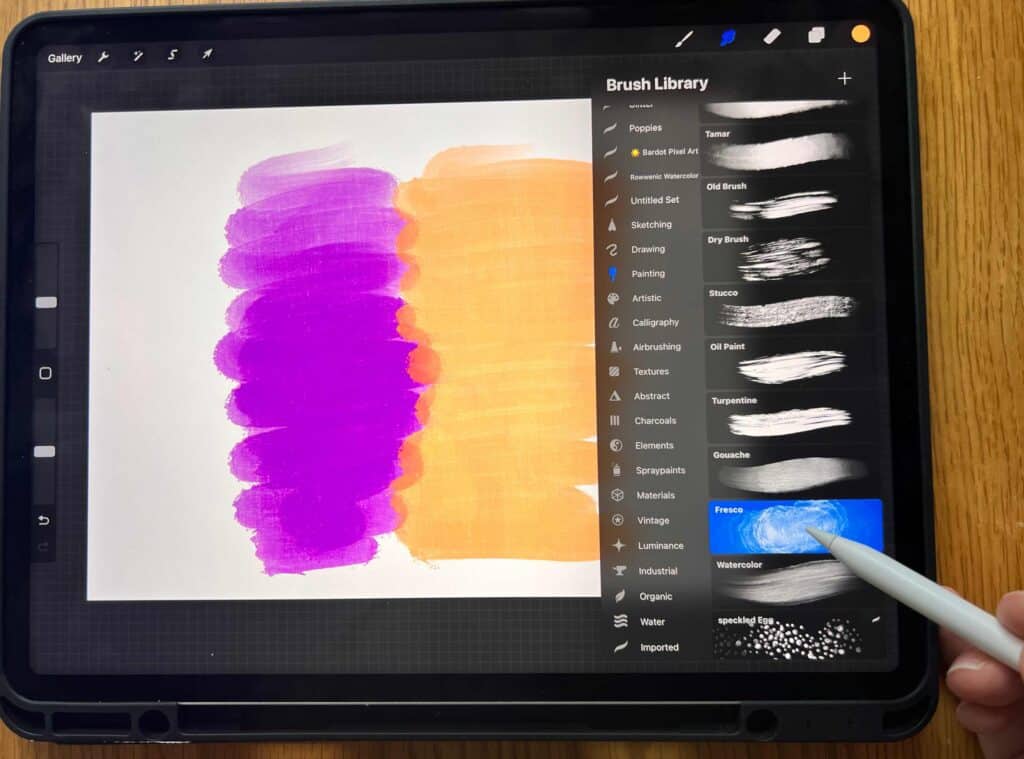
Experimenting with each of these options lets you create an unlimited array of beautiful blended looks.
How do I use the smudge tool as a blending brush in Procreate?
Creating stunning artwork with the perfect blend of colors using the smudge tool in Procreate is like a walk in the park.
All you need to do is open a new canvas and add colors or images. Tap on the smudge tool (the pointing hand icon) and again open up the brush library for a choice of blending styles.
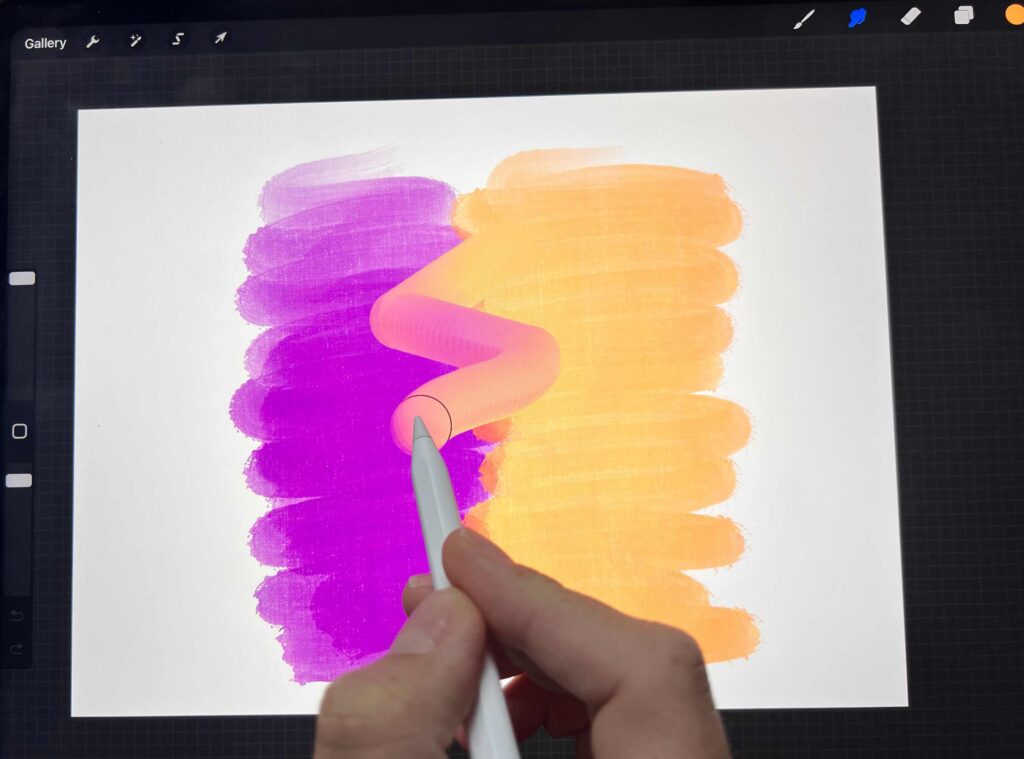
You can smear, swirl and even drag your colors with your finger or apple pencil.
To further fine-tune brush settings, just hit on the brush you selected, and the brush studio menu will show up right away!
Spend some time exploring various possibilities until you get your desired look – which will be remembered by Procreate until you switch to an alternate brush.
Step-by-Step Instructions for using the Smudge Tool as a Blending Brush:
- Open a new canvas in Procreate.
- Select a brush and paint your chosen colors (or add your images.
- Tap the Smudge tool (the pointing hand icon.)
- Tap the smudge tool again to open the brush library.
- Select the brush style you want to blend with.
- Use your finger or Apple Pencil to blend your colors.
- To further change brush settings for your smudge tool, tap on the brush again, and the brush studio menu will open. You can then experiment to find your perfect blender brush settings.
- The smudge tool will remain as per your chosen brush until you select a new brush.
Other Frequently Asked Questions about Blending in Procreate…
How do I get the blending tool in Procreate?
The “blending tool” in Procreate is actually the Smudge Tool – it can be found by tapping the pointing hand icon on the left side of your screen when you’re in drawing mode.
How do you blend paint in Procreate?
Blending paint in Procreate is easy and fun! All you need to do is open a new canvas and start painting. Then, tap the smudge tool (the pointing hand icon) and choose the brush style that best suits your desired blend.
You can then use your finger or Apple Pencil to smear, swirl, and drag your colors together. To further customize your brush settings, go to the brush studio menu and experiment with different options until you get the look you want – it’s that easy!
What is the best blending tool on Procreate?
The best blending tool for Procreate is the Smudge Tool, which you can find by tapping on the pointing hand icon. This tool allows you to blend your colors together with a familiar smudging action and gives you full control over how your artwork looks. You can customize the brush settings to create a unique look for each piece of art.
Can you make 3D models in Procreate?
Yes! Procreate has powerful 3D modeling features that allow you to create detailed and realistic 3D models. With the help of brushes, layers, and 3D shapes, you can easily build 3D objects that look just like real-world models. You can also use advanced tools such as lighting and textures to enhance your creations even further.
How do I export a 3D model from Procreate?
Exporting a 3D model from Procreate is easy and can be done in just a few steps. First, select the 3D object you would like to export and then go to the Share option at the top of your screen. Choose Export, then select File Format (obj files) and save it to your device.
Conclusion
Creating blender brushes in Procreate is a great way to expand your digital art skills, so you have more creative control over your works.
Using a blender brush allows you to soften edges, blend colors, or even add texture to your drawings. Make your own blending brush with this step-by-step tutorial in Procreate.
Unleash your prowess and show off all the amazing new ways you can craft and construct digital artwork! Finally, don’t forget to have fun and experiment with different textures and designs – that’s what will really make your work stand out 😉
Other articles you may enjoy…
What is the Right Digital Art Canvas Size? Important things to Consider to Make the Best Choice.
How to Make a Stamp in Procreate | Easy DIY Procreate Tips!
21 Procreate Coloring Pages to Help You De-stress and Relax
5 Free Skin Tone Collections | Skin Color Palette Procreate
18 Free Color Palettes for Procreate
