Last Updated on October 11, 2024 by Dee
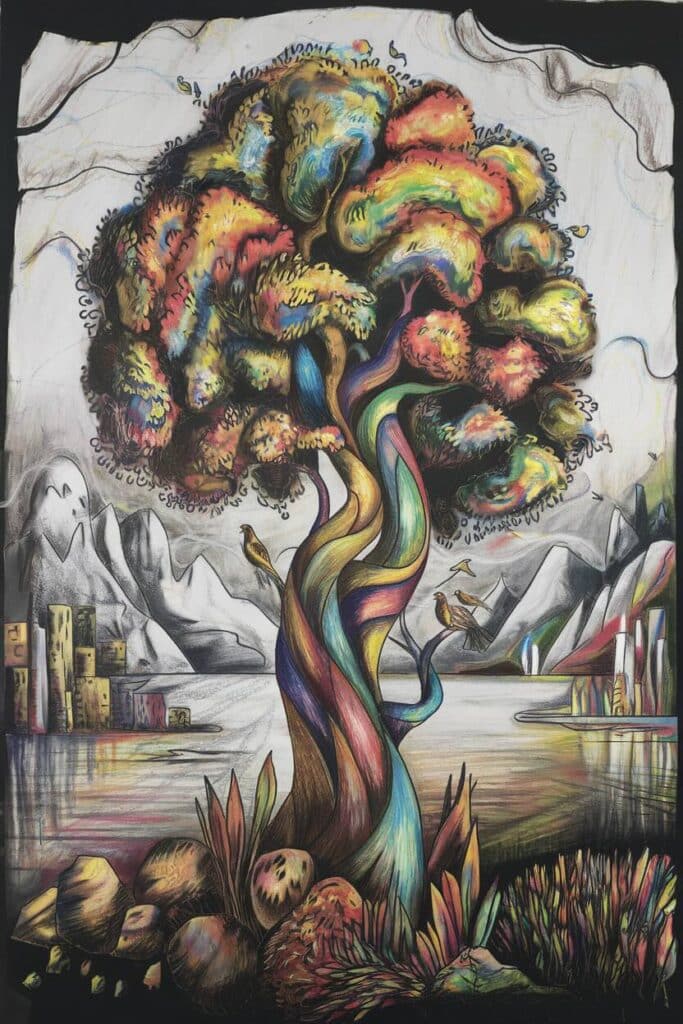
Welcome to “Drawing on Black Paper with Colored Pencil: The Ultimate Guide,” where we will delve into the fascinating world of creating art on dark surfaces. This unconventional approach challenges the traditional notion of drawing on white paper and opens up a whole new realm of possibilities for artists. Get the FREE Printable Color Theory Worksheet at the end of this post!
Table of Contents
What is so great about Colouring on Black Paper?
Colored pencil is a great medium to work with. It gives you a lot of control, and the colors can be easily blended into one another.
You can work on quite an intricate scale with colored pencils. They are a great medium to capture the drawing’s bright and striking subject matter.
When working with colored pencils on white paper, the colors are bright and sharp. It is pretty easy to get highlights and render shadows.
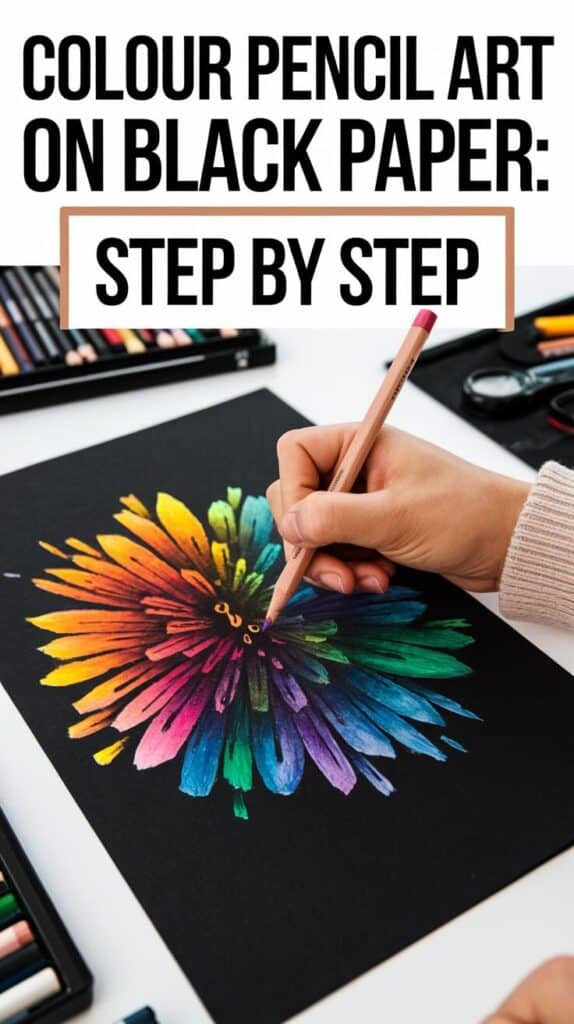
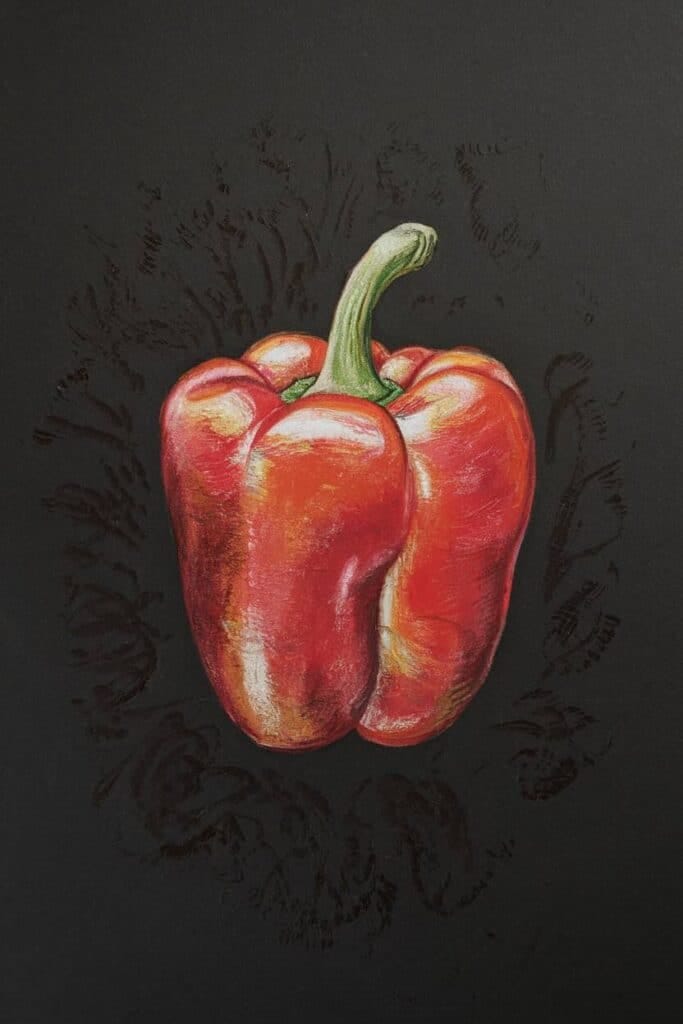
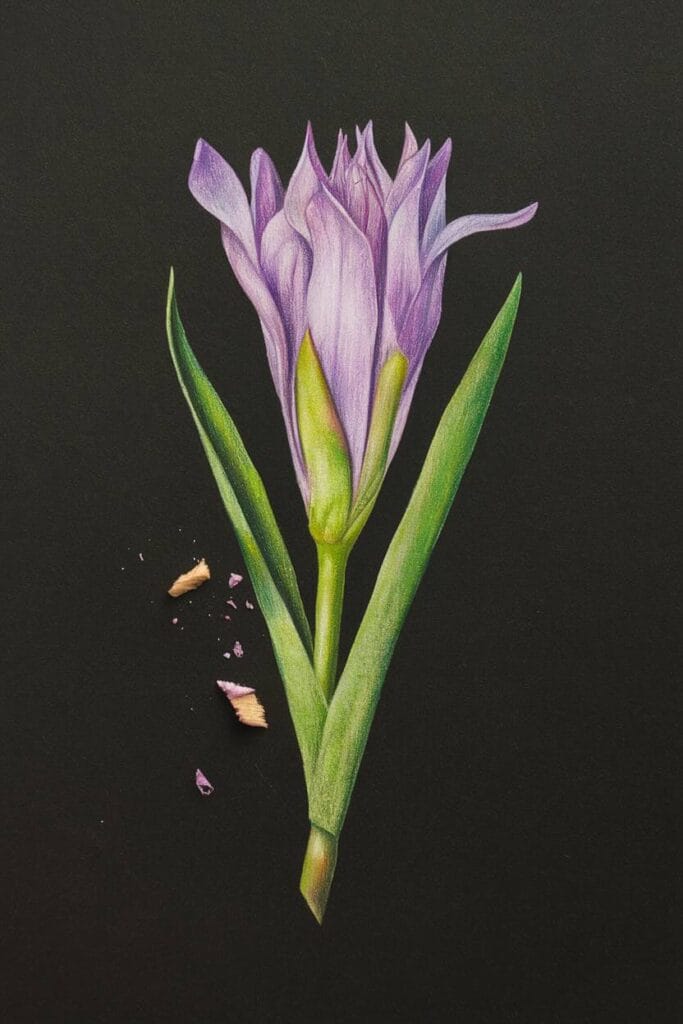
However, for this exercise, I have decided to draw with colored pencils on black paper to demonstrate how the color changes on the paper and how to get bright colors.
Firstly, you must consider that when you draw with colored pencils on dark or black paper, you must be aware that the black paper absorbs the brightness of your pencils’ hues. There are a few techniques to work around this.
The one I am going to demonstrate in this article is called layering. It is also important to remember that you cannot erase colored pencils like you would lead pencils or graphite. For this reason, you should always outline your subject matter lightly in pencil so that you can erase areas if necessary.
When using your colored pencils, you must work in light layers using gentle strokes. This also allows errors to be corrected easily as you develop your drawing.
Drawing With Colored Pencil on Black Paper: Demonstration
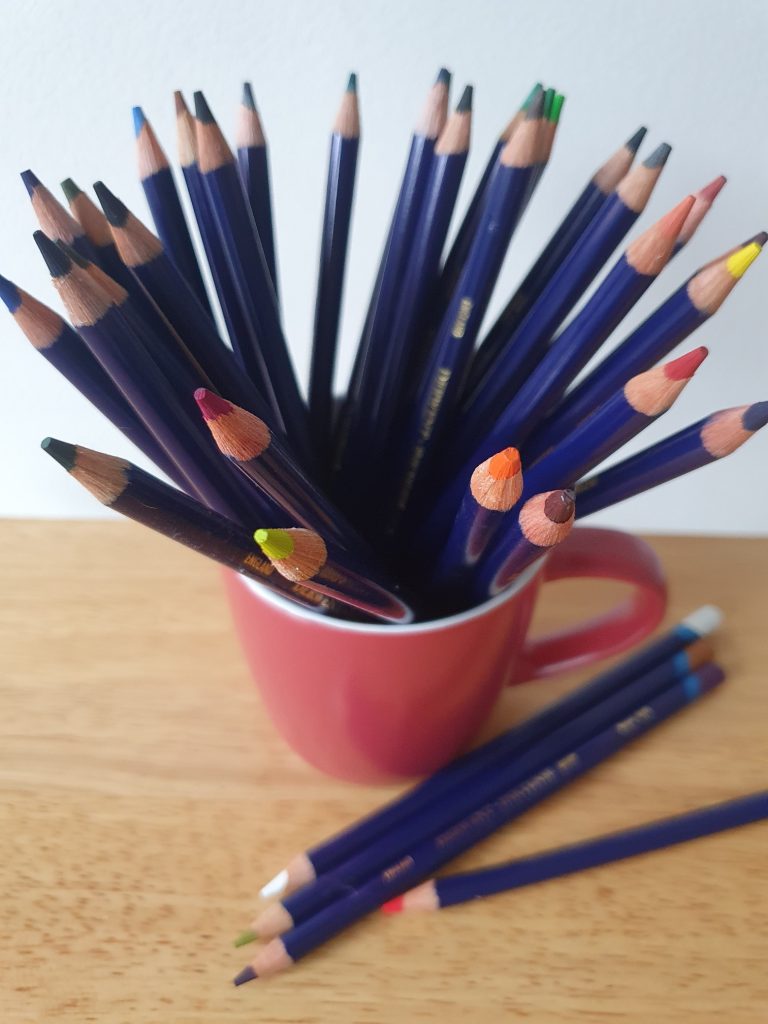
In this exercise, I am using the Derwent Inktense alongside Faber-Castell Goldfaber pencils to complete my drawing. I have mostly worked with Derwent Inktense pencils in the past, and so it was good to test out a different range of color pencils.
The Faber-Castell Goldfaber pencils are made from a soft wax pigment. This means they have a soft core and the color is easily transferred onto the paper. They are also quite strong and the core doesn’t break easily if dropped.
Before I began with my drawing, I compared a few colors from each brand. I specifically looked at the opaqueness of the white, yellow, green, blue, purple and red in both brands as these were some of the colors I was using.
[Related article: How to Trace in Procreate]
“The definition of the term Opaque is essentially the opposite of translucent. In other words, some brands of colored pencils are more translucent, and others are more opaque. Those that are more opaque have a stronger or heavier coverage on a page.”
Testing Out Your Colored Pencils
If you are using new pencils and you aren’t sure about how opaque they are on paper, fill up a page with lines and marks. Test out layering your colors on top of one another. This will give you a bit more confidence before you begin because you will have a better understanding of what your pencils can do, and how you can achieve it.
The Derwent Inktense are made from a lovely and soft pigment core, and it’s quite easy to color a large area with them. Their colors are beautifully intense, but sometimes it is difficult to blend a lighter color on top of them.
The Faber-Castell Goldfaber are light to the touch and lovely to hold, and the colors tend to be brighter and lighter. The Derwent are richer and deeper. They are both excellent-quality pencils, and so it really depends on what you want from your drawing. On black paper, the Faber-Castell Goldfaber definitely stood out more as they were lighter overall.
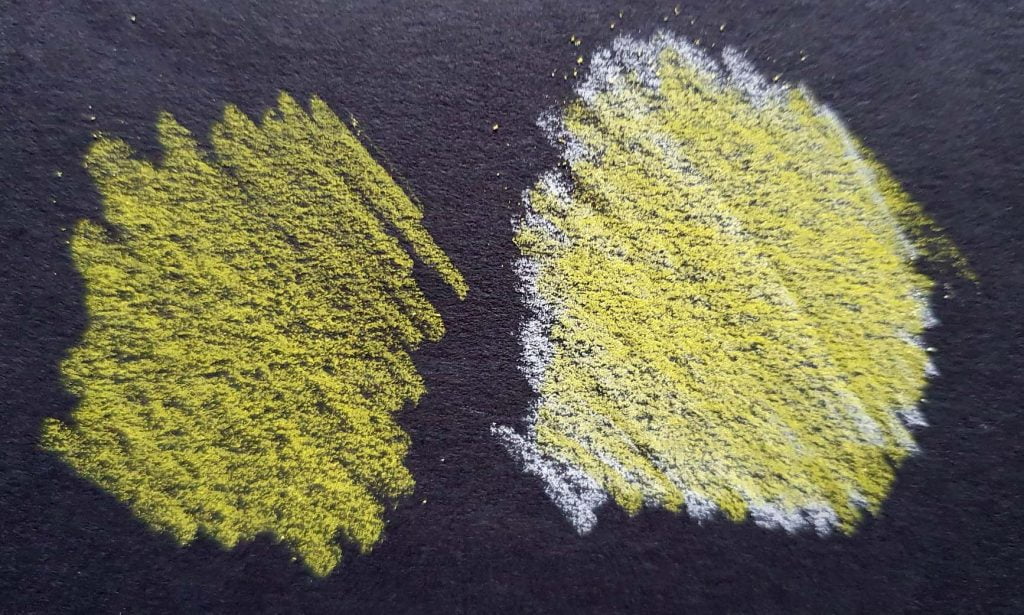
In this image you can see that I tested out the yellow Derwent Inktense pencil on its own. Then through gentle strokes I layered it on to the white Faber-Castell Goldfaber.
As you can see, layering it on top of the white gives it a more solid appearance with less black coming through.
The main technique I use with color pencils when working on black paper, is to layer colors on top of one another to develop solidity of form.
What I want you to take note of here is that, most importantly, I start off by putting down the first layer of white over my subject matter, especially in the lightest areas. I leave my dark areas black and start working color over the white.
Using White Colored Pencil on Black Paper
Using a white colored pencil on black paper is an excellent technique for creating dramatic and striking artwork.
The contrast between the white pencil and the dark background can produce visually impactful results, emphasizing the subject and making the artwork stand out. When combined with other colored pencils, the white pencil can be employed in various ways to enhance the overall effect of your composition.
One effective approach is to use the white pencil for highlights and accents.
Adding white to specific areas, such as the edges of objects or the brightest parts of a scene, creates a sense of depth and dimension in your artwork. This technique can help emphasize the focal points and guide the viewer’s eye through the piece.
Another way to incorporate white colored pencils into your artwork is by blending and layering them with other colors. This method can create a wide range of unique effects, depending on the specific combination of colors and the desired outcome.
[Related article: How to Draw a Background]
For example, you can apply a layer of white pencil to the paper before adding color to create a pastel effect or to make the colors appear more vivid. Alternatively, you can layer white over colors to soften or lighten them, adding a sense of atmosphere or depth.
Using a white colored pencil in conjunction with other colored pencils on black paper also allows for the exploration of different shading techniques.
By varying the pressure applied to the white pencil, you can create a range of tones, from subtle grays to bold whites. This can help you render realistic textures, volume, and lighting in your artwork, making it more dynamic and visually engaging.
Moreover, the white pencil can be employed to create striking line work, such as outlines or intricate patterns, that stand out against the black paper. This can add an interesting graphic quality to your art, making it visually appealing and eye-catching.
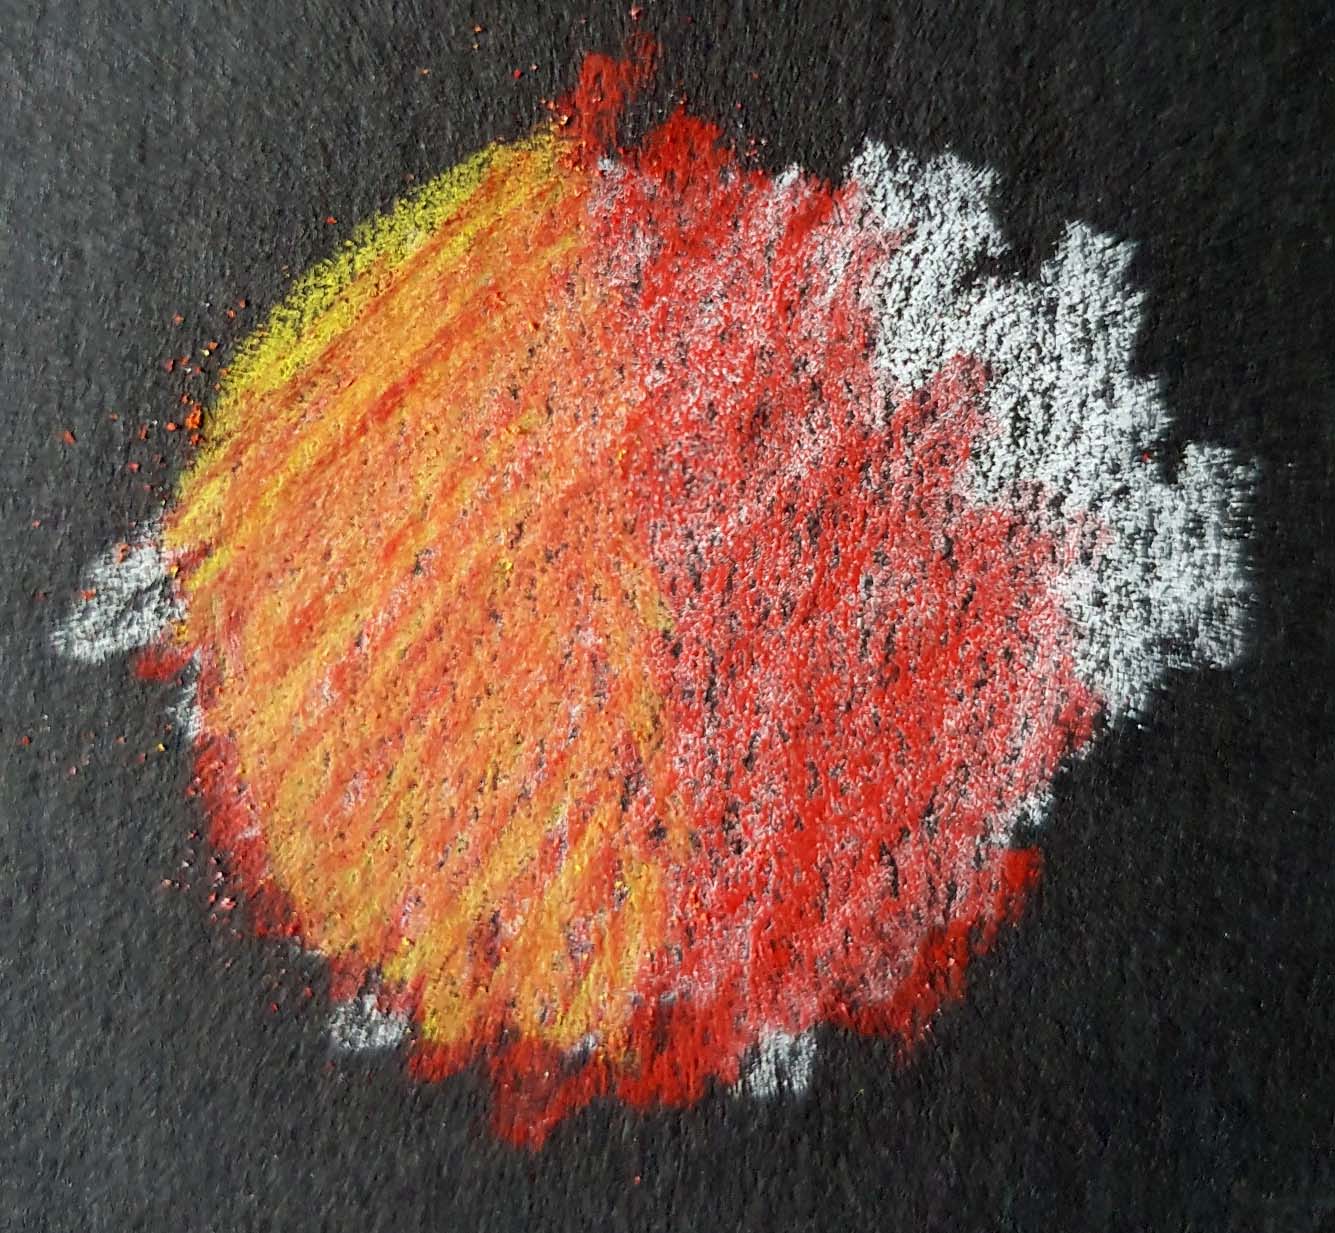
Here is an example of how I layered yellow on top of red, and then on top of white. The colors blend beautifully when you layer them. The combination of Derwent Inktense and Faber-Castell Goldfaber work well together.
It is important that you do some color experimentation before you begin. Sometimes the top color isn’t what you thought it would be, and it’s difficult to change the hue once you have several layers on top of one another.
[18 Texture Drawing Examples to Help You Get Inspired: How to Draw Texture]
Okay so once you have explored and experimented with layering your colored pencils you can begin.
Step 1 – Sketch your outline
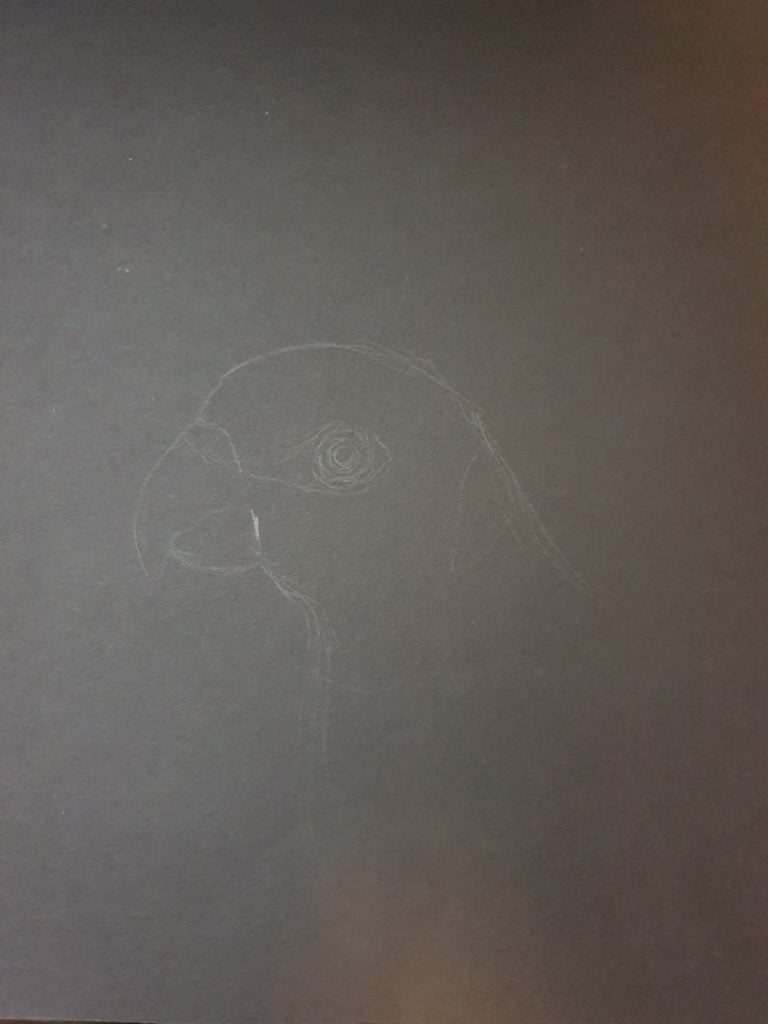
Before you start putting pencil to paper, carefully observe your chosen subject matter. You then can begin to draw the outline of the subject matter as well as identify the shapes of the highlights and shadow areas.
Here I started to lightly draw the outline of my parrot’s head in lead pencil. A bonus of working on black paper is that pencil marks aren’t easily seen, you can easily erase them and you can work over them with the color pencil.
Here I outlined the main shapes, shadows and highlights.
Step 2 – Fill in white areas
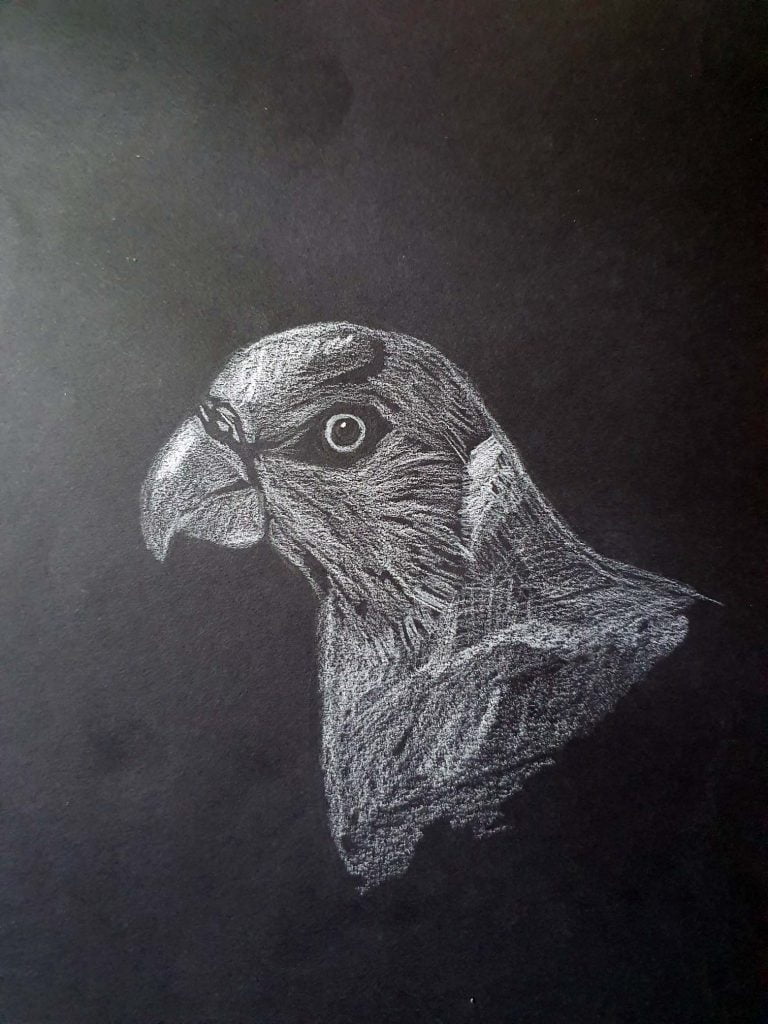
Use your white pencil to define your subject’s lighter and brighter areas. In the lightest areas of your subject matter, you can use several layers of white pencil to make it even more opaque. Leave your darkest areas black.
My parrot has a lot of bright color on her plumage. I used white to create a base on which to layer the bright colors. I worked in gentle strokes creating a large area of white.
I left the area around the eye black and added more white to the top of the head and the top of the beak as these are the lightest parts of the parrot.
[Related article: How to use graphite paper for drawing]
Step 3 – Start adding first colors

You can then start layering your next lightest color onto the white areas.
Here I layered yellow onto the beak and the chest. You can work in small circular motions for a smoother effect or use cross-hatching or hatching for a more textured appearance.
Step 4 – Build up colors.

Move on to your next color. Work on your drawing from the side opposite to your dominant hand. So, if you are right-handed, work from the top left-hand corner, and move down towards your right-hand side.
This is a handy tip because it prevents you from smudging over the already completed drawing. You can apply this tip to any form of drawing or painting!
In this image, I layered red and orange to the beak and kept the highlight white on top of the beak. I added a deep purple for the shadow on the underside bottom beak.
Step 5 – Further layering of color

Fill out your colored areas.
I layered a light blue on the white pencil of the head. I wanted to build up to the bright blue in the last image.
Step 6 – Add final details.
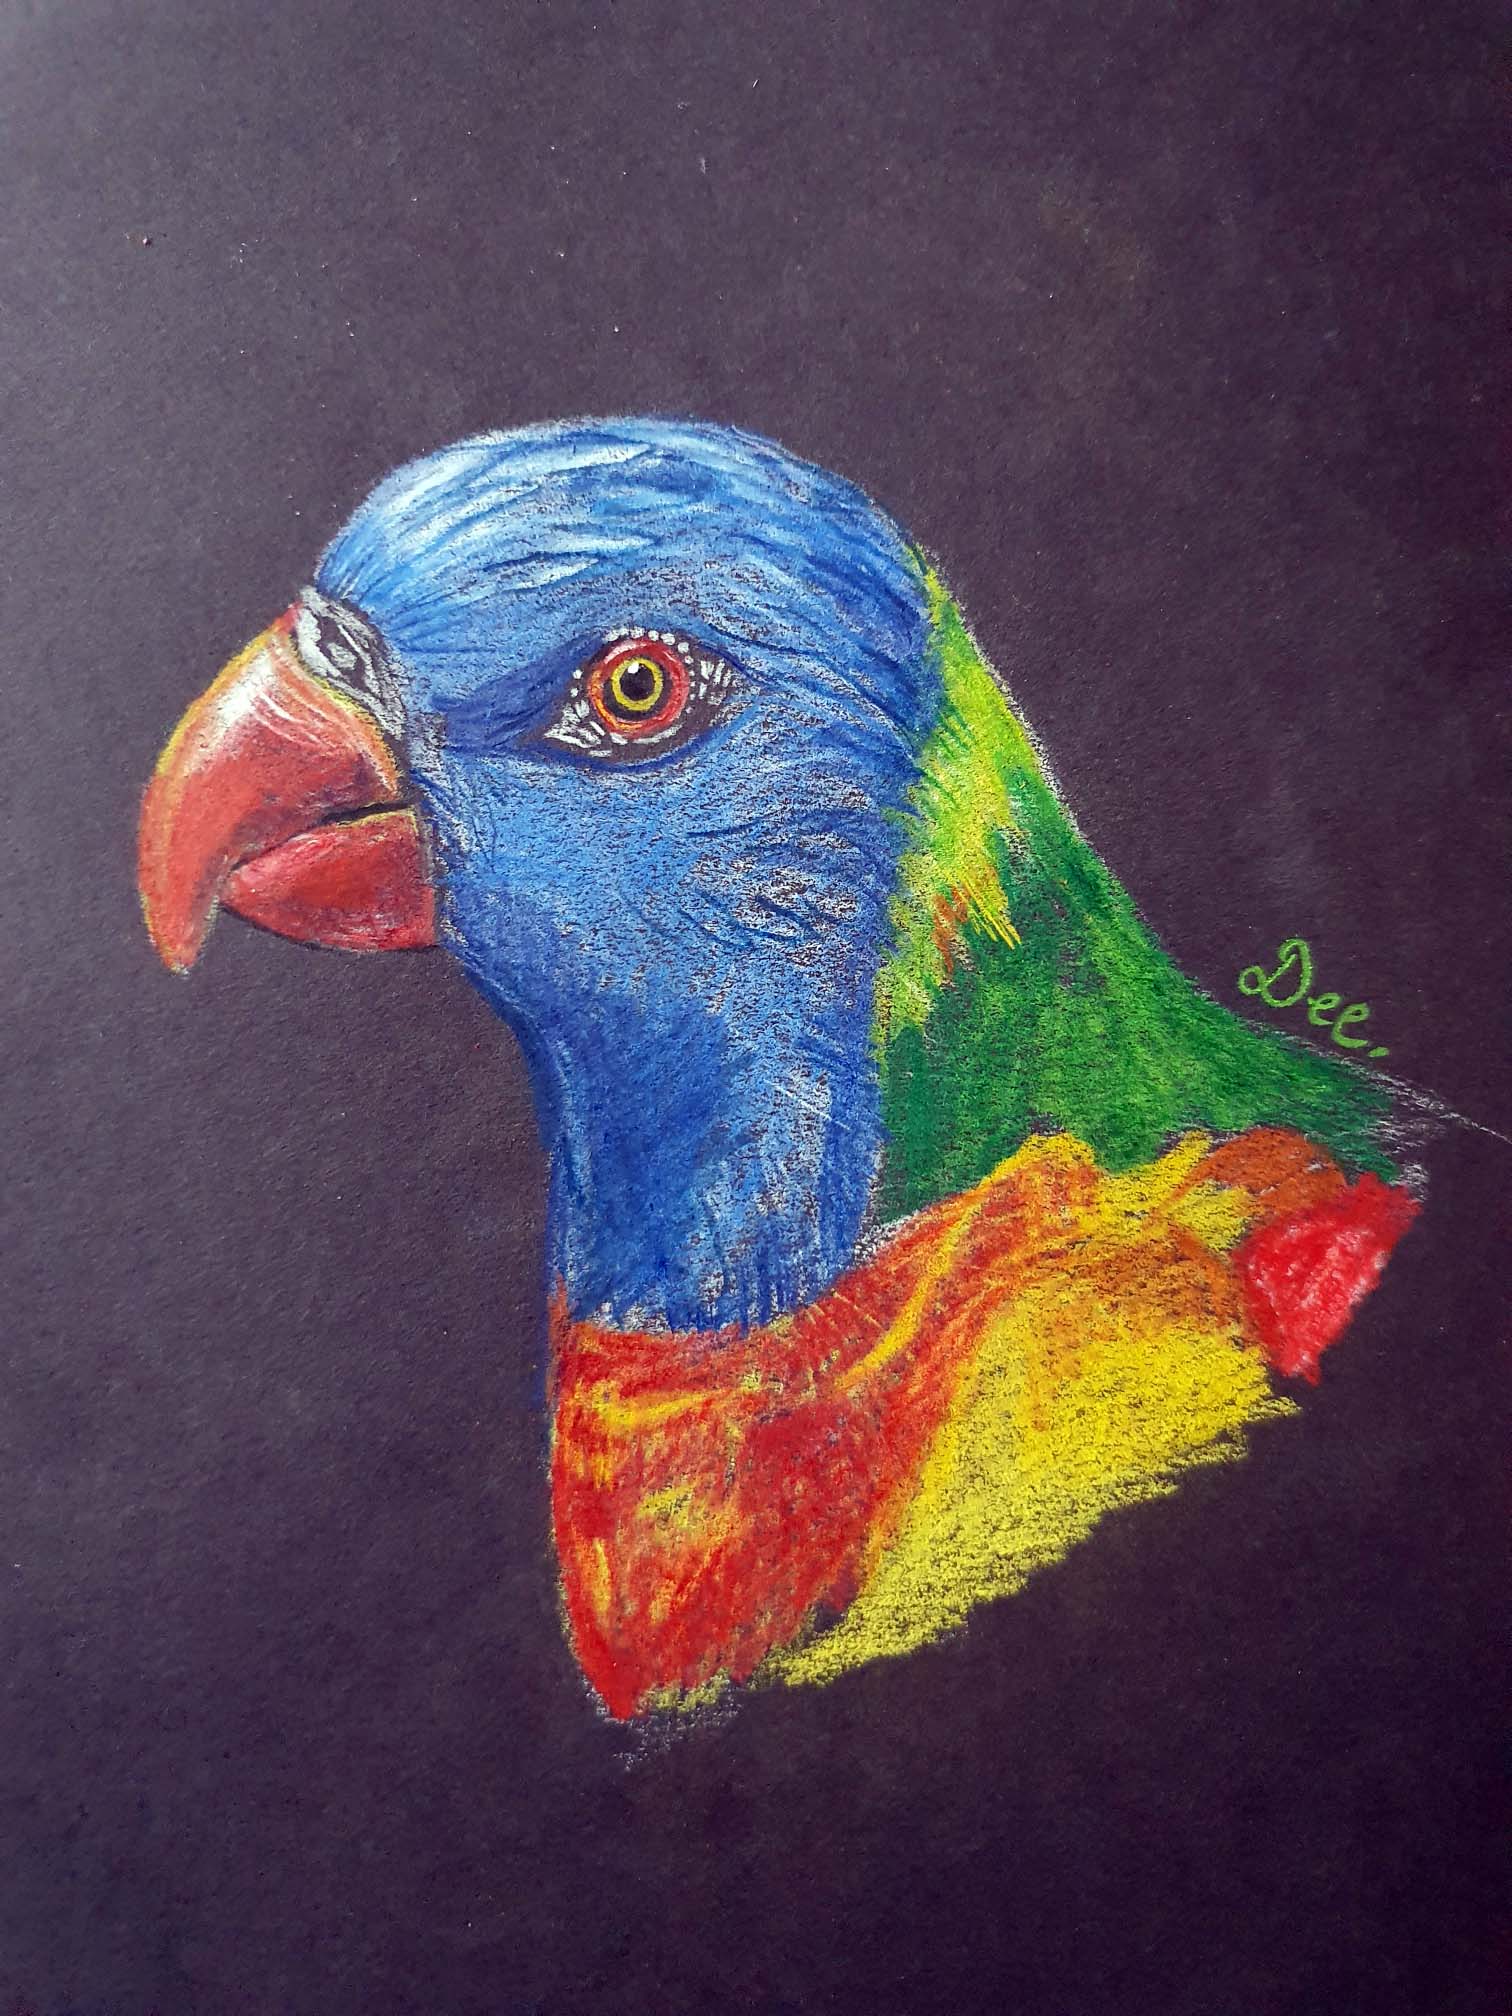
Color your final areas and add detail.
Lastly, I added the green pencil and also worked into the eye.
It is important to remember that you can use your black pencil on the black paper. Using your black pencil deepens the color of black paper and is good for defining outlines and erasing mistakes!
If you have colored an area incorrectly, you can go over it with the black pencil and remove the color.
Which black paper should you use?
**This page may contain affiliate links to products I have used or recommend. If you purchase something from this page, I may receive a small percentage of the sale at no extra cost to you.**
My Top 3 Black Paper Sketchbooks
- The Arteza black sketch pad with 30 sheets. This comes in A4 or A3 and has a lovely smooth quality.
- The Derwent black paper sketchbook. Good quality paper and a deep black color.
- Faber-Castell Mixed Media spiral-bound pad. This has a beautiful velvet texture and is easy to work on with colored pencils.
Best Colored Pencils for Drawing on Black Paper
Derwent Inktense Pencils are watercolor pencils known for their rich inky finish when wet. These versatile pencils can be used on various surfaces, including canvas, cloth, and paper. When dry, they become permanent, ensuring your artwork’s longevity.
Faber-Castell Goldfaber Pencils are wax-based colored pencils with a soft and smooth finish. They are designed specifically for use on paper, and their soft core allows for easy color transfer.
Prismacolor Premier Colored Pencils are wax-based colored pencils that deliver rich and vibrant colors. They are designed for use on paper, and their soft, thick core ensures a smooth application.
| Feature | Derwent Inktense Pencils | Faber-Castell Goldfaber Pencils | Prismacolor Premier Colored Pencils |
|---|---|---|---|
| Type | Watercolor pencils | Wax-based colored pencils | Wax-based colored pencils |
| Finish | Rich inky finish when wet | Soft and smooth color | Rich and vibrant color |
| Usable Surfaces | Canvas, cloth, paper | Paper | Paper |
| Permanence | Permanent when dry | N/A | N/A |
| Core | N/A | Soft core | Soft, thick core |
| Performance on Black Paper | Excellent with opaque colors | Good with light colors | Exceptional with light & pastel shades |
I chose to work with Derwent Inktense pencils as I have really enjoyed using them in the past. They are used mostly as watercolor pencils, and are called Inktense because of the rich inky finish they leave on the page once brushed with water.
They can also be used on various surfaces, from canvas to cloth to paper and become permanent once left to dry.
However, I must mention that I LOVE my Prismacolor Pencils best!
There’s a certain magic in using my Prismacolor Premier colored pencils that amazes me. I remember the first time I tried them on black paper; it felt like I had unlocked a hidden world of artistic possibilities.
The way the light and pastel shades effortlessly glide onto the dark surface create a captivating contrast. I find the richness and vibrancy of the colors seemed to come alive on the page, transforming my artwork into a visual symphony of hues.
What I love most about my Prismacolor pencils is their buttery softness and unparalleled pigmentation, which allow me to create stunning effects on black paper that I couldn’t achieve with other brands.
Frequently Asked Questions About Drawing with Colored Pencil on Black Paper
Q: Do colored pencils work on black paper?
A: Yes, colored pencils can work on black paper. However, the results will vary depending on the type of colored pencil, the pigment’s opacity, and the pencil’s color. Lighter and more opaque colors will generally show up better on black paper.
Q: What color pencils show up on black paper?
A: Lighter and more opaque colors, such as white, light yellow, light blue, and pastel shades, tend to show up better on black paper. Metallic colors like gold, silver, and bronze also work well. Darker or less opaque colors may not be as visible, but they can create interesting subtle effects.
Q: How do you use colored pencils on black paper?
A: To use colored pencils on black paper, follow these steps:
- Choose the right colored pencils: Opt for pencils with light, opaque colors or metallic shades.
- Apply pressure: Press firmly to deposit more pigment onto the paper, making the colors more visible.
- Layer colors: Layering lighter colors can help build up the desired intensity and vibrancy.
- Experiment with blending: Try blending colors to create new shades or smooth transitions between hues.
- Use a white or light-colored pencil for highlights: Adding highlights can help create depth and make your artwork pop.
Q: What colors work best on black paper?
A: Light and opaque colors, as well as metallic shades, work best on black paper. Examples include white, light yellow, light blue, pastel shades, gold, silver, and bronze. These colors will stand out and create a strong contrast against the dark background.
Q: What art supplies work on black paper?
A: In addition to colored pencils, there are several other art supplies that work well on black paper, including:
- Gel pens: Metallic, glitter, and neon gel pens can create bold and vibrant lines on black paper.
- Acrylic paint: Opaque and metallic acrylic paints will show up well on dark backgrounds.
- Gouache: This opaque watercolor medium can create a beautiful matte finish on black paper.
- Oil pastels: Light and bright oil pastels can create bold, vibrant artwork on black paper.
- Chalk and chalk markers: Both traditional chalk and chalk markers can be used for temporary or permanent designs on black paper.
- White charcoal and white graphite: These materials can be used for sketching and adding highlights on black paper.
Grab the Free Printable Color Theory Worksheet HERE (below)!
To access the free in-post printables for this post, you’ll just need to create a free account or login with the Grow.me tool. Then, confirm by email and refresh the page and ALL my free printables will automatically unlock in every post!
And there you have it, folks! We’ve reached the end of our super fun adventure through “The Beginner’s Guide to Drawing on Black Paper with Colored Pencil.” I really hope you’ve picked up some cool tips and tricks along the way and you’re excited to give it a try yourself. Trust me; it’s a game-changer! But hey, don’t stop there – if you’re hungry for more excellent info on colored pencils, check out my article, “The Best Colored Pencils for Artists.” It’s got all the juicy details you need to level up your colored pencil game.
So, what are you waiting for? Get drawing, and unleash your inner artist!
27 Awesome Gifts for Artists Who Draw
[18 Texture Drawing Examples to Help You Get Inspired: How to Draw Texture]
Looking For a Mixed Media Sketchbook? 16 Best Mixed Media Sketchbooks for Wet & Dry Media
Looking for things to draw on your hand?


