Last Updated on January 26, 2023 by Dee
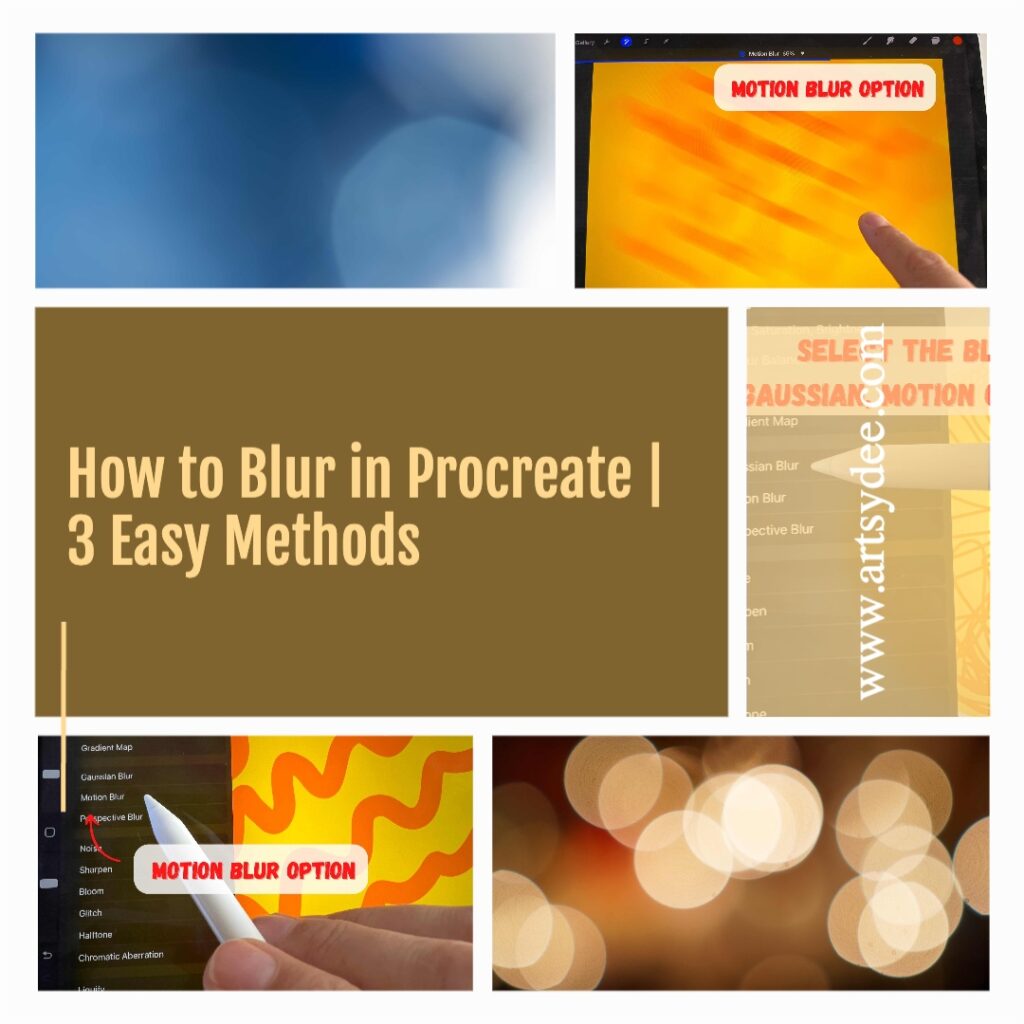
Wondering how to blur in Procreate? If so, you’ve come to the right place! In this blog post, we will walk you through three easy ways to create a blur effect in Procreate.
Blurring can be a great way to soften harsh lines or create a more natural look in your illustrations.
In Procreate, there are several ways to blur your digital artwork. We will discuss each of them in detail below.
Watch this video for a visual tutorial on how to blur using Procreate’s Gaussian blur.
Quick Guide for How to Blur on Procreate:
To create a blur effect in Procreate, follow these quick steps…
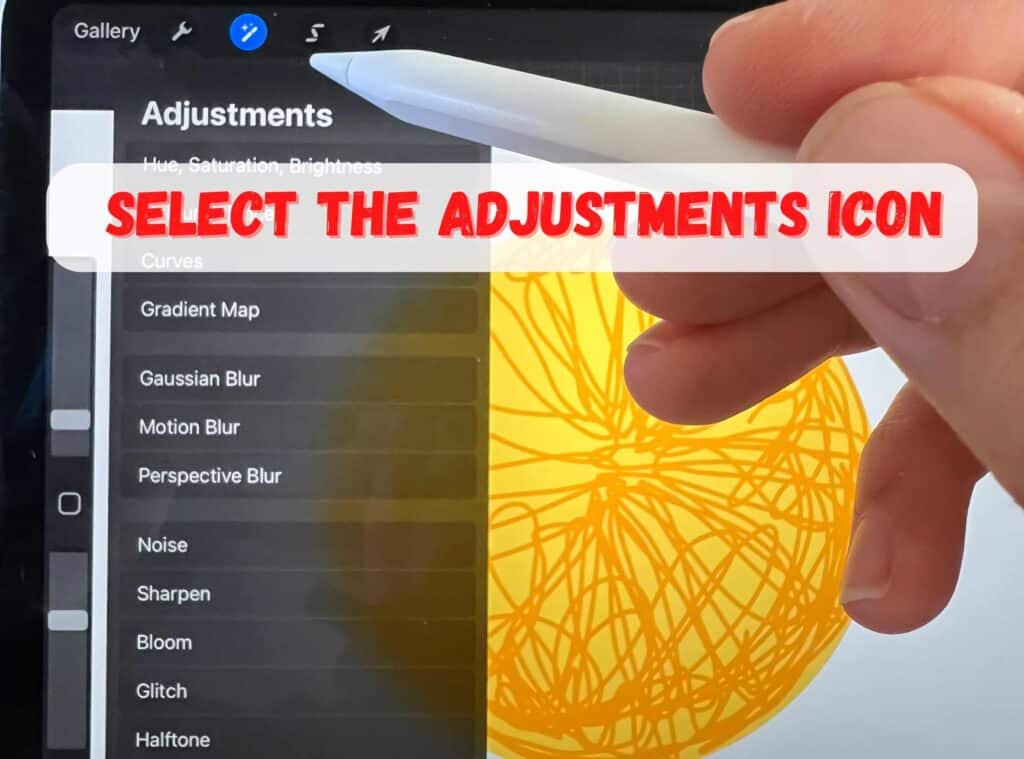
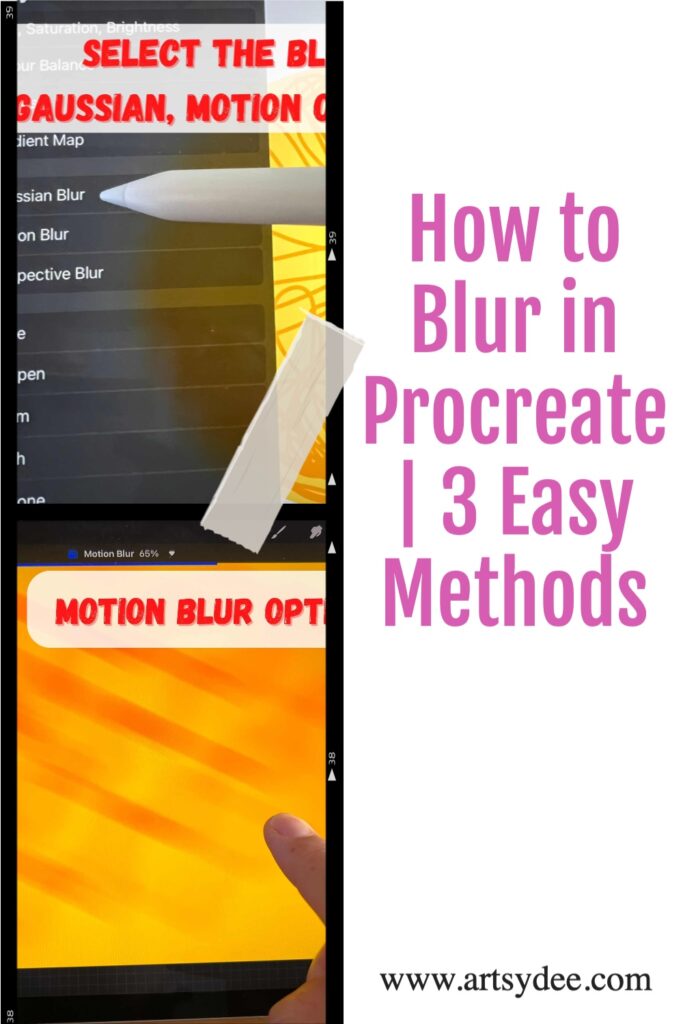
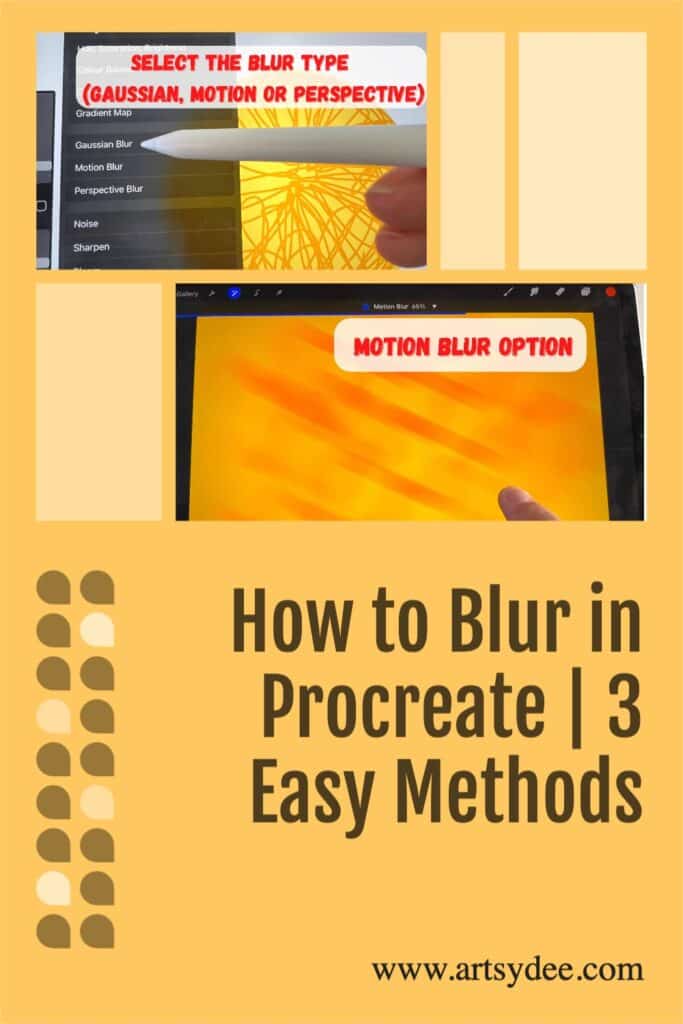
- To blur on Procreate, click the Adjustments tab.
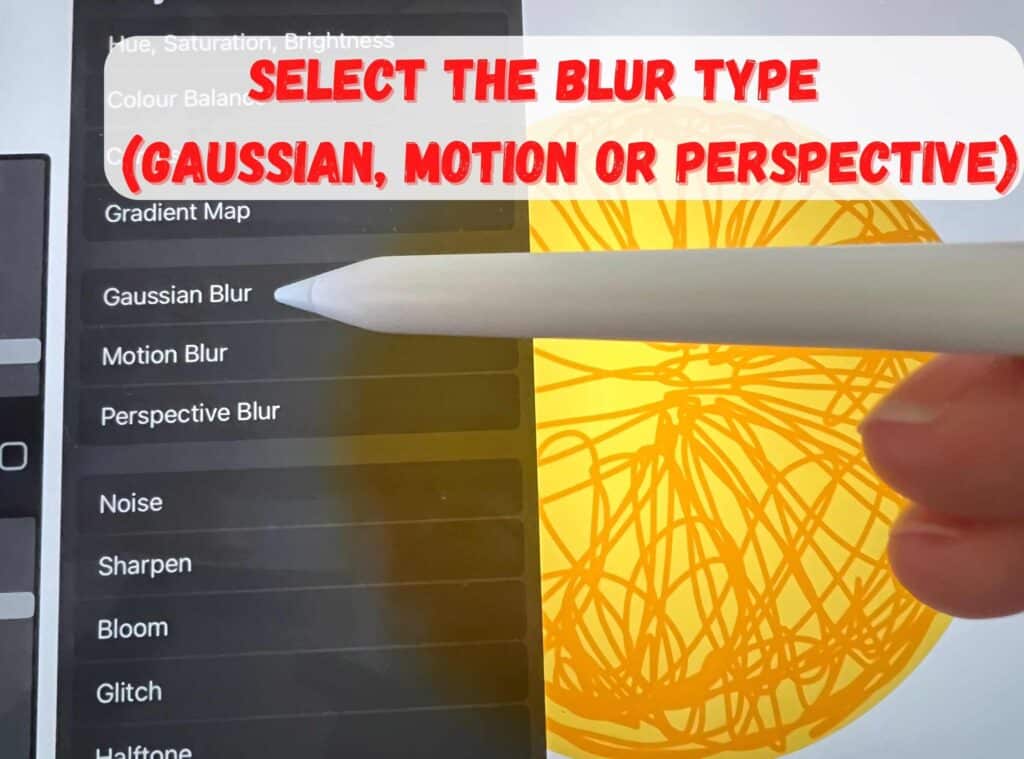
- Choose Gaussian Blur, Motion Blur, or Perspective Blur.
- Choose the Layer option to apply your blur to the whole layer.
- Choose the Pencil option to only apply your blur to smaller sections of your Procreate canvas (do this by drawing over what you would like to blur.)
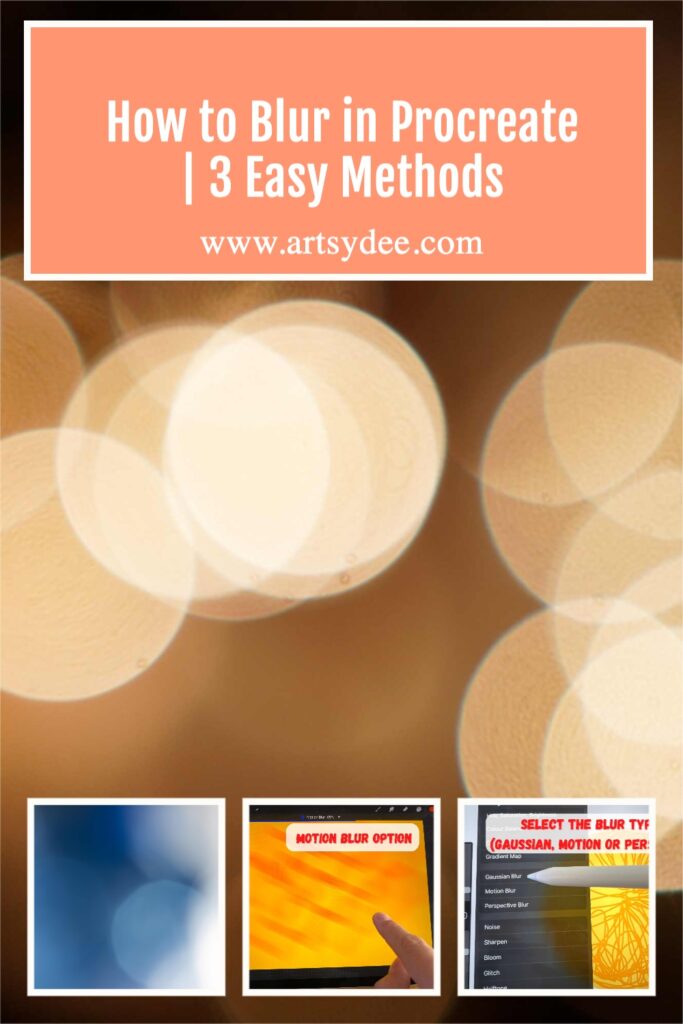
There are three types of blur effects you can use in your artwork; each with its own purpose:
The Gaussian Blur is the simplest of the three and is best used for softening edges or overall blurring your work.
Motion Blur is perfect for giving your artwork a sense of movement.
This can be done by blurring along a path you’ve drawn or by randomly moving your iPad around while the Motion Blur tool is selected.
Perspective Blur is best used for giving your artwork depth and can be adjusted to how strong you want the effect by using the slider in the Adjustments tab.
Knowing what each blurring option does is beneficial when it comes to adding the final touches to your artwork.
They are also super helpful when it comes to creating three-dimensional lettering!
How to Use the Procreate Gaussian Blur
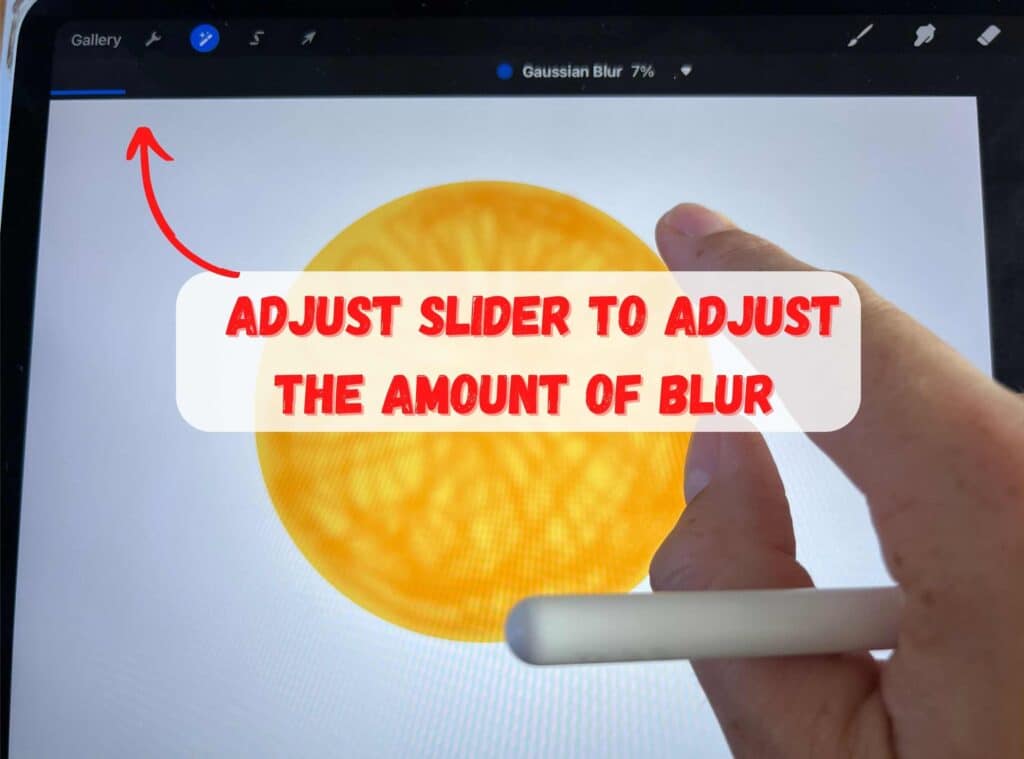
Gaussian blur is a type of blur that is commonly used in image editing and graphic design.
This is because it creates a soft, uniform blur that can be applied to an entire image or layer.
This makes it ideal for creating the look of an out-of-focus scene or subject.
Additionally, gaussian blur is non-destructive, meaning that you can always go back and adjust the intensity of the blur or remove it entirely without damaging your original image.
In Procreate, you can use the gaussian blur setting by tapping on the Adjustments icon and selecting Gaussian Blur from the menu.
From there, you can press and drag left or right on the screen to set the desired blur intensity.
Once you are satisfied with the amount of blur, tap on the Actions icon again to apply the effect. And that’s all there is to it!
Following these simple steps, you can quickly add a gaussian blur to your artwork in Procreate.
How to Use Procreate Motion Blur
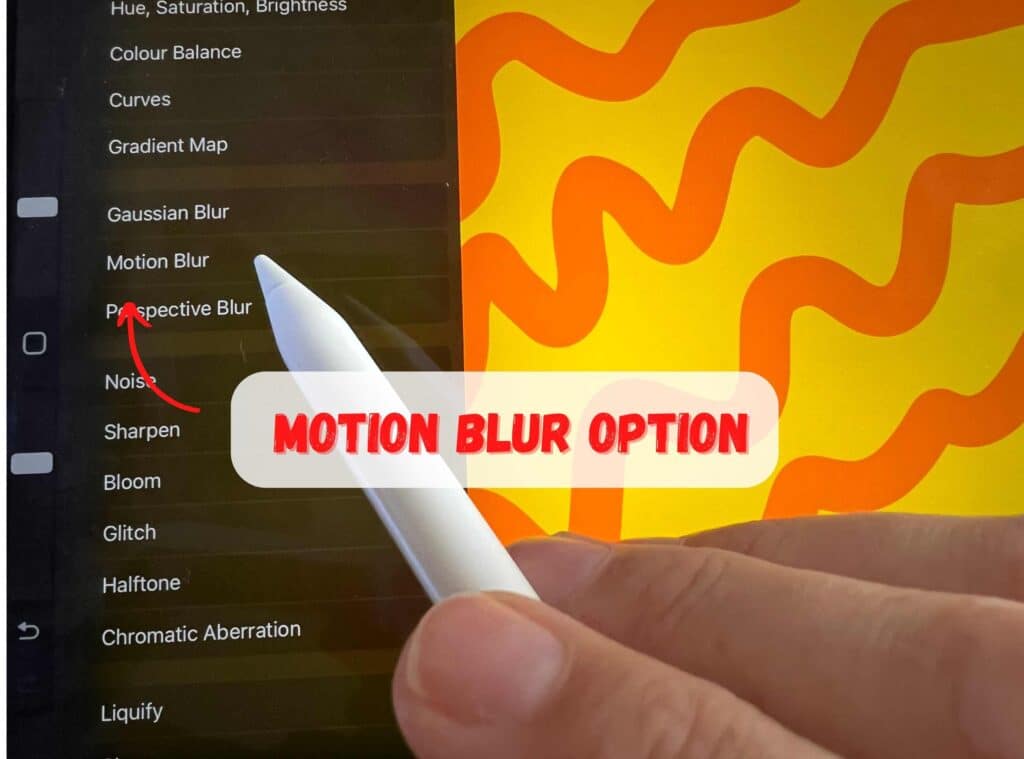

Procreate’s motion blur setting is a great way to add the illusion of speed or movement to your artwork.
By simply selecting the motion blur setting under the adjustments icon and then dragging your finger in the direction you want the blur to go, you can create a streaked effect that looks like your subject is in motion.
This is especially effective for adding a sense of movement to cars, birds, superheroes, or any other characters that might be running or riding bikes, as it effectively conveys the illusion of speed.
In just a few seconds, you can add a dynamic element to your artwork that would otherwise take quite some time to achieve.
So if you’re looking for an easy way to add some movement to your art, Procreate’s motion blur setting is definitely worth trying out.
How to Use the Procreate Perspective Blur
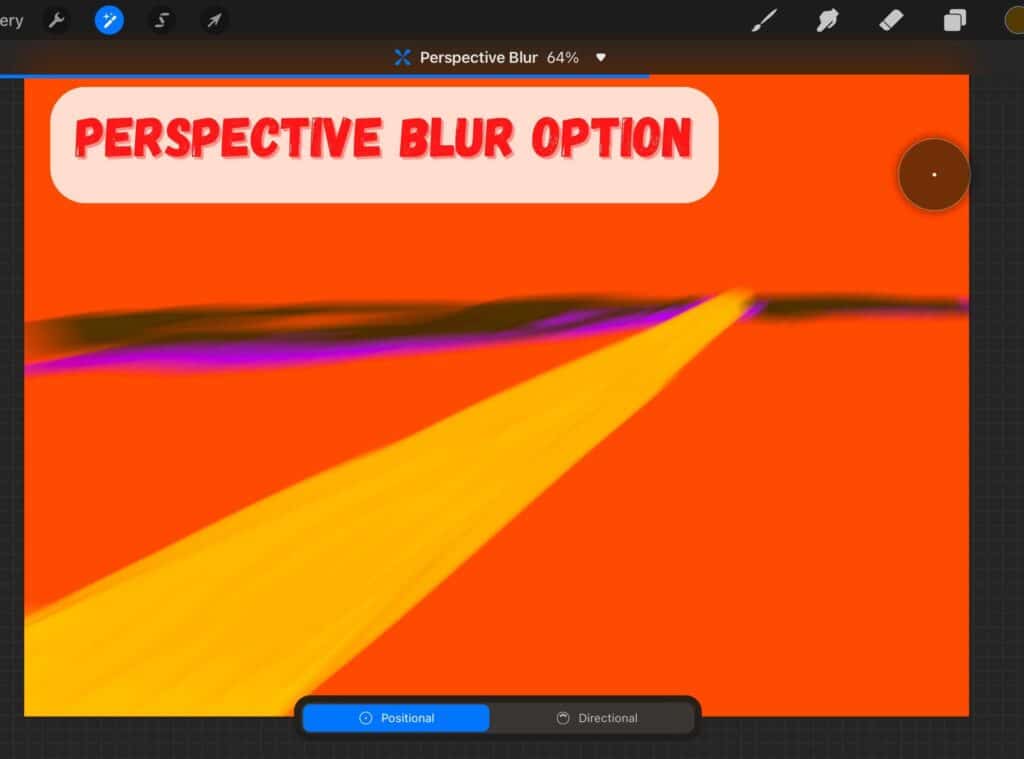
Using the Procreate perspective blur option is a great way to make your art more realistic and to create the illusion of depth.
By changing where the blur originates, you can create different effects and make your art more dynamic.
Perspective blurs are especially useful for highlighting a particular object or area in your artwork.
Keep in mind that perspective blurs tend to force viewers to focus where the radial blur begins, so be sure to place it strategically.
With a little practice, you’ll be able to create stunning art with beautiful depth and dimension.
[Check out my Procreate Color Palettes]
How to Blur Your Entire Layer with Procreate?
If you want to blur your entire layer with Procreate, simply go to the Adjustments tab and select Gaussian Blur.
From there, you can press and drag left or right on the screen to set the desired blur intensity.
Once you are satisfied with the amount of blur, tap on the Adjustments icon again to apply the effect.
And that’s all there is to it!
You can quickly and easily blur your entire layer in Procreate with just a few simple steps.
Pro Tip: You CAN’T apply a blur to more than one layer at a time! Make sure to blur each layer at a time if you want to blur multiple layers.
How to Blur Specific Areas in Procreate?
If you want to blur a specific selected area on your Procreate artwork, select the Pencil setting in your blur options.
This will cause any area you draw over with your pencil to become blurred.
With the selection tool, you can blur any picture area by first outlining it and then using the Layer option.
How to Blur Specific Areas with your Apple Pencil.
Select your preferred blur from the Adjustments tab.
Rather than selecting the Layer setting, select the Pencil option.
This will turn your pencil into a blurring tool.
Use your stylus or apple pencil to draw over what you want to blur.
You can use your finger to adjust the slider (to the left or right) at the screen’s top while drawing.
The amount of blur you’ve applied will increase or decrease on the area you are working on.
How to Blur Using Selections.
Outline the area that you want to blur using the selection tool.
Open the Adjustments panel and pick the blur style you want.
Instead of the pencil option, this time, choose the layer option.
Adjust the level of the blur using the slider as you did previously.
This is a great way to blur specific areas of your artwork because there are a variety of settings and helpful elements to choose from.
This makes the blurring process much easier!
You can make your selection using the freehand option for organic areas, or you can use a geometric shape like a rectangle or an ellipse.
There is also the option for automatic selection – this is a great way to instantly select an area without having to carefully outline an object!
How to Use Blurring in Procreate for Shading
Blurring can also be used to create soft shading effects in your artwork.
To do this, begin by creating a new layer and setting the blend mode to Multiply.
Next, use a black brush to paint over the area you want to shade.
Then, go to the Adjustments tab and select Gaussian Blur.
Apply the blur by dragging your finger left or right on the screen.
The amount of blur you use will determine how soft or harsh the shading effect is.
If you want a more subtle effect, use a lower setting.
For a more dramatic effect, use a higher setting.
Once you are happy with the amount of blur, tap on the Adjustments icon again to apply the effect.
And that’s all there is to it!
You can create beautiful shading effects in your artwork with just a few simple steps.
Frequently Asked Questions about Blurring in Procreate
Is there a blur brush in Procreate?
Procreate does not have a specific blur brush.
However, you can create a custom brush by going to the Brushes tab, tapping on the plus sign, and selecting “Create New Brush.”
You can select various settings from there to determine how your brush behaves.
What is the blur tool in Procreate?
The blur tool is found in the Adjustments tab. You can use it to apply a blur effect to your entire layer or specific areas of your artwork.
How do you make a smudge brush in Procreate?
Select the smudge tool in Procreate. Once you have tapped the icon, you will then be able to select the brush so that the smudge tool behaves in the same way.
How do you blur Lineart in Procreate?
To blur Lineart in Procreate, go to the Adjustments tab and select the Gaussian Blur option.
Then, use your finger to drag the slider left or right to determine how much blur you want to apply.
Finally, tap on the Adjustments icon again to apply the effect.
What is the best brush for outlining in Procreate?
I use the Technical Pen inking brush. However, there is no one specific brush that is best for outlining.
It depends on the style of your artwork and how you want your lines to look. You can experiment with different sketching brushes to find the one that works best for you.
Is there a blending brush in Procreate?
You can use the smudge tool to create a smooth blend in Procreate.
Conclusion
There you have it – a complete guide to how to blur in Procreate!
I hope this has been helpful and that you now feel confident applying this effect to your artwork.
Other articles you might enjoy…
How to Erase on Procreate: A Comprehensive Guide
How to Undo on Procreate: Easy Tips to Redo & Undo
How to Shade in Procreate | 10 Top Tips
Flower Brush Procreate: 33 Free Hand-Drawn Flowers
Best iPad for Procreate 2022 (July)
21 Procreate Coloring Pages to Help You De-stress and Relax
How to Color in Procreate: The Ultimate Guide (2022)
Procreate Palm Support | The Ultimate Guide for Digital Art (2022)
How To Trace On Procreate in 11 Easy Steps (2022)
Procreate vs Illustrator – What’s the best app to use? (2022)
