
Last Updated on September 22, 2023 by Dee
Ever found yourself swiping away on Procreate, only to realize your digital canvas looks more like a toddler’s coloring book with colors splashed outside the lines? Yikes!
We’ve all been there, trust me. You’re crafting what you thought was a digital masterpiece, and then—BAM!—your sunset sky starts bleeding into your serene ocean. Not cool.
But here’s the good news: coloring inside the lines on Procreate doesn’t have to be as mythical as unicorns 🦄.
In this blog post, we’ll unravel the secrets to precise coloring, guiding you step-by-step on how to color in the lines on Procreate so your art remains impeccable. Get ready to wave goodbye to those out-of-bounds colors and say hello to crisp, clean artworks! 🎨👌
Let’s dive in, shall we?
Quick Guide: How to Color in the Lines on Procreate
Here are three easy ways to color inside the lines in Procreate:
- Use the Automatic Selection tool to select the area you want to color, then fill it with color using the ColorDrop tool.
- Create a new layer underneath your line art layer and color underneath the lines using the Brush tool.
- Use the Alpha Lock or Clipping Mask feature to color within the lines on the same layer as your line art.
Read on for more in-depth instructions on how to color in the lines on Procreate…
Setting Up Your Canvas
When starting a new project in Procreate, it’s essential to set up your canvas correctly to ensure that you have the right dimensions and settings for your artwork.
Here are some tips to help you get started:
Choosing Canvas Size
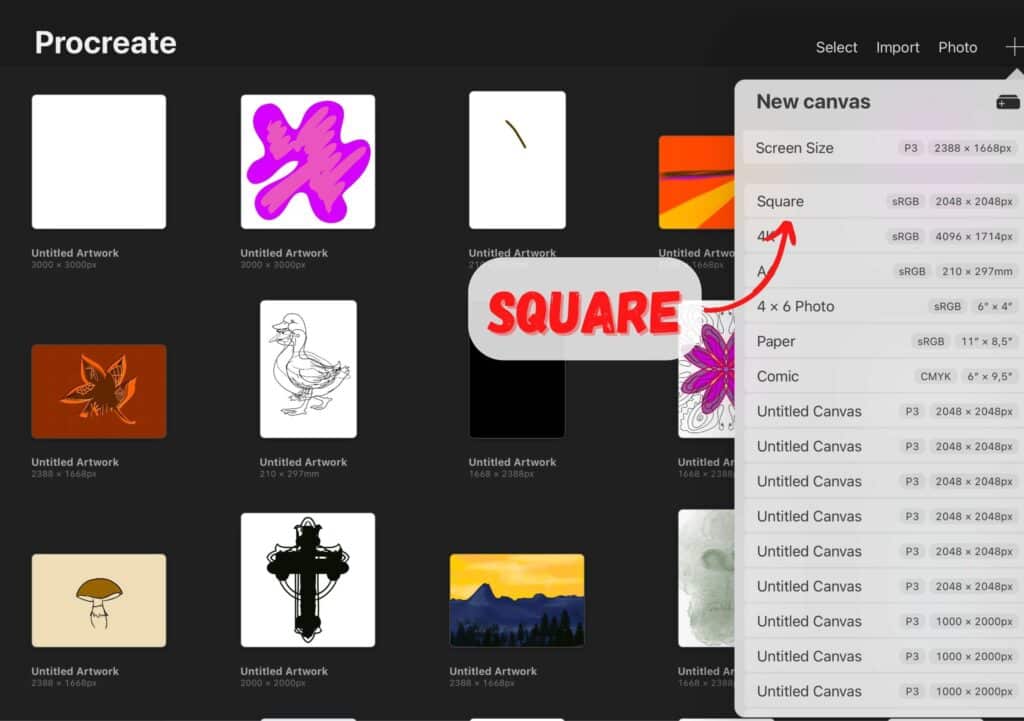
Choosing the right canvas size is crucial when starting a new project in Procreate. You can select from a variety of preset sizes or create a custom canvas size that suits your needs.
To choose a canvas size, tap on the plus icon on the top left corner of the screen, and select “Create Custom Size.” From here, you can set your desired width, height, and resolution.
Understanding Layers Panel
The Layers panel is where you can organize and manage your artwork. It’s essential to understand how the Layers panel works to make sure you’re using it effectively.
In the Layers panel, you can create new layers, duplicate layers, merge layers, and more. You can also adjust the opacity and blending modes of each layer to achieve the desired effect.
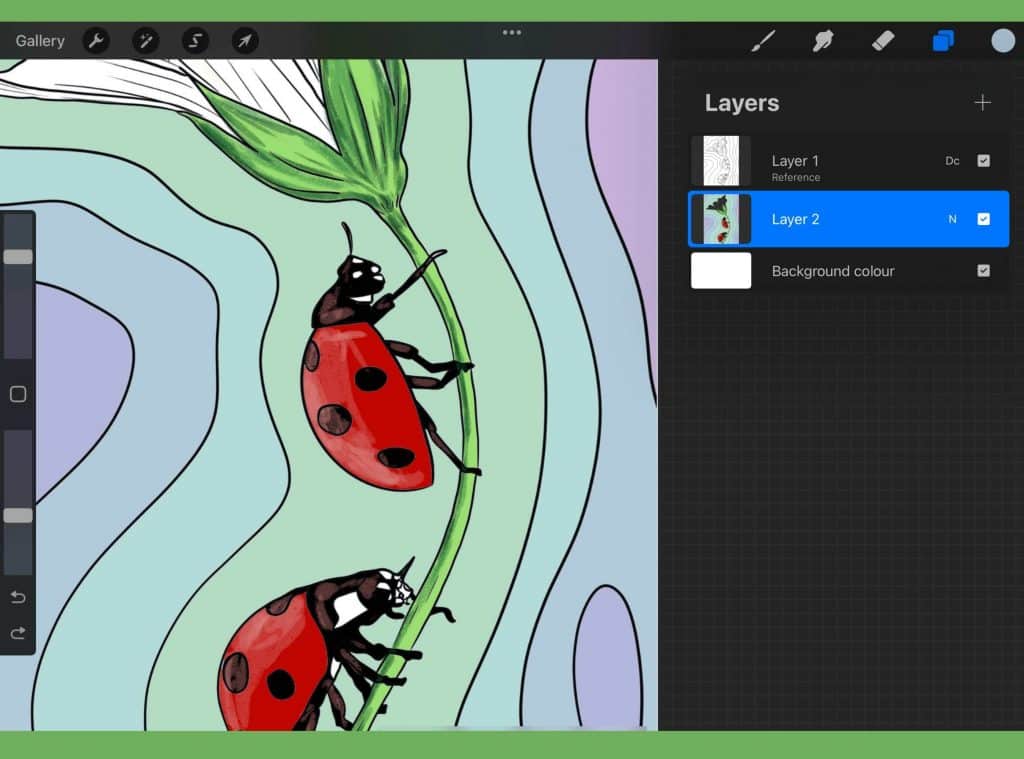
Using Reference Layer
A reference layer is a helpful tool that allows you to import an image or photo into your artwork to use as a reference. This is particularly useful when you’re trying to recreate a specific image or when you need to match colors.
To use a reference layer, create a new layer and select “Insert a Photo.” From here, you can choose the image you want to use as a reference. You can adjust the opacity of the reference layer to make it easier to see your artwork on top of it.
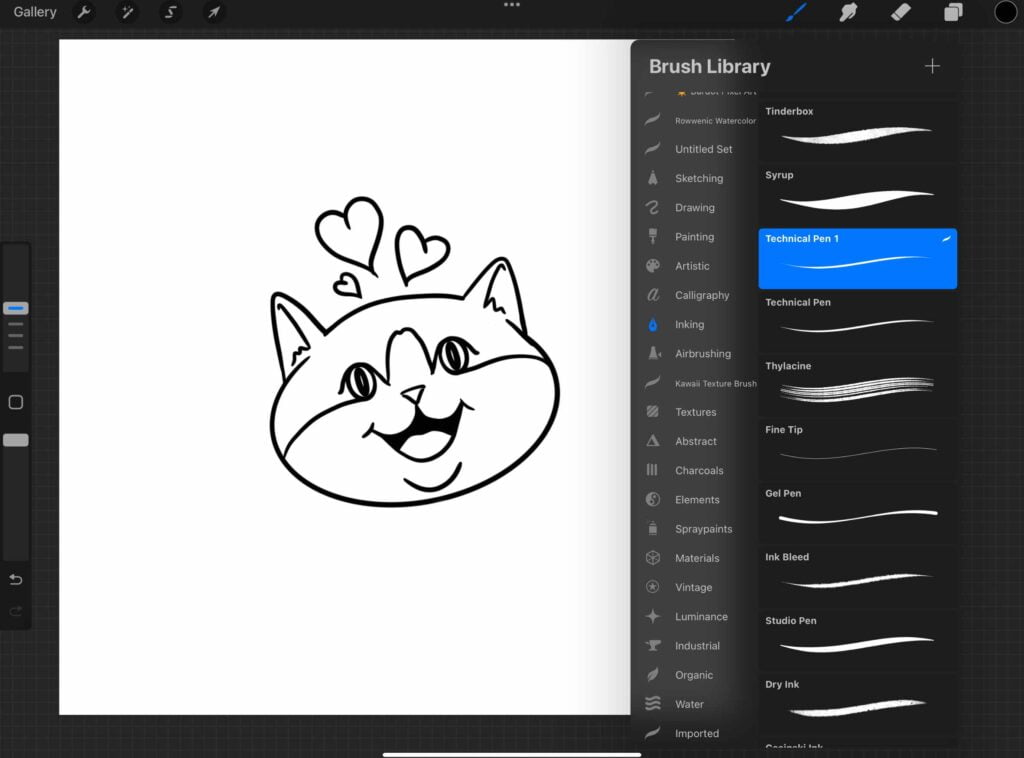
Creating Outlines
Creating outlines is an essential skill for coloring in Procreate. In this section, we’ll cover three techniques for creating outlines: drawing shapes, tracing, and using the selection tool.
Drawing Shapes
Drawing shapes is a simple way to create outlines. Start by selecting a brush and drawing the shape you want to outline.
Then, create a new layer and trace the shape with a different color. You can adjust the size and opacity of the brush to get the desired effect.
Tracing Techniques
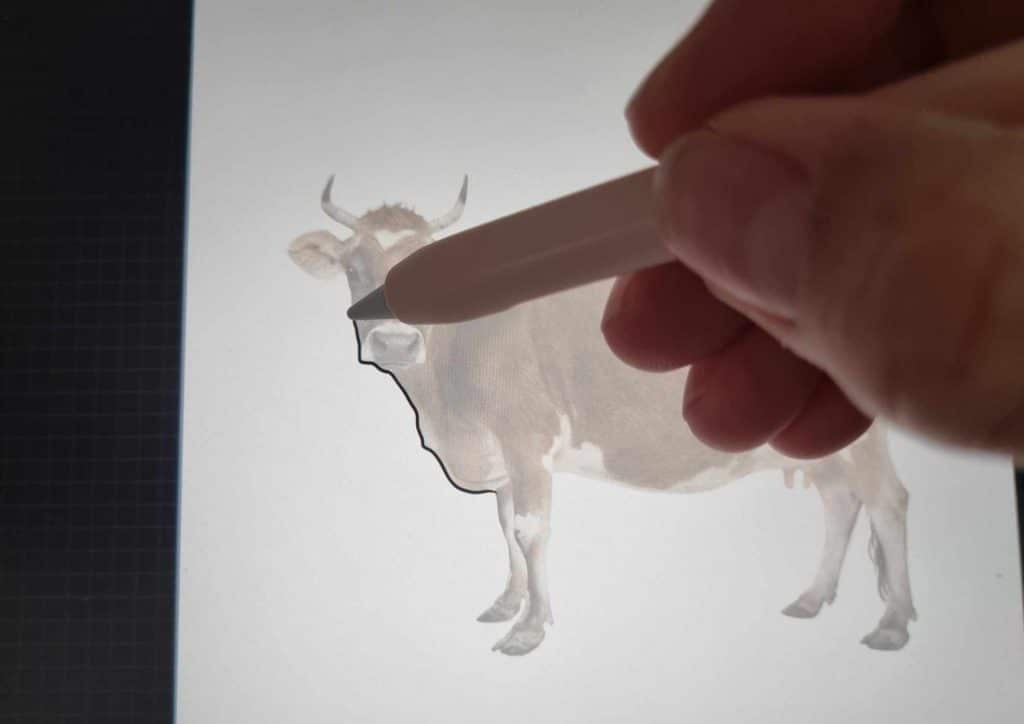
Tracing is another way to create outlines. To trace in Procreate, import an image into a new canvas and create a new separate layer.
Then, use a brush tool to trace the outline of the image. You can adjust the size and opacity of the brush to get the desired effect.
This technique is great for creating detailed outlines.
Using the Selection Tool
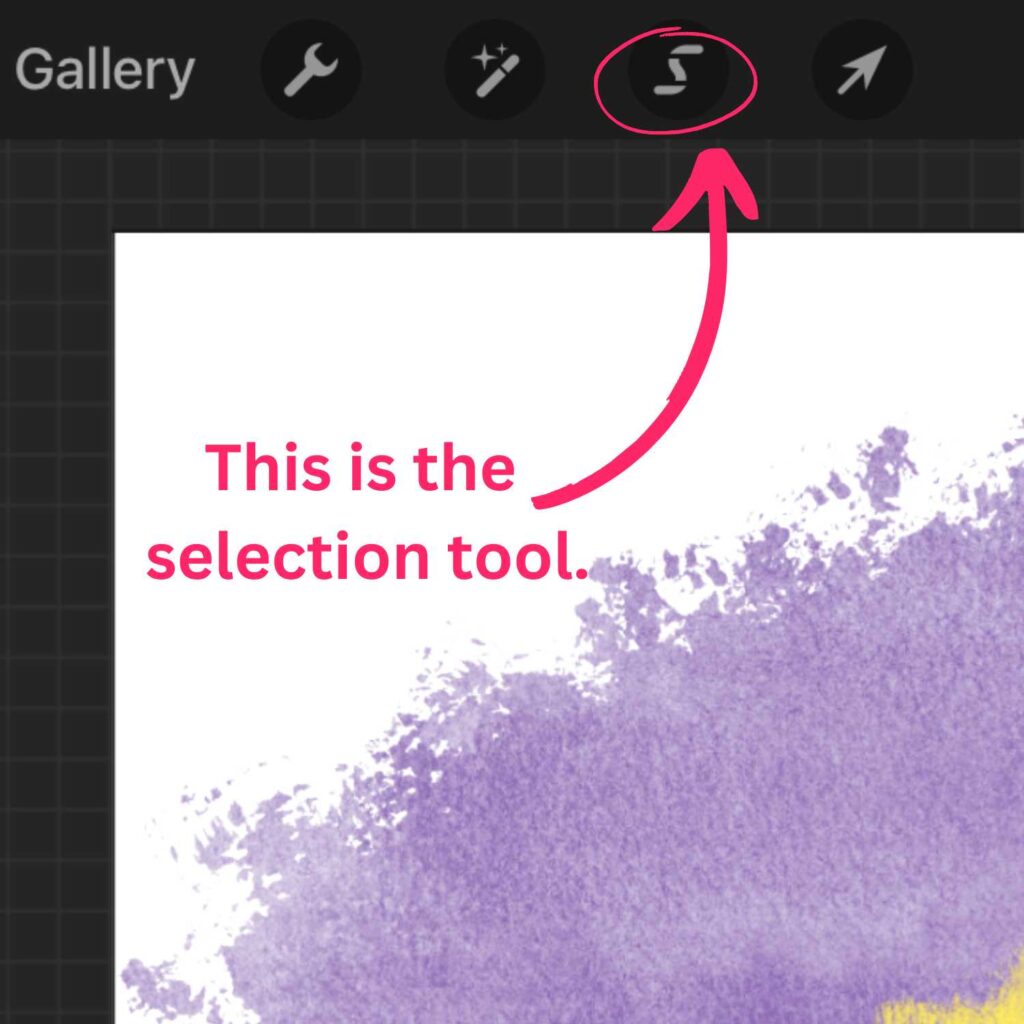
The selection tool is a powerful tool for creating outlines. To use the selection tool, draw a shape and then tap the automatic selection tool.
This will select the entire shape. Then, create a new layer and fill the selection with a different color. You can adjust the size and opacity of the brush to get the desired effect.
Coloring Techniques
When it comes to coloring in Procreate, there are a variety of techniques you can use to achieve your desired effect.
Grab my free Procreate Coloring Pages!
Here are a few of the most popular techniques:
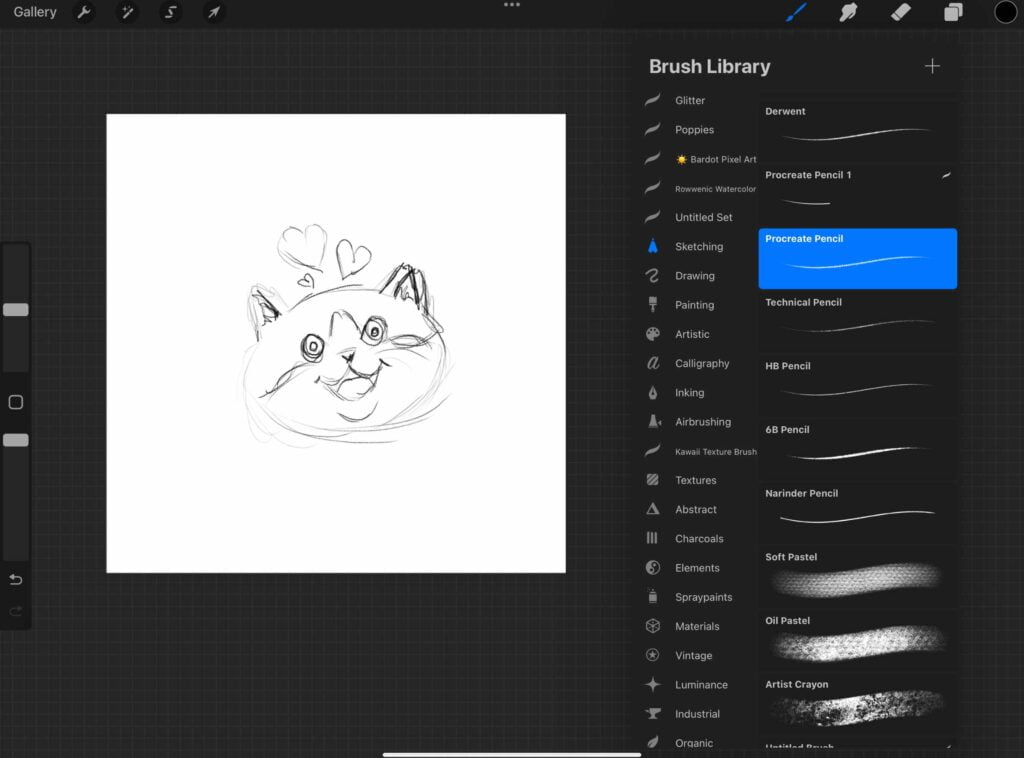
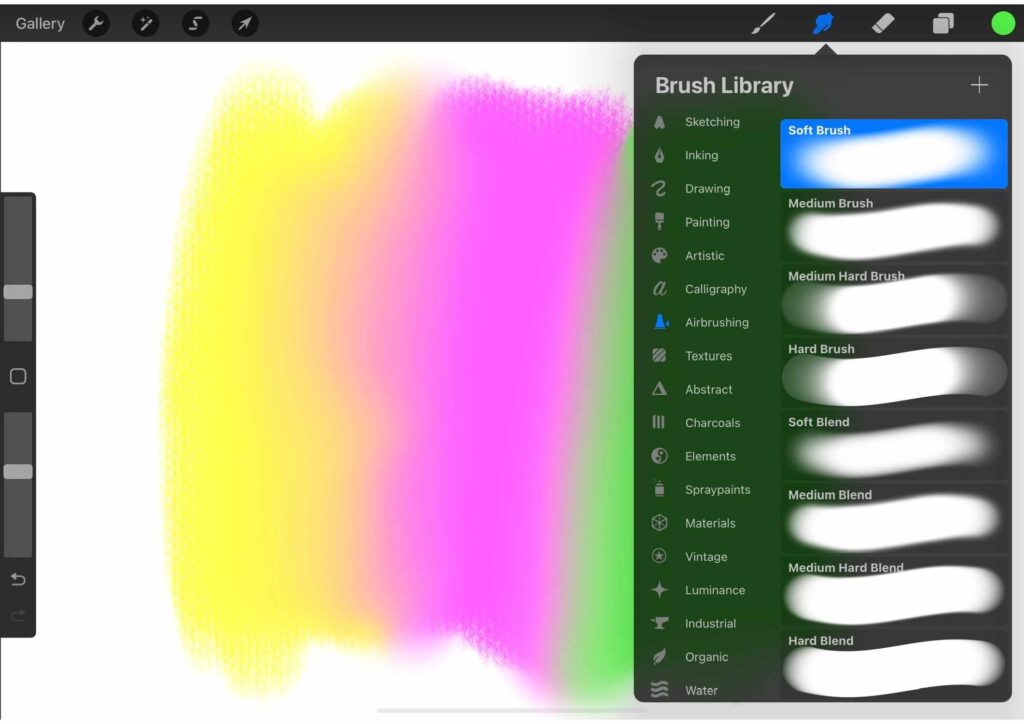
Using Brushes
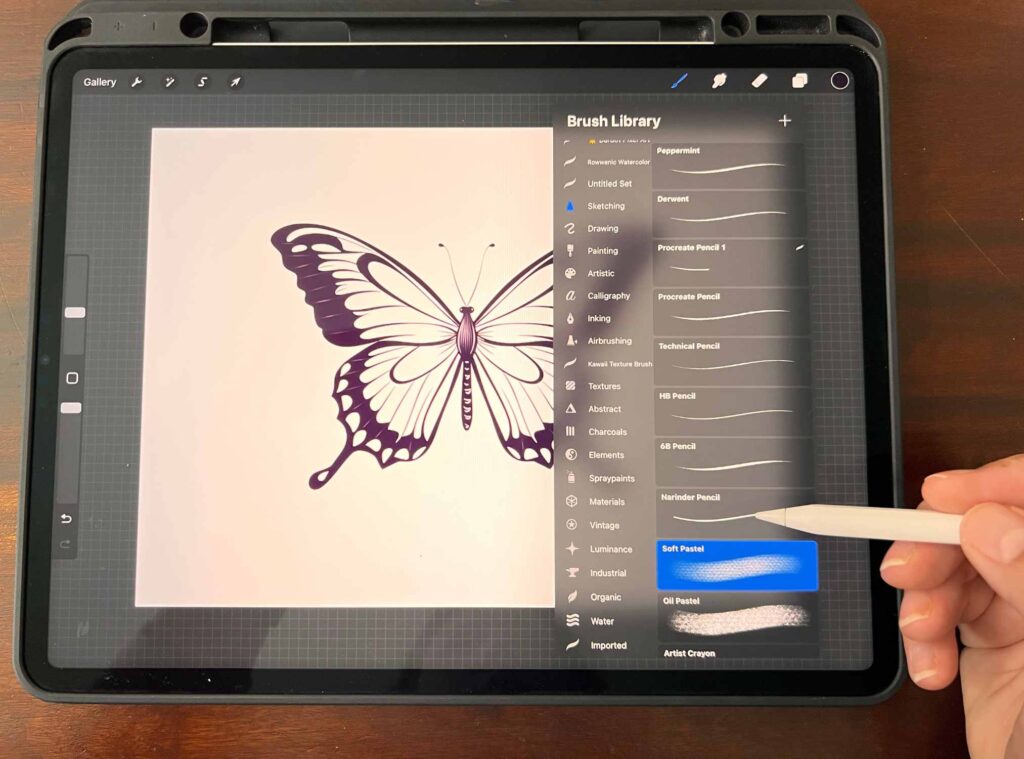
One of the simplest ways to color in Procreate is by using brushes. There are a variety of brushes available in Procreate, from basic round brushes to textured brushes that mimic the look of traditional media.
To use brushes effectively, experiment with different brush strokes and pressures to achieve the look you want.
Mastering the Smudge Tool
Another useful tool for coloring in Procreate is the Smudge tool. This tool allows you to blend colors together, creating a smooth transition between different shades.
To use the Smudge tool, simply select a brush and then swipe your finger across the screen in the direction you want to blend the colors.
Applying Color with the Colordrop
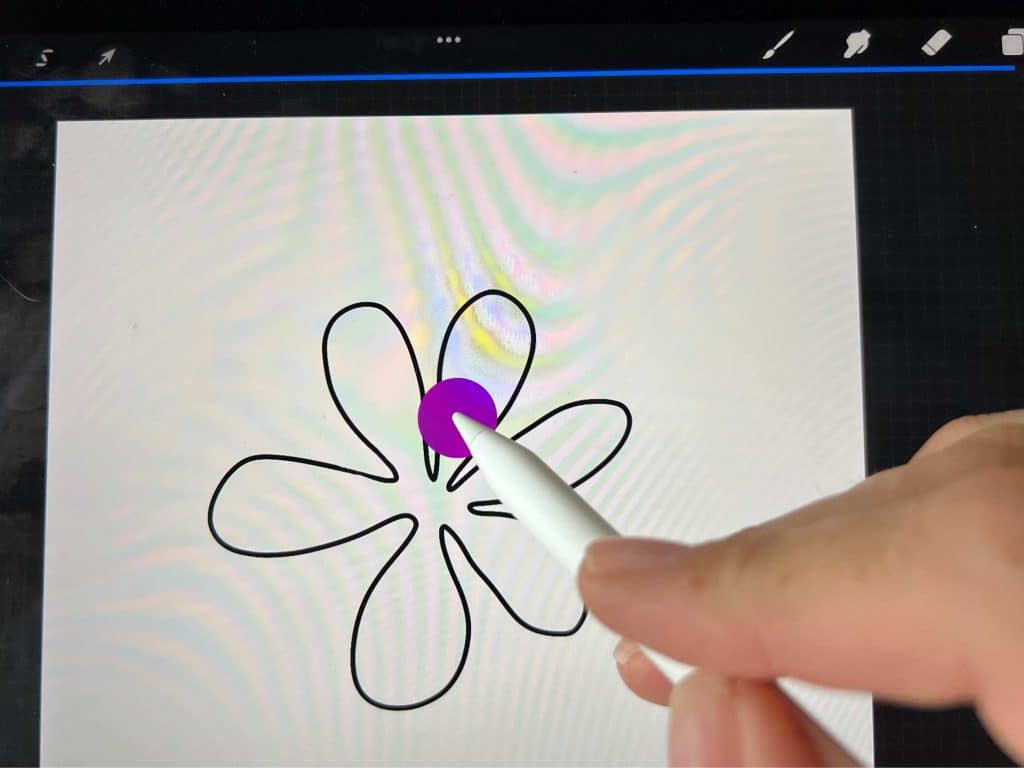
The Colordrop tool is a quick and easy way to fill in large areas with a solid color. To use the Colordrop or color fill tool, simply select the color you want to use and then tap the area you want to fill.
You can adjust the size of the Colordrop tool by pinching your fingers together or spreading them apart.
Blending Colors
Blending colors in Procreate is an important technique for achieving a realistic look in your artwork. In Procreate, you can blend colors together by using the Smudge tool or by using your own blender brush.
Blending brushes are designed specifically for creating smooth transitions between colors, and they can be adjusted to achieve different levels of blending.
Adding Details
When it comes to adding details to your Procreate artwork, there are a few techniques you can use to make your work stand out.
Here are some ways to add those finishing touches to your digital art:
Using Clipping Mask and Alpha Lock
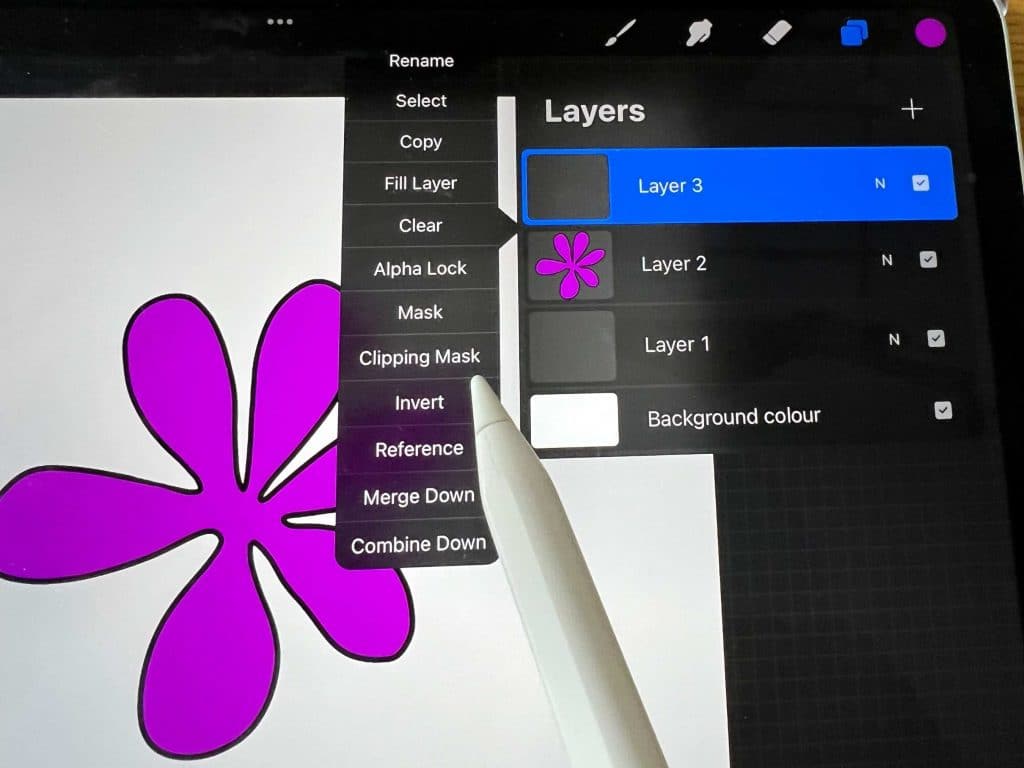
One way to add details is by using Clipping Mask and Alpha Lock. Clipping Mask allows you to clip a layer to the layer below it, which is useful when you want to add details or shading to a specific area without affecting the rest of the artwork.
Alpha Lock, on the other hand, allows you to paint only on the existing pixels of a layer, so you can add details without going outside the lines.
To use Clipping Mask, create a new layer and tap on the layer thumbnail. Select “Clipping Mask” from the options that appear.
To use Alpha Lock, tap on the layer thumbnail and select “Alpha Lock.” Now you can add details to your artwork without affecting the rest of the layers.
Adding Textures
Textures can add depth and interest to your artwork. You can use Procreate’s built-in brushes or import your own textures to add details to your artwork.
To add a texture, create a new layer and select a brush that has a texture you like. You can adjust the opacity and size of the brush to get the desired effect.
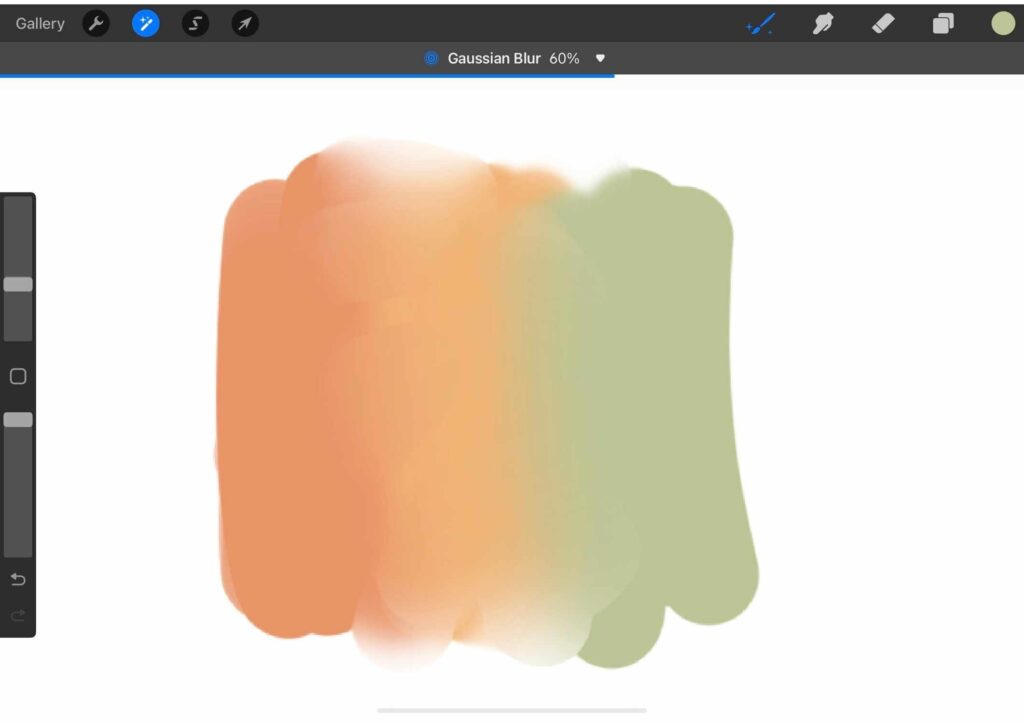
Creating Shadows and Lights
Shadows and lights can add depth and dimension to your artwork. To create shadows, create a new layer and use a dark color to paint the area where you want the shadow to be.
Then, use the Gaussian Blur filter to soften the edges of the shadow.
To create lights, create a new layer and use a light color to paint the area where you want the light to be. Then, use the Gaussian Blur filter to soften the edges of the light.
In a nutshell, mastering Procreate is all about embracing the right techniques. With the tips from this post, you’ll know how to color in the lines on Procreate like a pro.
Here’s to digital art that’s nothing short of easy breezy! 🎨🌬️
Other articles you may enjoy…
Best Pencil for Procreate: Top Picks for Digital Artists