Last Updated on February 27, 2025 by Dee
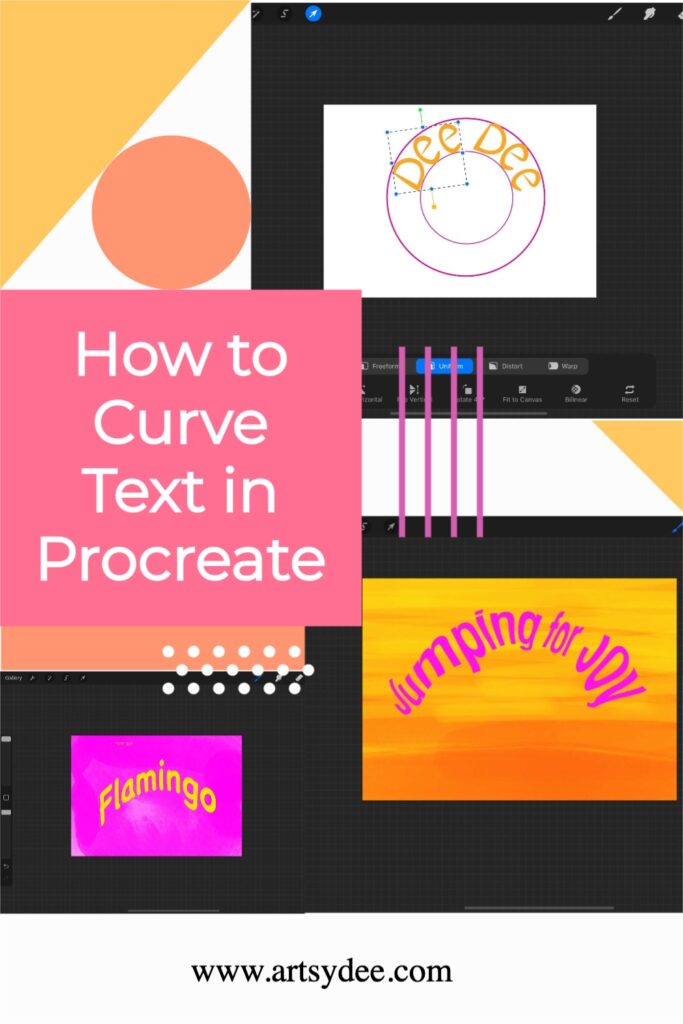
Curving text in Procreate can be a bit tricky since there’s no built-in tool for it—but don’t worry! Whether you’re creating logos, lettering designs, digital artwork, or social media graphics, learning how to curve text in Procreate will open up tons of creative possibilities. Grab the FREE Curved Lettering Grid For Procreate at the end of this post!
Table of Contents
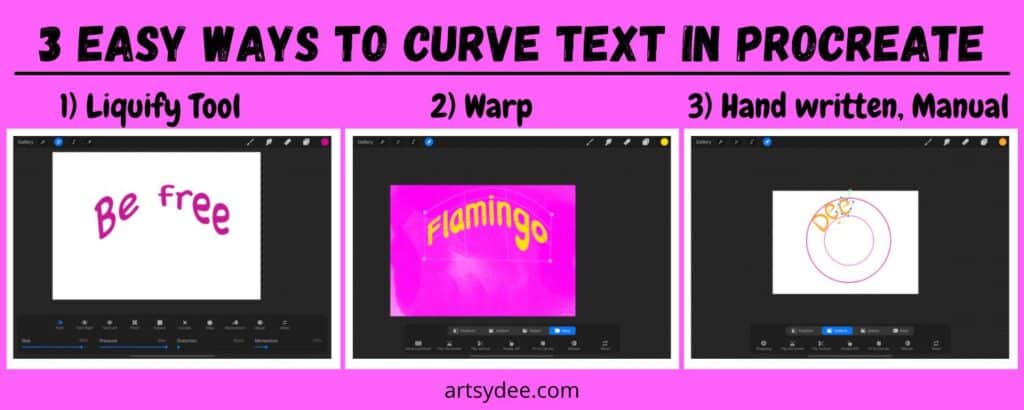
In this tutorial, I’ll walk you through six easy methods to curve text, including:
✔️ Using the Liquify tool for quick text warping
✔️ The Warp tool for more controlled adjustments
✔️ Manually positioning words and letters for precise curved text
✔️ A free Canva trick for instant curved text effects
✔️ Using Procreate Lettering Grid Stamps for effortless curves
If you want even more precision, check out my exclusive Procreate Lettering Grid Stamps on Patreon: https://www.patreon.com/artsydee/membership
How to Add Text in Procreate?
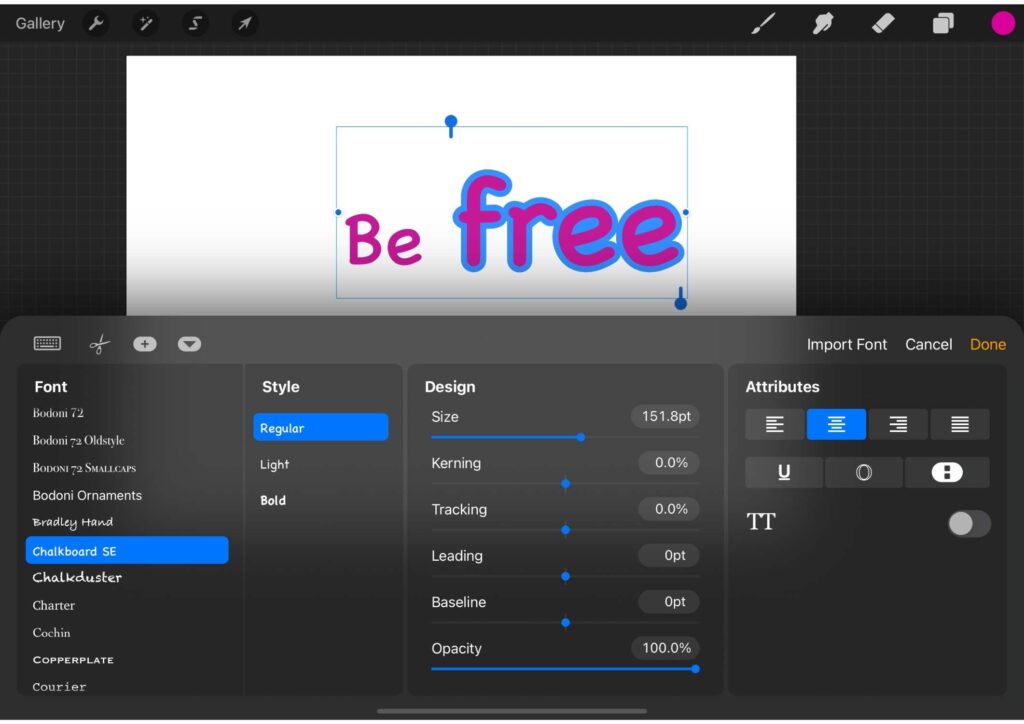
To add curved text to your procreate artwork you need to first know how to add text! To do this click on the spanner icon, select ‘Add’, and then choose text.
While adding text in Procreate is easy, you need to get familiar with the different properties of each font. The weight and spacing can vary so it’s important to analyze these before you start to curve your text.
Read this article about how to add text in Procreate to get more in-depth information about this topic.
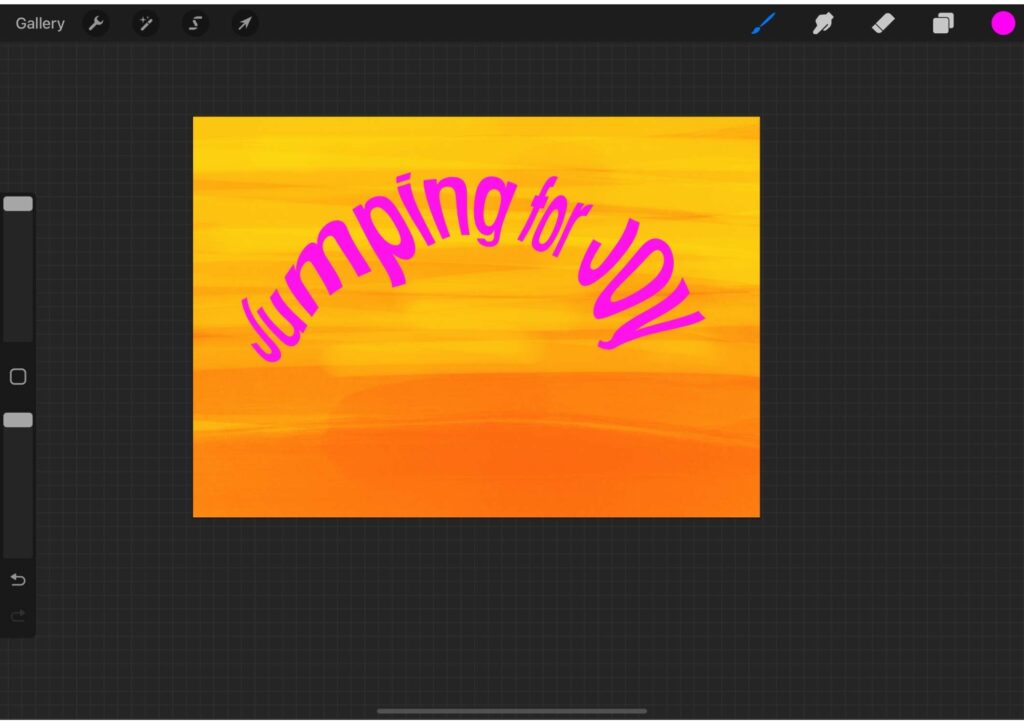
How to Curve Text in Procreate with the Liquify Tool
The first method you can use to create curved text in Procreate is by using the liquify tool. This tool allows you to move pixels around like magnets, push them out of the way, or suck them inwards!
Basically, this tool makes everything like slime 🙂
Make sure that all of your text layer is selected before using the liquify tool to curve text in Procreate.
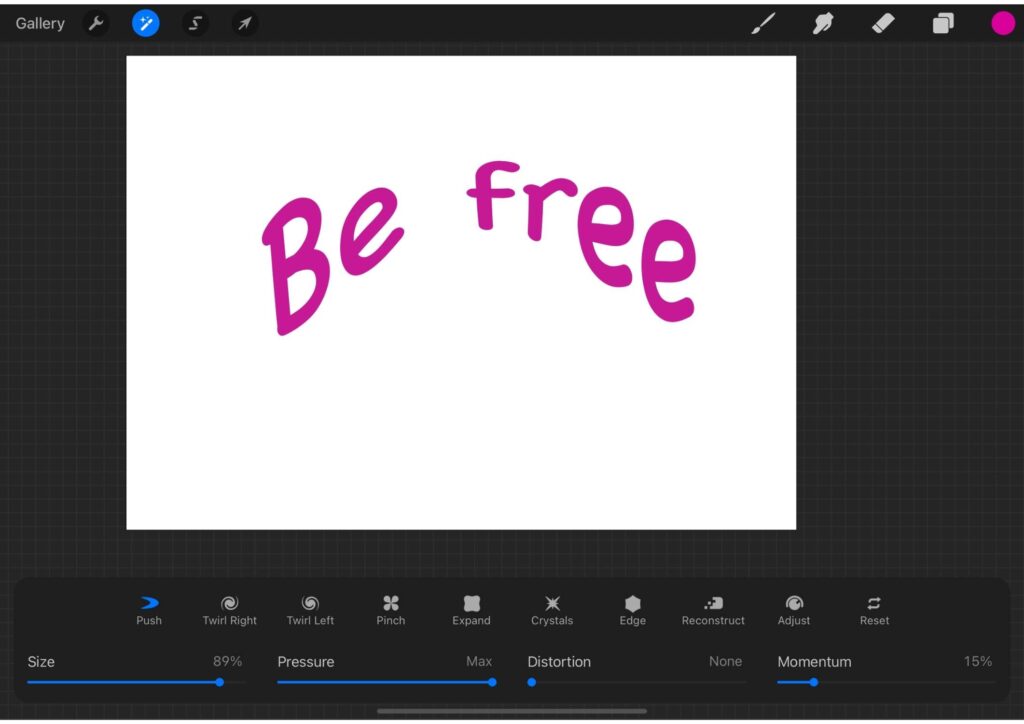
To begin, open the Adjustments menu and choose Liquify. Select Push from the menu.
By default, the size of your brush is set to 99 which you can adjust by dragging the slider up and down to get the size you need.
[Related Article: Krita vs Procreate: What’s the best one to use? (2022)]
Choose Push to nudge the middle of your text up and pull the ends down. Continue doing this until you have the curvy shape you need.
You can also play around with the pressure of your brush, the amount of distortion in the Liquify, and momentum to see what other interesting effects you can add to your curved text.
I mostly stick to using the Push option in the liquify tool because you can do so much with it. You can also try using Ice, Twirl, Pucker or Bloat to create some different effects.
How to Curve Text in Procreate using the Warp Tool
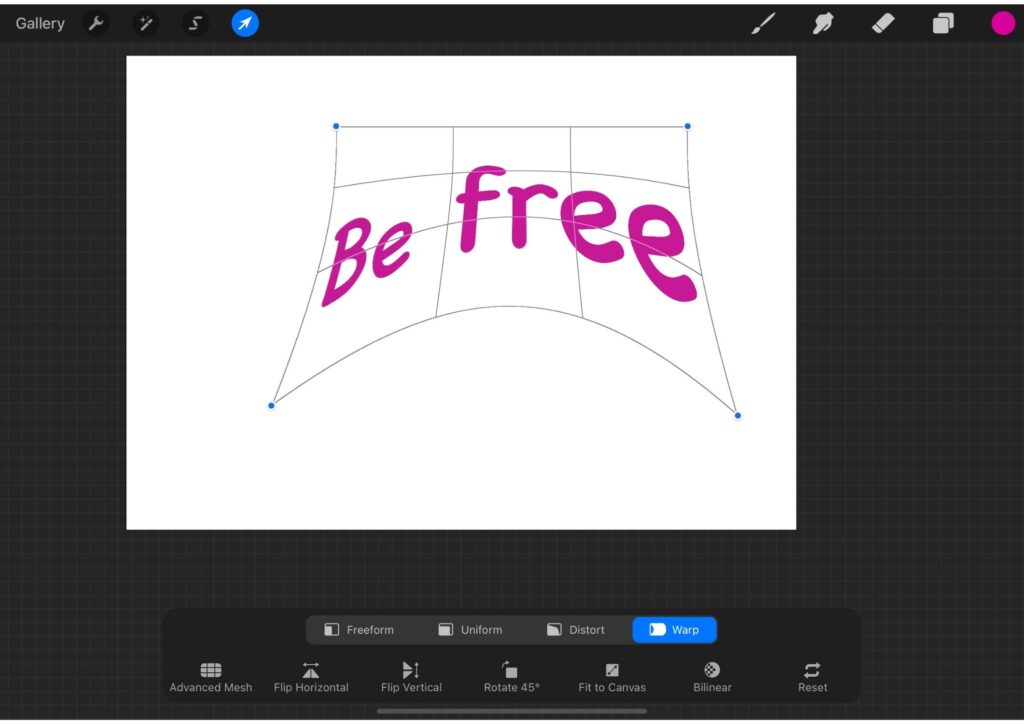
With the Warp tool, the user must adjust a lot of small adjustments. Again, this is done by rendering text as it becomes rasterized, after using the Warping tool. You can alter text, but copy it into a separate layer if necessary.
The warp tool is another handy tool you can use for curving text. To use the warp tool you need to make sure you have selected all of your text layers and then click on the transform tool tab.
Once you have selected the transform tool tab, choose ‘Warp’.You can pull the ends down or push the middle up depending on what type of curve you are creating.
Liquify tool vs Warp tool?
I personally find the Liquify Tool is better because it is more accurate with curving/reshaping text, plus you can use it for other things as well.
The Warp tool is still great though, but I use it more for adjusting small parts of an image rather than text. Often, I choose to use a combination of both the liquify and the warp tools when trying to achieve a certain look!
[Related Article: How to color match in Procreate | 9 Easy Tips (2022)]
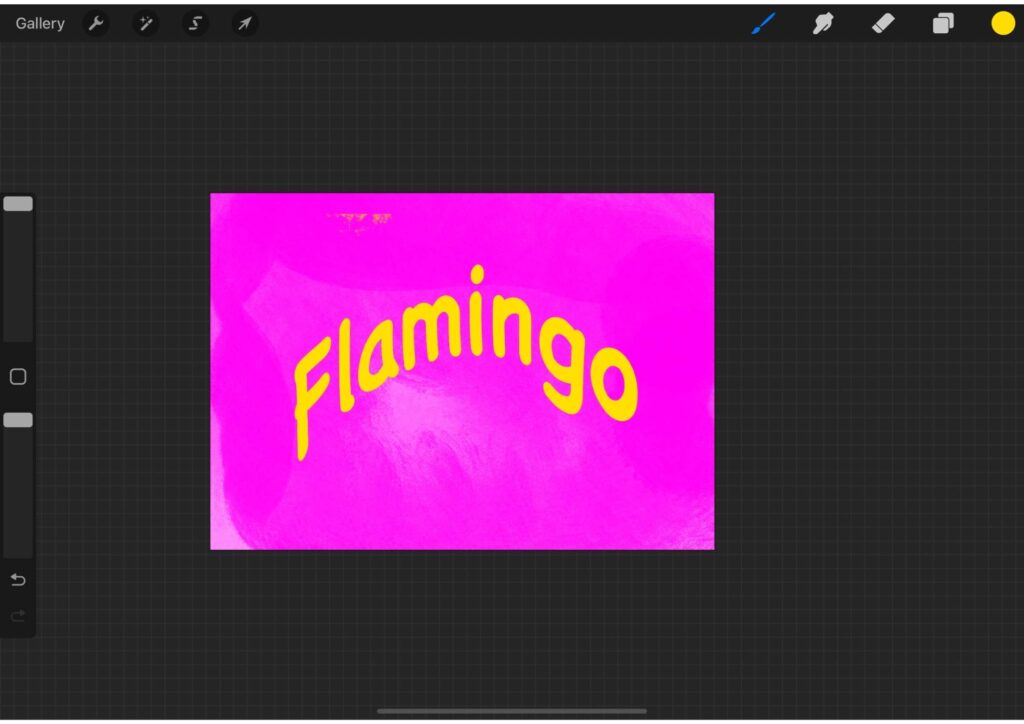
How to Curve Text in Procreate by Manually Adjusting Each Letter

Manual adjustments are the best way to ensure all letters are the same length and are a better option if you want to curve text that is more script-like.
I find that using the Liquify and Warp tools don’t work so well with flowing text.
Manually adjusting each letter at a time gives you more control of the curve and you can make sure each letter, including the first and last letters, are exactly where they need to be!
[Related article: Digital Art Canvas Size]
If you want to manually adjust each letter to curve your text you need to type out each individual letter on a new layer. Once each individual letter is on its own layer, you can then select a letter and rasterize it.
Rasterizing text
Rasterizing text means that you are no longer editing the text as a vector object. The text becomes a raster or a set of pixels like an image file. A vector file is a scalable image made up of line.
If you are creating graphics on Procreate, your graphic will be a raster image.
Once you have rasterized your letter, use the transform tool to scale it up or down then move it into place. This might take some time!
You can also use your warp tool once you have rasterized your letter. Select the brush size and adjust it to be small enough to fit inside of one letter.
Use the warp tool and pull outwards/inwards until you get your desired curve.
I usually find that playing around with these settings works well: pressure for size, warp for angle/direction, and pressure for strength.
Zoom in to your text for close inspection
I will often zoom in as close to the text as possible so I can see exactly where each letter is and what kind of curve it has.
If you need to, you can always combine multiple fonts and sizes together to get the perfect amount of variation in your text!
Pro Tip: This is rasterized once you choose a letter and begin moving/rotating it. There is no longer any possibility of changing the text so copy it beforehand, or duplicate the layer!
Frequently Asked Questions about How to Curve Text in Procreate
How do you write your name in a circle?
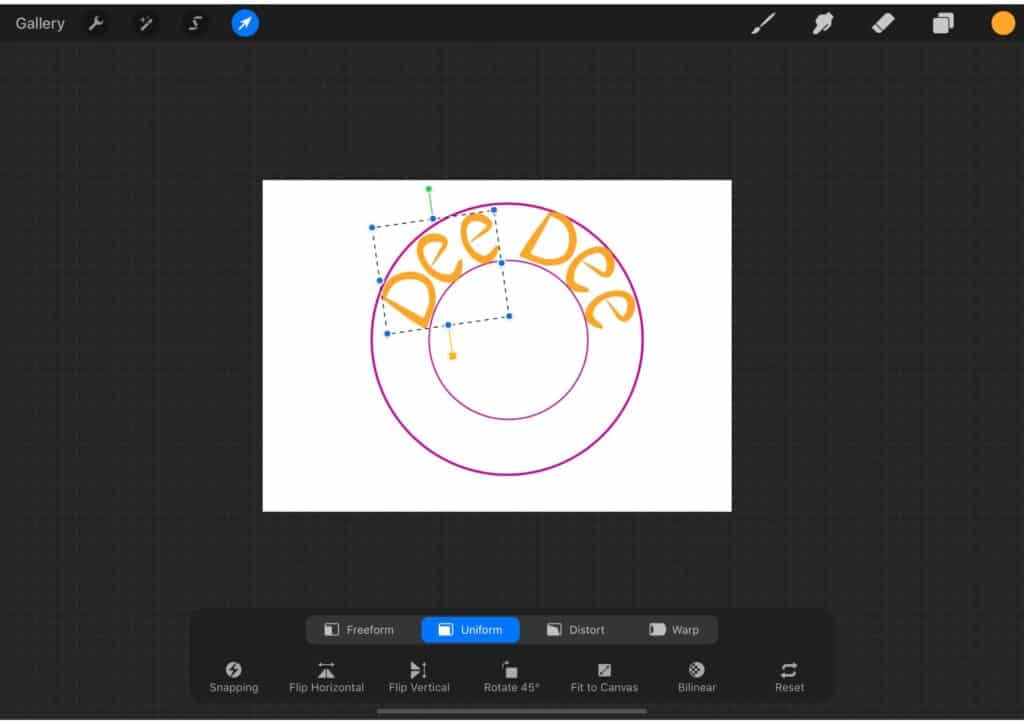
The best way to write your name in a circle is to start off by creating a quick shape circle. Draw this circle on a new layer.
On the same layer, you can draw another smaller, circle and place it in the center of the large circle. You will then use these two circle’s as a curved path to place your text inside.
Use either the ‘add’ text option or choose a brush to draw your own lettering with the circle guide.
Remember to rasterize your text before you can warp or liquify it!
Can you curve an image in Procreate?
Yes, you can easily in Procreate by selecting the warp tool, or by using the liquify tool.
How do you draw a curve in Procreate?
The quickest way to draw a perfect curve on Procreate is by drawing a free-hand curved line without lifting your finger, stylus, or apple pencil nib off the canvas.
After a brief pause, your imperfect hand-drawn curve snaps to a perfect curved line.
Pin This For Later!
Grab the Free Curved Lettering Grid HERE (below)!
To access the free in-post resources for this post, you’ll just need to create a free account or login with the Grow.me tool. Then, confirm by email and refresh the page and ALL my free printables will automatically unlock in every post!
Love Procreate Resources? Get Even More Exclusive Creative Goodies on My Patreon! 🎨
If you’re enjoying these free printables, why not join my Artsydee Patreon community? As a member, you’ll gain access to exclusive Procreate tutorials, brushes, templates, color palettes and tons more resources like this one—delivered to you monthly (and sometimes even twice a month!). Plus, you’ll get sneak peeks at upcoming projects and have a say in what content I create next. ✨
Join today and unlock premium resources to take your creativity to the next level!
Other articles you may enjoy…
[How to Add Text on Procreate]
[How to Copy and Paste on Procreate]
[Looking for the best iPad screen protector for drawing?]
[How to Draw a Perfect Circle in Procreate]