Last Updated on February 2, 2023 by Dee
Just like with any other skill, shading in Procreate takes practice. In this article, I will discuss three ways to shade in Procreate: using layers, the smudge tool, and brush settings. I will also provide 10 Digital Painting Tips for getting the most realistic results. With a little bit of practice, you’ll be able to create beautifully shaded illustrations in no time!
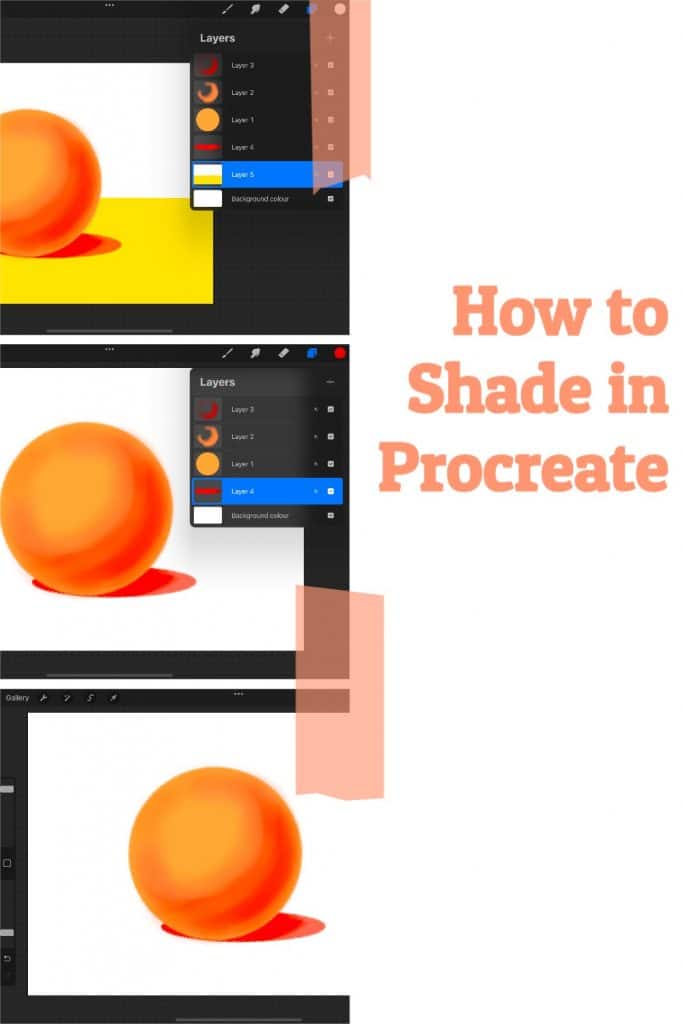
A quick guide to Shading in Procreate
- Choose the right brush (preferably an airbrush)
- Pay attention to the pressure
- Experiment with blending modes
How to shade in Procreate | A step-by-step guide
It can be tricky to get the perfect shading when using Procreate, but there are a few things you can keep in mind that will help you get the best results.
First, it’s important to choose the right brush. A soft, round brush will give you a more natural look, while a harder, square brush will create sharper lines.
I personally like to use soft airbrushes in combination with the smudge tool. Adjust the brush size to suit the area over which you will be shading.
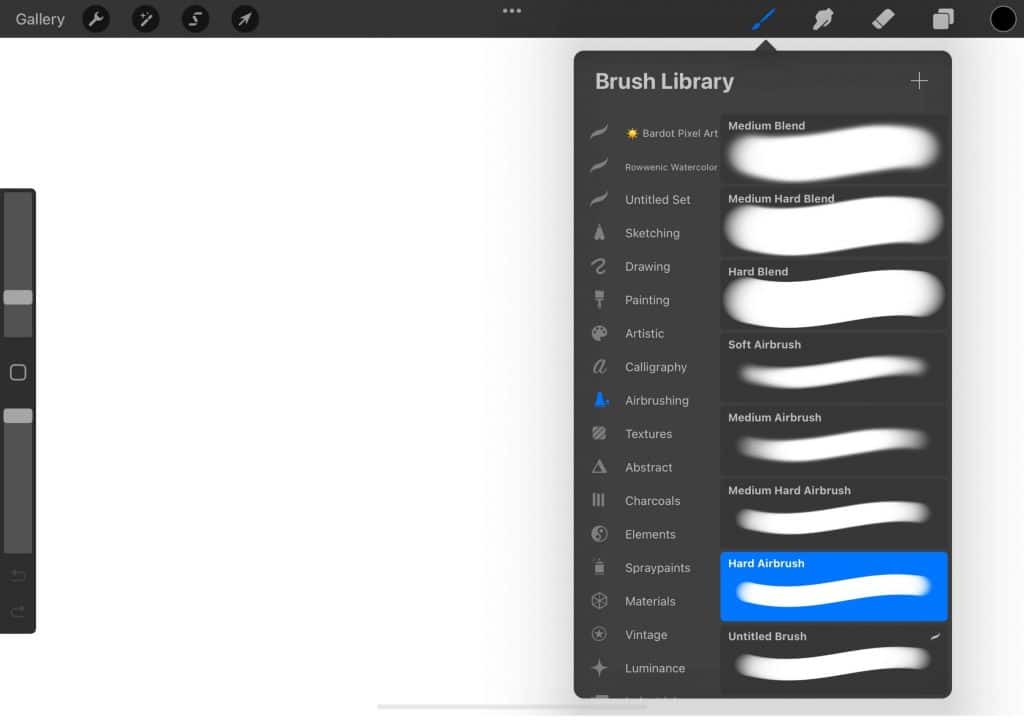
Next, pay attention to the pressure you’re applying to the screen. The lighter the pressure, the more subtle the effect will be.
Finally, experiment with different blending modes to find the one that looks best for your project.
With a little practice, you’ll be able to produce beautiful shading effects that add depth and dimension to your work.
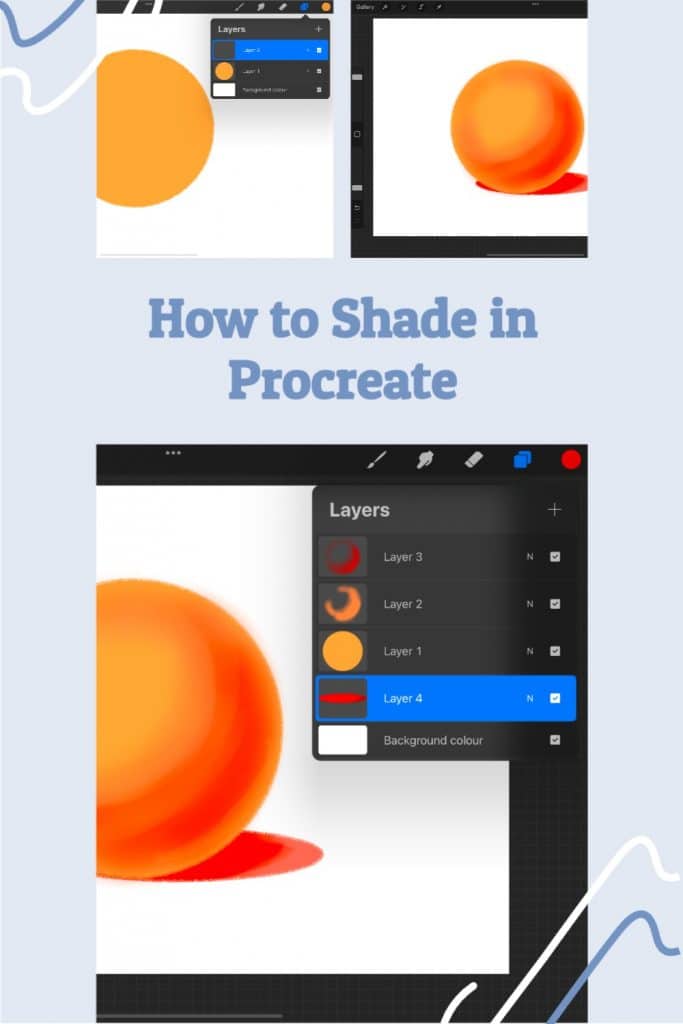
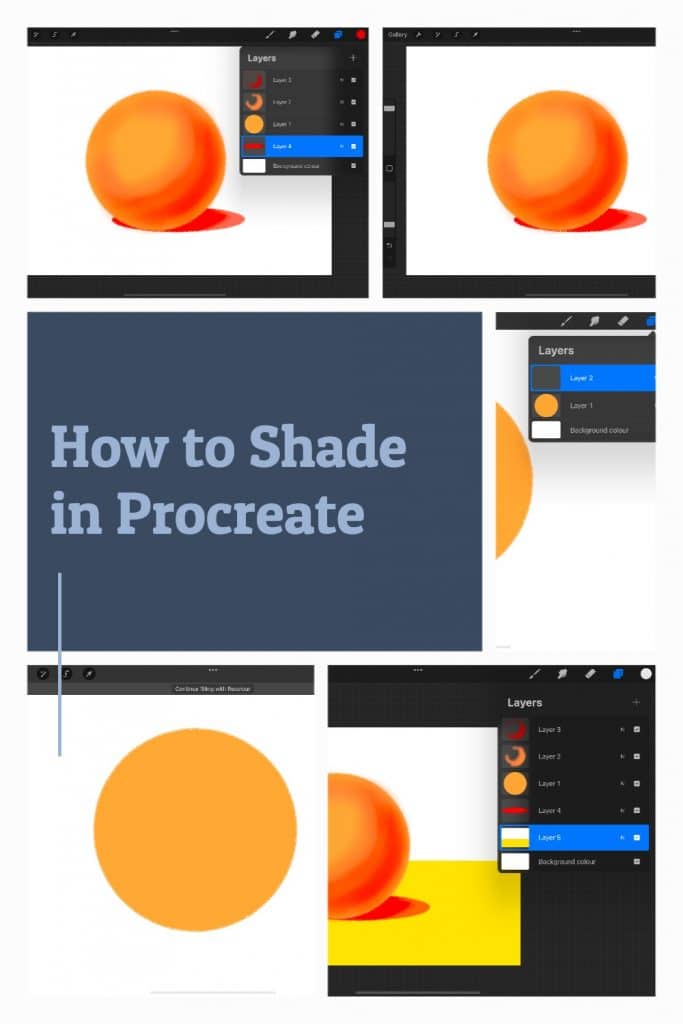
Step 1 – Drawing the shape
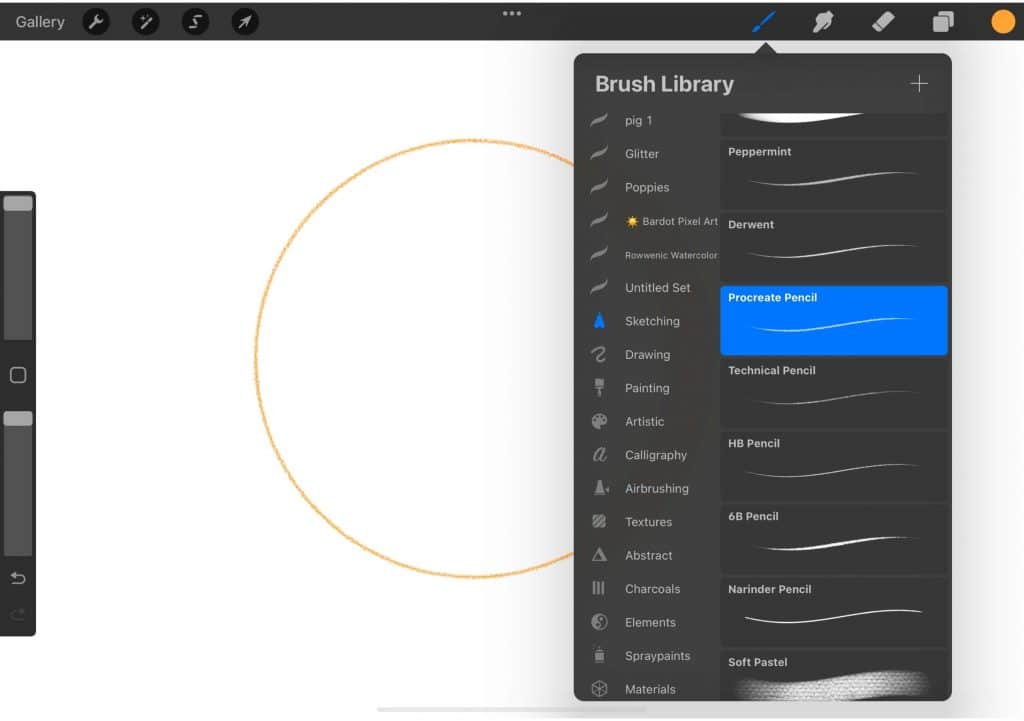
Whether you’re trying to add shading to a portrait or give your illustration more depth, knowing how to shade in Procreate is essential.
Fortunately, it’s not as difficult as it may seem. In fact, with a little practice, you’ll be able to add professional-looking shading to any design.
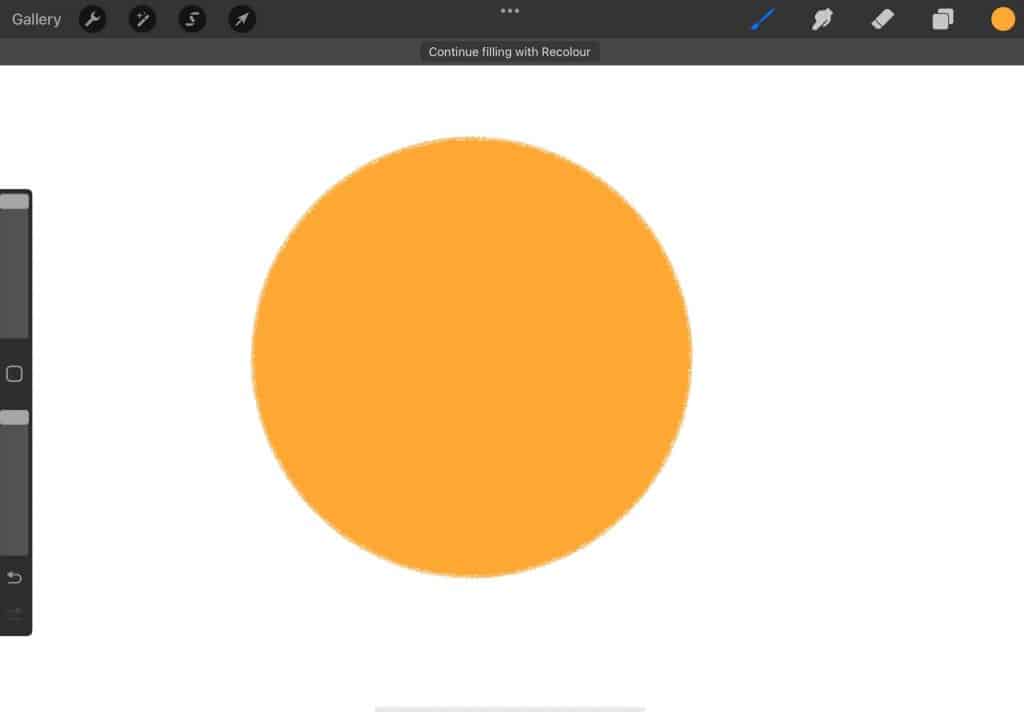
The first step is to draw the shape you want to shade. If you’re working with an existing image, you can use the selection tool to trace around the object.
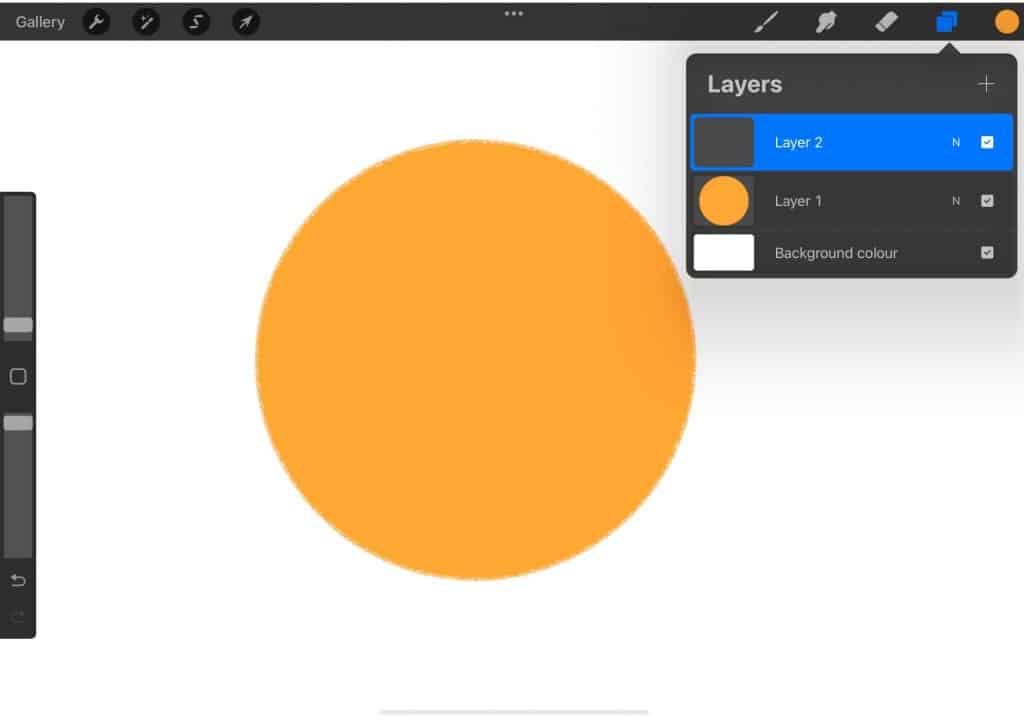
If you’re starting from scratch, simply use the pencil tool to draw the outline of the shape. Once you have the shape drawn, it’s time to add shading.
Step 2 – Layering shades
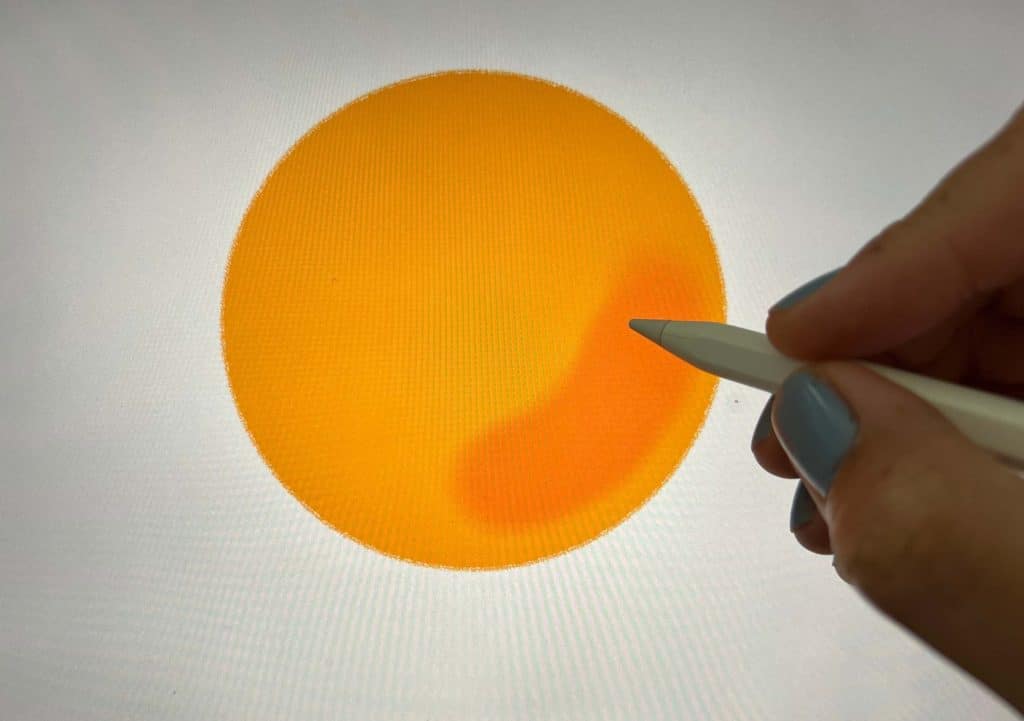
There are a few different ways to add shading in Procreate. The easiest way is to use the fill tool. Simply select the color you want to use for your shading and then click and drag across the area you want to fill.
You can also use the pencil tool to draw in your shading manually. This gives you more control over the intensity and direction of the shading.
When it comes to digital art, there are a few key things to keep in mind in order to create a realistic and believable piece.
One of those things is shading. Without shading, your work can look two-dimensional and flat. However, with the right techniques, you can add depth and dimension to your art. In this article, we’ll show you how to shade in Procreate.
Shading is all about creating shadows and highlights. By adding shadows, you can create the illusion of depth. And by adding highlights, you can make areas of your painting pop. In general, there are two ways to shade in Procreate: layer shading and progressive shading.
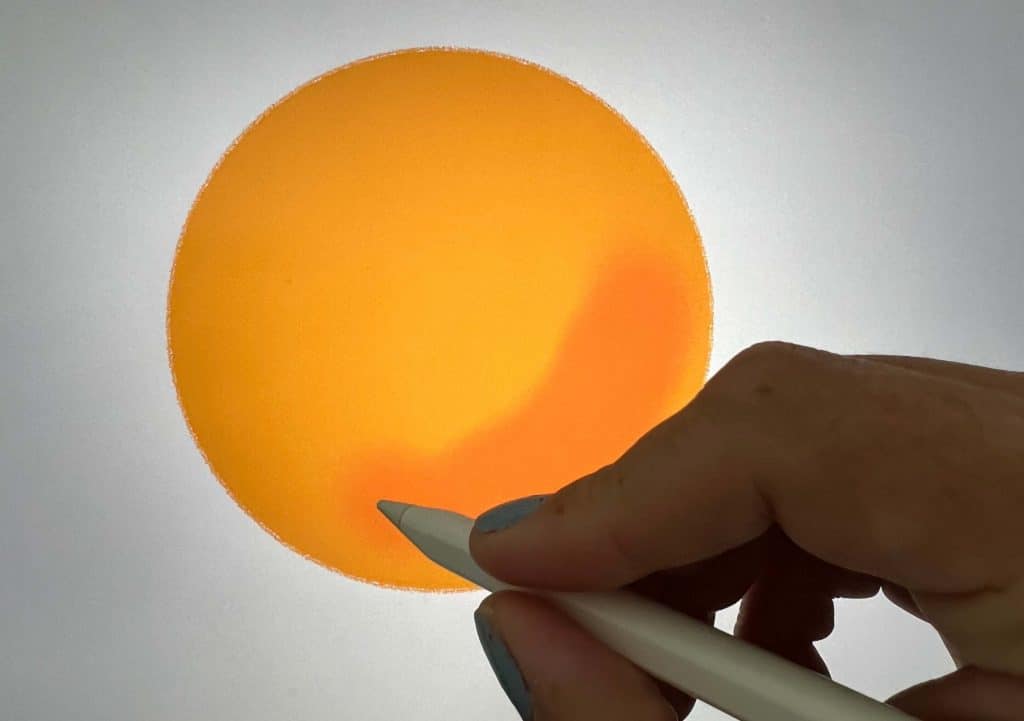
Layer shading is the simplest method and is great for beginners. To do this, start by selecting a light color and then gradually add darker colors on top. As you build up layers of color, you’ll create more depth and dimension.
Progressive shading is a more advanced technique that involves gradually adding lighter or darker colors as you move across the canvas. This technique is especially effective for creating gradients or smooth transitions between colors.
To get started, choose a light color and then begin adding progressively darker colors around the edge of the object you’re shading.
As you work your way inward, transition to progressively lighter colors until you reach the object’s center. Remember to blend your colors as you go to create a smooth transition.
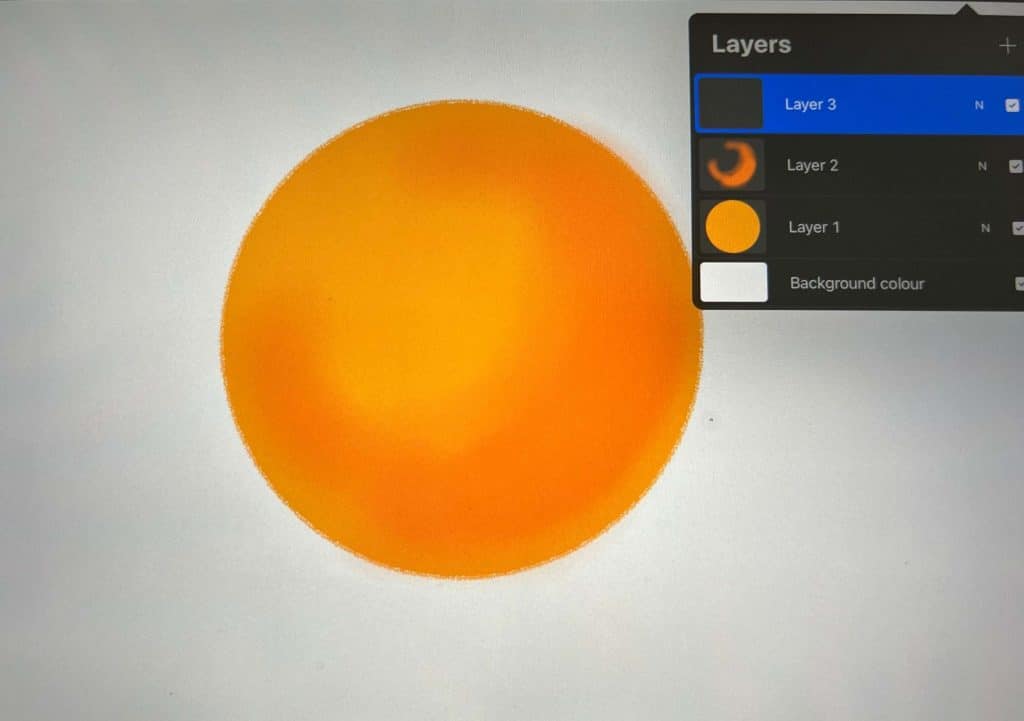
With these tips in mind, you’re ready to start shading like a pro!
Step 3 – Creating Shadows
Now that you have your light and dark areas set up, it’s time to start shading!
In general, shadows will be darker than the area around them, so start by selecting a dark color.
Then, using a soft brush, begin to add shadows in the areas where you want them. You can make them as light or as dark as you want, depending on the effect you’re going for.
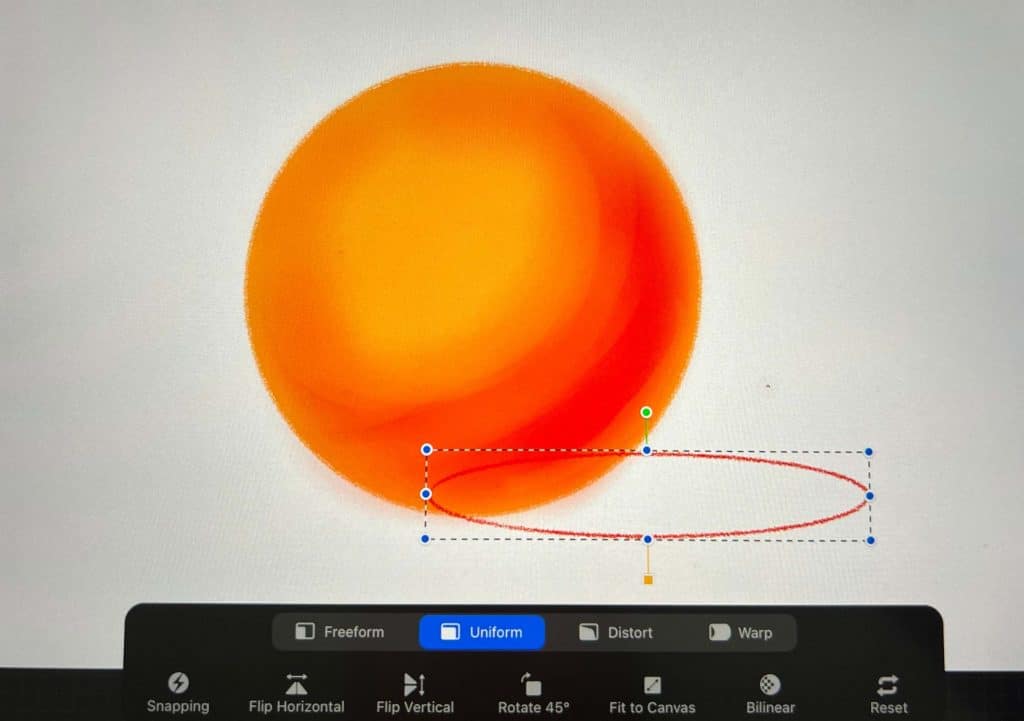
If you want your shadows to look more realistic, try adding some variance in their darkness – instead of having them be one solid color, make some parts darker and some parts lighter.
This will give your shading more depth and make it look more realistic.
Once you’ve added your shading, it’s important to blend it properly.
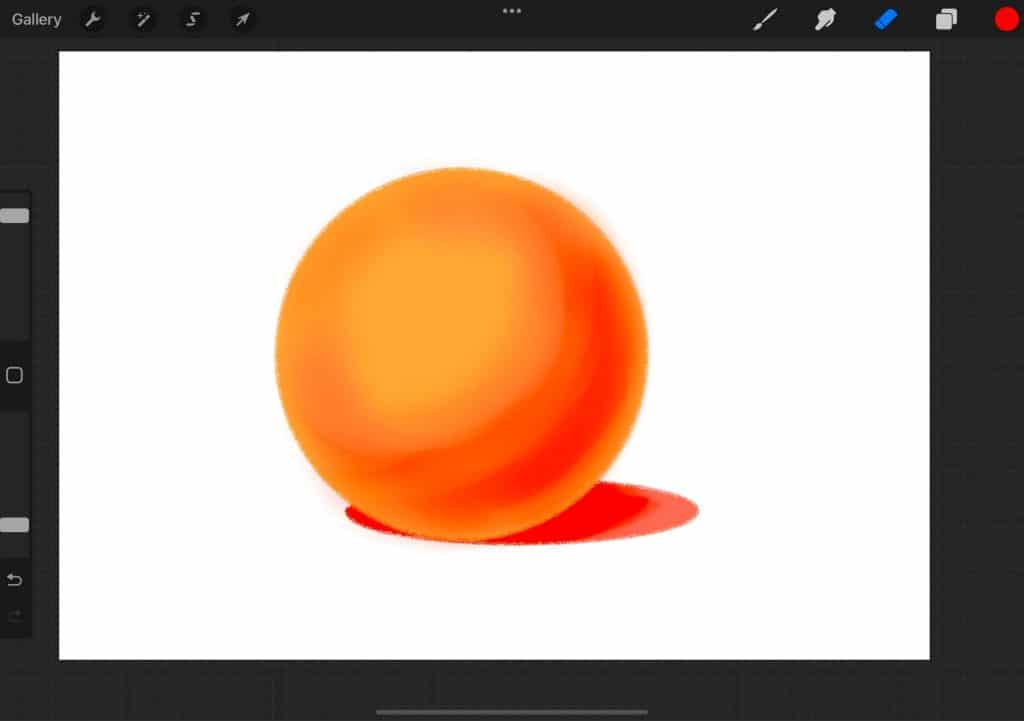
This will help create a more realistic effect and ensure that your shading looks natural.
There are a few different ways to blend your shading in Procreate. One way is to use the smudge tool.
This tool allows you to blur the lines of your shading and create a softer effect. Another way is to use a layer mask.
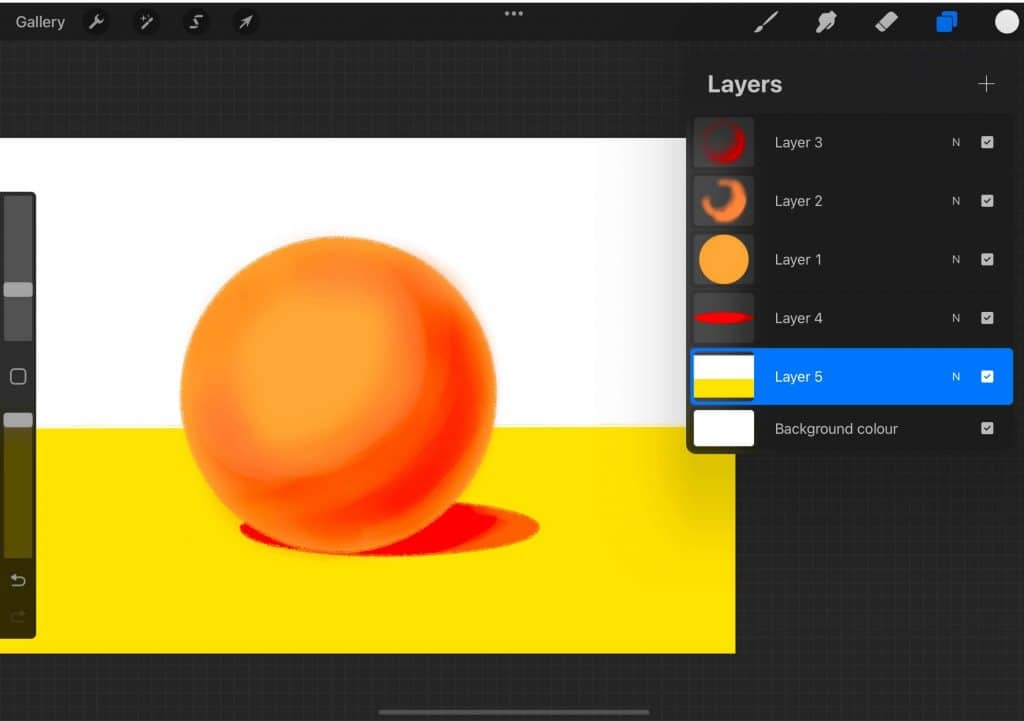
This gives you more control over how much of your shading is visible and where it appears in your design.
Simply select the layer mask icon and then use a soft brush to paint over the areas you want to blend.
Experiment with different tools and techniques until you find a method that works best for you. With a little practice, you’ll be able to produce beautiful, realistic shaded designs in no time!
11 Helpful Tips for Shading
Remember to always consider your digital art canvas size!
Paint a digital fall leaf
Establish your light source:
Before you start shading, it’s important to establish where your light is coming from. This will help you to understand which areas of your drawing should be lighter or darker. To do this, simply draw a line to indicate the direction of the light.
Create a new layer:
When shading, creating a new layer is always a good idea. This will allow you to experiment with different shades and tones without affecting the rest of your drawing.
[Related article: 18 Texture Drawing Examples to Help You Get Inspired: How to Draw Texture]
Use a light color:
To start shading, use a light color such as white, pale yellow, or light blue. This will help you to gradually build up the darkness in your drawing.
Work in small sections:
When shading, it’s best to work in small sections rather than trying to shade the entire drawing at once. This will help you to avoid making mistakes and ensure that the shading is even throughout the drawing.
Add shadows:
Once you’ve established the direction of the light, you can start adding shadows to your drawing. To do this, use a dark color such as black, dark blue, or dark green. Simply add these colors around the edge of each object in your drawing.
Add highlights:
In addition to shadows, you can also add highlights to give your drawing more dimension. To do this, use a light color such as white or pale yellow. Simply add these colors to the areas of your drawing that are closest to the light source.
Experiment with different shades:
To create realistic shading, it’s important to experiment with different shades and tones of color. Simply play around with different colors until you find the combination that looks best for your drawing.
Use an eraser:
If you make a mistake while shading, don’t worry! Just grab an eraser and fix it up. Procreate makes it easy to erase and correct mistakes.
Save your work:
As with any digital art project, it’s always a good idea to save your work frequently in case something goes wrong with your device or software. Procreate makes it easy to save your work as often as you like by simply tapping the “Save” button in the top right corner of the screen.
Make sure you’re happy with your work before exporting:
Before exporting your final image, take a few minutes to review your work and ensure you’re happy with everything.
If there’s anything you want to change, now is the time to do it!
Once you’re happy with your work, simply tap the “Export” button in the top right corner of the screen and choose how you want to export your image (JPEG, PNG, etc.).
Procreate’s Air Brushes Pencil Brushes and Ink Brushes
These brushes are perfect for creating beautiful shading effects in your drawings. Experiment with different brushes to find the ones that work best for you. With a little practice, you’ll be able to produce stunning shaded designs in no time!
Natural Shading and Texture Procreate brushes
These brushes are perfect if you’re looking for a more realistic shading effect.
Frequently Asked Questions about Shading in Procreate:
How do you add a shade in Procreate?
To add a shade in Procreate, simply create a new layer and use a dark color to add shadows around the edge of each object in your drawing. You can also add highlights by using a light color to add brightness to the areas of your drawing that are closest to the light source.
How do you shade and blend in Procreate?
To shade and blend in Procreate, simply use the Airbrush tool to gradually build up the darkness in your drawing. You can also use the smudge tool to blend colors together.
How do you use pencil shades in Procreate?
To use pencil shades in Procreate, simply select the pencil brush tool and experiment with different shades and tones of color. You can also use the eraser tool to fix any mistakes that you make.
How do you shade a color in Procreate?
To shade a color in Procreate, simply use the airbrush tool to gradually build up the darkness. You can also use the smudge tool to blend colors together.
What brush should I use for shading in Procreate?
There is no one “perfect” brush for shading in Procreate. Instead, it’s important to experiment with different brushes to find the ones that work best for you and your project. Some popular brushes for shading include the Airbrush tool, the Pencil brush, and the Ink brush.
Is there a shadow tool in procreate?
There is no shadow tool in Procreate, but you can easily create shadows by using a dark color on a new layer. Simply add the shadows around the edge of each object in your drawing. You can also add highlights by using a light color on a new layer.
[Related: How to Undo on Procreate]
How do I texture my skin in procreate?
You can use Natural Shading and Texture brushes specifically designed to create realistic shading effects.
How do you shade your skin tone in Procreate?
To shade your skin tone in Procreate, use the airbrush tool to gradually build up the darkness. You can also use the smudge tool to blend colors together. Experiment with different shades and tones of color until you find the combination that looks best for your drawing.
How do you make skin look smooth in Procreate?
There is no one “perfect” way to make skin look smooth in Procreate. However, some helpful tips include using the airbrush tool to gradually build up the darkness and using the smudge tool to blend colors together.
Do digital artists use references?
Many digital artists use references, especially when they are starting out or trying to learn how to draw a new subject. References can be helpful for studying how light falls on an object and for understanding the proportions of different objects.
Conclusion
If you have been wondering how to shade in Procreate then by following these tips, you’ll be well on your way to creating beautiful shaded digital art. Shading is an important skill for any artist to master. Experiment with different brushes and techniques until you find the ones that work best for you. With a little practice, you’ll be able to produce stunning results in no time!
Other articles you may enjoy…
Flower Brush Procreate: 33 Free Hand-Drawn Flowers
Best iPad for Procreate 2022 (July)
21 Procreate Coloring Pages to Help You De-stress and Relax
Can you use procreate without an apple pencil? Procreate Tips! (2022)
How to Color in Procreate: The Ultimate Guide (2022)
Procreate Palm Support | The Ultimate Guide for Digital Art (2022)
