Last Updated on April 28, 2023 by Dee
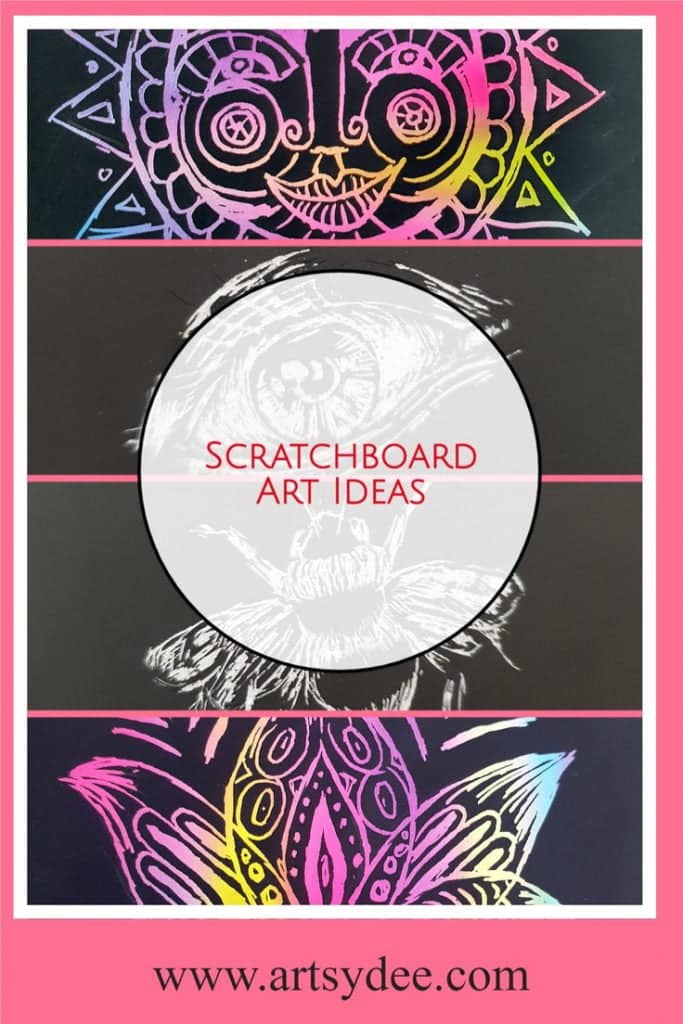
Want to explore some great scratchboard art ideas?
Scratchboard art has been a popular form of art-making for years. It is an aesthetically appealing medium to work in because the finished effect of scratchboard art is almost like an etching or a print. The scratchboard art-making process is quite different from printmaking.
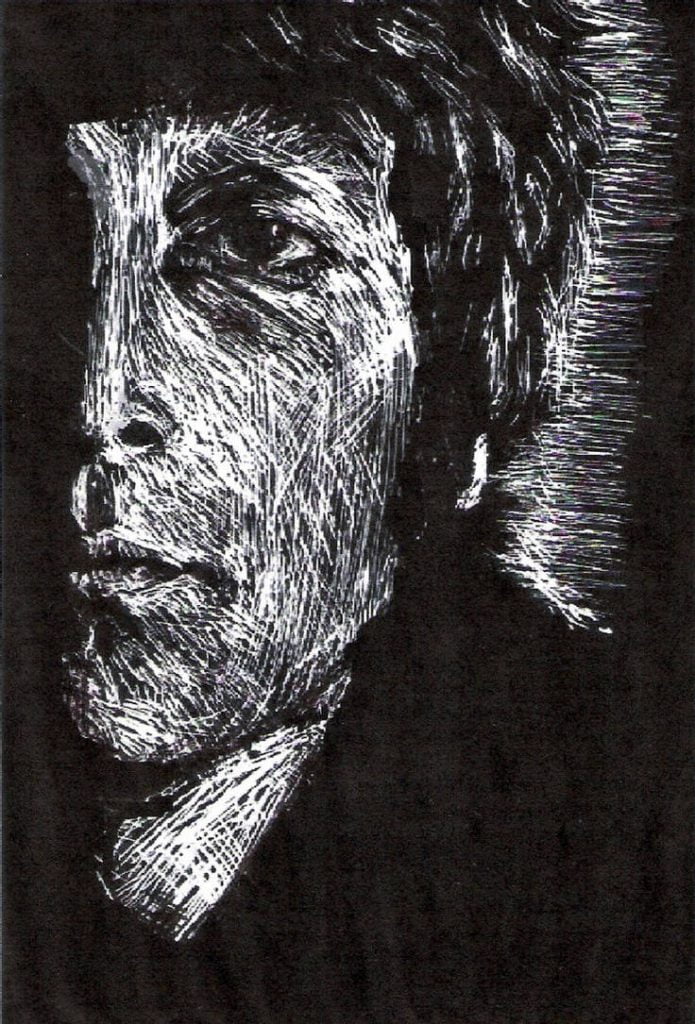
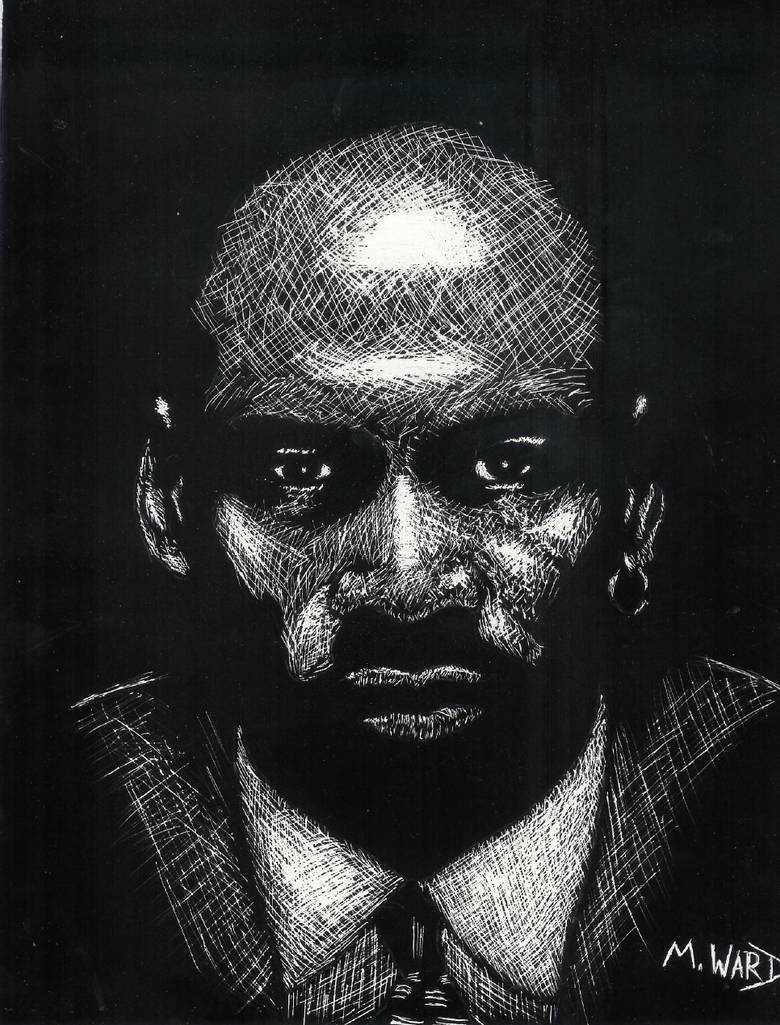
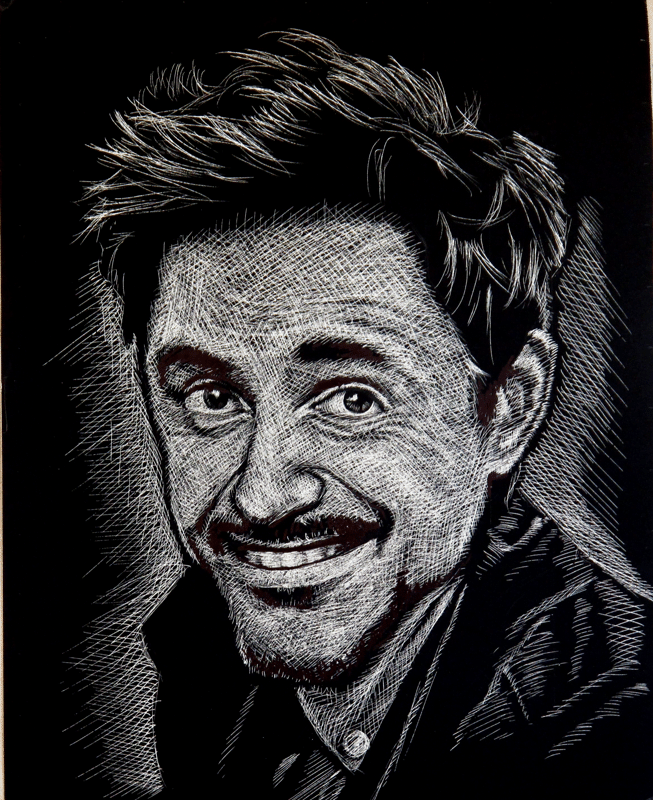
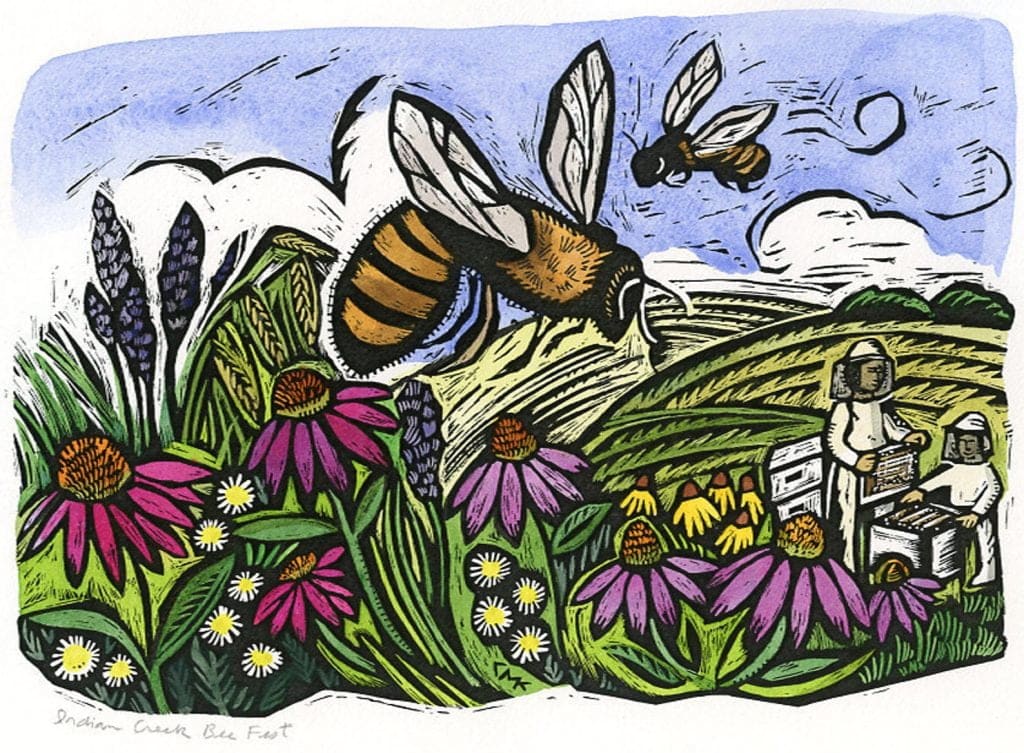
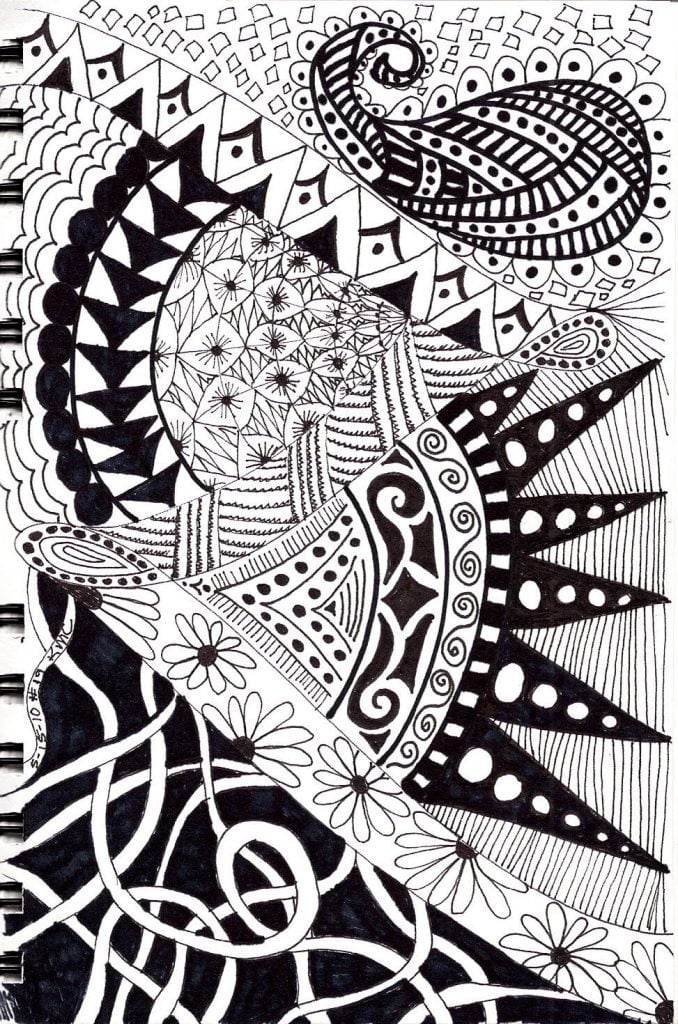
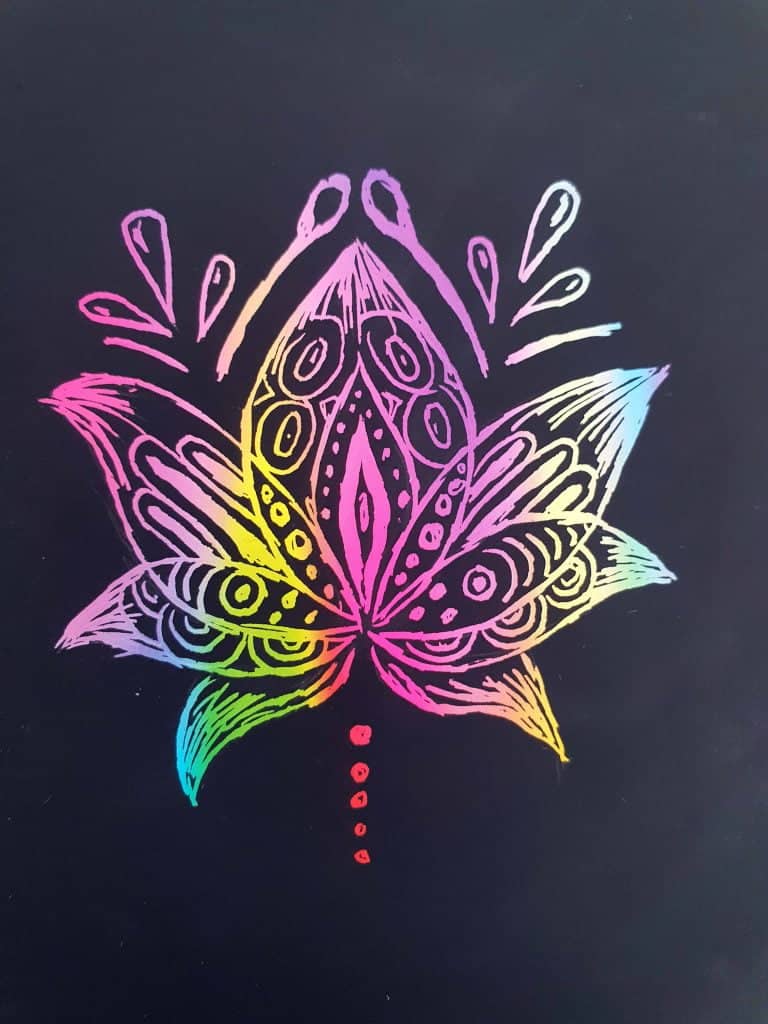
I have some included some beautiful examples of scratchboard and scratchboard art ideas below.

What is scratchboard art?
Essentially scratchboard art is a form of engraving where you scratch or scrape off the surface layer of ink and reveal a base layer. In other words, an artist creates an artwork by scratching the image into the scratchboard.
Usually, the surface layer of the scratchboard is black and the layers beneath it are white or colored. You can also get scratchboard which has a base layer of foil that reveals a shiny area once you scratch through the surface.
Scratchboard is also known as scraperboard.
Scratchboard, as a medium, lends itself to high detail, refined lines and delicate form. However, many artists create quite bold, patterned artworks which are quite beautiful because of the contrast of the medium.
What is scratchboard made of?
Scratchboard is made of a layer of white china clay that is covered by a layer of black India ink. It is also often made by priming a board with chalk and glue, or gesso and then coating that in a layer of ink.
Many people make their own scratchboards today by covering a piece of cardboard with a waxy substance (like crayons) and then painting over the wax with acrylic paint or ink. This is an easy DIY method of making your own scratchboard art at home.
[Related article: The Ultimate List of 50 Fun Things to Draw When Bored!]
Who invented scratch art?
Scratchboard art developed out of the 19th century when artists found that it was a great way of reproducing imagery because it replaced wood, metal and linoleum.
It was easier to use and became one of the preferred methods of medical, scientific and product illustration during the 1930’s to 1950’s.
[Related article: Looking for things to draw on your hand? 50 Easy drawing ideas]
Tips for how to use a scratchboard
- To use a scratchboard, you must scratch through the ink to reveal the white or colored layer beneath.
It is important to remember that even though there are similarities to sketching, creating scratchboard art is really the opposite of drawing on white paper.
- On a scratchboard you are ‘drawing’ your light areas and leaving your dark areas untouched. Through scratching into the surface, you are developing different tonal areas with different values.
“Value in art is essentially how light or dark something is on a scale of white to black (with white being the highest value and black being the lowest value).” Dan Scott from Draw Paint Academy
- Remember to look at where your light source is. In order to create a sense of depth or three-dimensionality in your artwork you should use the position of the light source as a guide to where to scratch out the lightest areas of your subject matter – carefully assess how the light hits the objects/elements in your subject matter.
If your goal is to create a more realistic scratchboard piece then you should try to avoid outlining your subject matter. Using outlines can make your art appear flat and more-cartoonlike which is fine if that is what you are going for, but realistic forms are better rendered with very little outline. Try to focus more on scratching out areas of highlights and creating various tonal values as opposed to outlining everything.
- Use small strokes. A bit like carving out a Lino print, you want to render your artwork through small, careful strokes.
- Use a black Pitt Pen to correct mistakes. If your mistake isn’t too deep or too wide, you can go over the area with black Ampersand Scratchboard ink or a black Pitt Pen. You will need to gently wipe over it with your finger (without smudging it too much) in order to prevent it from being too glossy when it dries.
- Always test out your scratching strokes on your scratchboard before you begin your artwork.
Try out these four tonal techniques to create a range of values.
Stippling – using a sharp tool to scratch out tiny dots. The closer the dots are together, and the more dots you use, the lighter the area on your scratchboard becomes.
Hatching – scratching outlines onto your board. The closer the lines are together, and the more lines you include, the lighter the highlights are.
Cross-hatching – Scratching outlines that cross over one another. The closer the lines are together and the more lines you add, the lighter the area becomes.
Scribbling – Using scribbled loose lines to create highlights. Once again, the tighter the lines are together the lighter the area becomes.
Read my article on How to Start Drawing for more info on tonal techniques…
**This page may contain affiliate links to products I have used or recommend. If you purchase something from this page, I may receive a small percentage of the sale at no extra cost to you.**
What do you need for scratch art?
You need a scratchboard surface to work on. You can make your own at home [this helpful video shows you how]
You can also buy a premade scratchboard. I have tested out many premade scratchboards and often they can be very hard to work on.
This scratchboard works very well and you can easily make marks on the surface.
The PokonBoy Scratchboard is also lovely to work on and quite fun having the rainbow colors beneath the black.
For more professional grade scratchboard Ampersand scratchboard is the way to go. This is easy to work on and has a very professional finish.
What tools do you need for scratchboard art?
You can use the following from home:
Craft knife
Metal or wooden skewer stick
Needle
Fish fork
Hair Pin
Mechanical pencil (without lead)
Formal scratching tools:
Artists glove
Stylus
Scraper
Clean brush
Scalpels
Dental knives
Dry points (metal plated tools used for etching)
Etching needles
Scribers (rods with cast steel tips)
I recommend this Scratch Art Tool Kit which I found to be quite economical and good to start with. It also comes with a handy artist’s glove to prevent you from damaging your artwork. This glove can also be used when drawing or painting too so has a few uses.
It is always a good idea to test out your “found tools” on your scratchboard in order to work out what works and what doesn’t. Household tools are great to start with and easy to find, but you can also purchase more specialized tools. These help to create a greater range of textures and offer more control over your scratching.
Here is a list of scratchboard art ideas that might spark your imagination!
Plants
Animals
Faces
Movement of bodies
Hands or Feet
Shoes
Cars
Skateboards
Aeroplanes
Trains
Bicycles
Buildings
Religious architecture (Mosques, Churches, Synagogues etc.)
Patterns
Landscapes
Dreams
Dreamscapes
[Related article: How to Draw a Background | 11 Easy Tips for Beginners]
Conclusion
Scratchboard art is an exciting medium to work in and has a longstanding history. By exploring various techniques on scratchboard art you can achieve beautiful results. I hope you feel inspired to go and make some scratchboard art! I would love to hear about your experiences with this medium…keep in touch!
Other articles you may enjoy…
How to Get Ideas for Drawing: 31 Ways to Find Unique Ideas
How to create the illusion of depth in Art
Free Cow Print SVG & PNG for A…moo…zing Crafts: Download Now!
