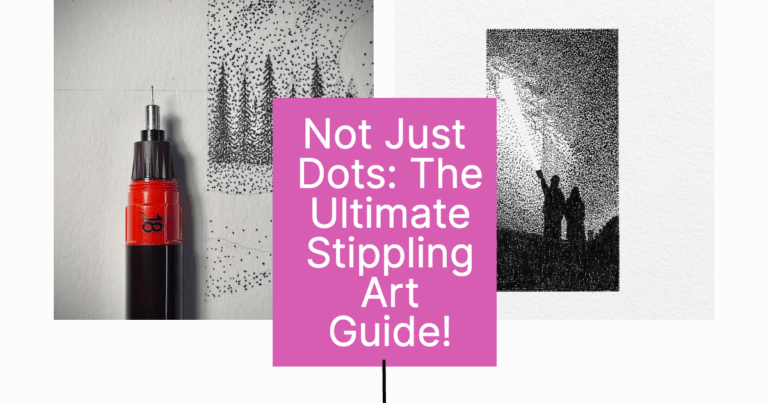
Hey, Art Adventurer! Ever stared at a masterpiece and thought, ‘How the heck did they do that with just dots?!’ Welcome to the mesmerizing world of stippling art!
You’ve probably stumbled upon those intricate artworks at galleries, on Instagram, or even tattoo parlors, where thousands of tiny dots come together to form incredibly detailed pieces.
It’s like magic, but instead of a wand, artists wield a pen. But guess what? You don’t need to be a sorcerer to get in on this spellbinding action!
Whether you’re a doodler, a seasoned artist, or someone who just wants to try something new, this beginner’s guide to stippling art is your one-way ticket to creating your own dot-tastic masterpieces.
Let’s get dotty with it! 🎉”
Understanding Stippling Art
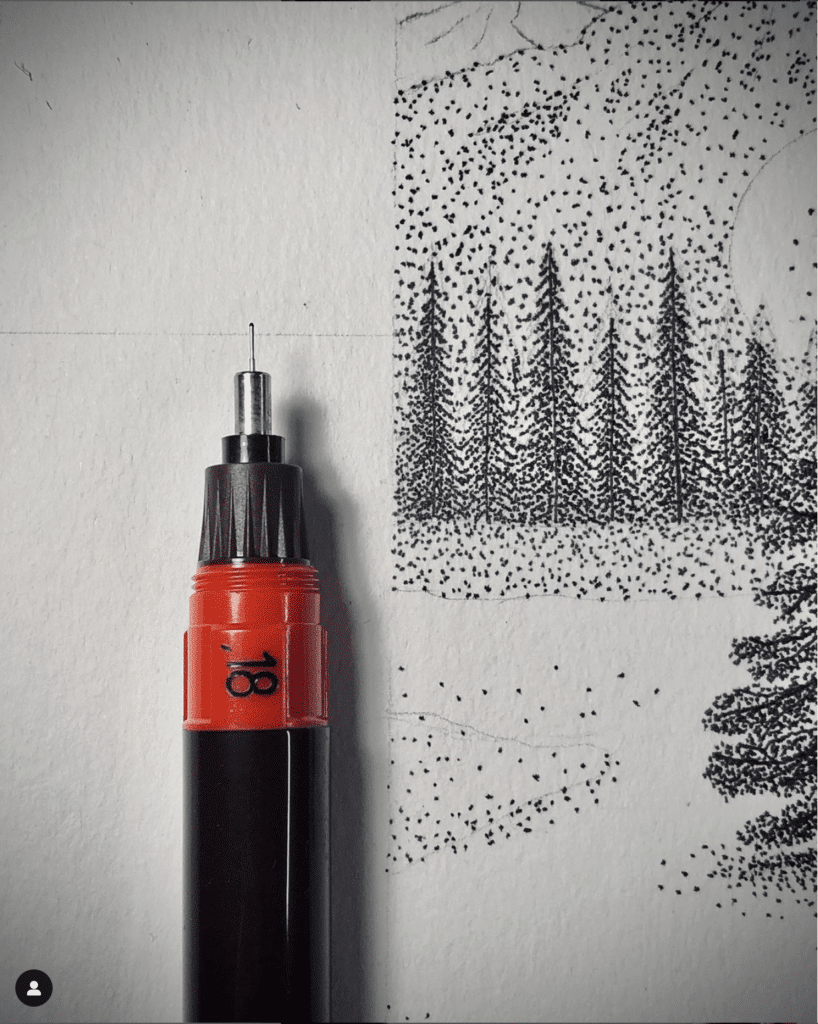
Let’s examine what stippling art is.
Definition of Stippling Art
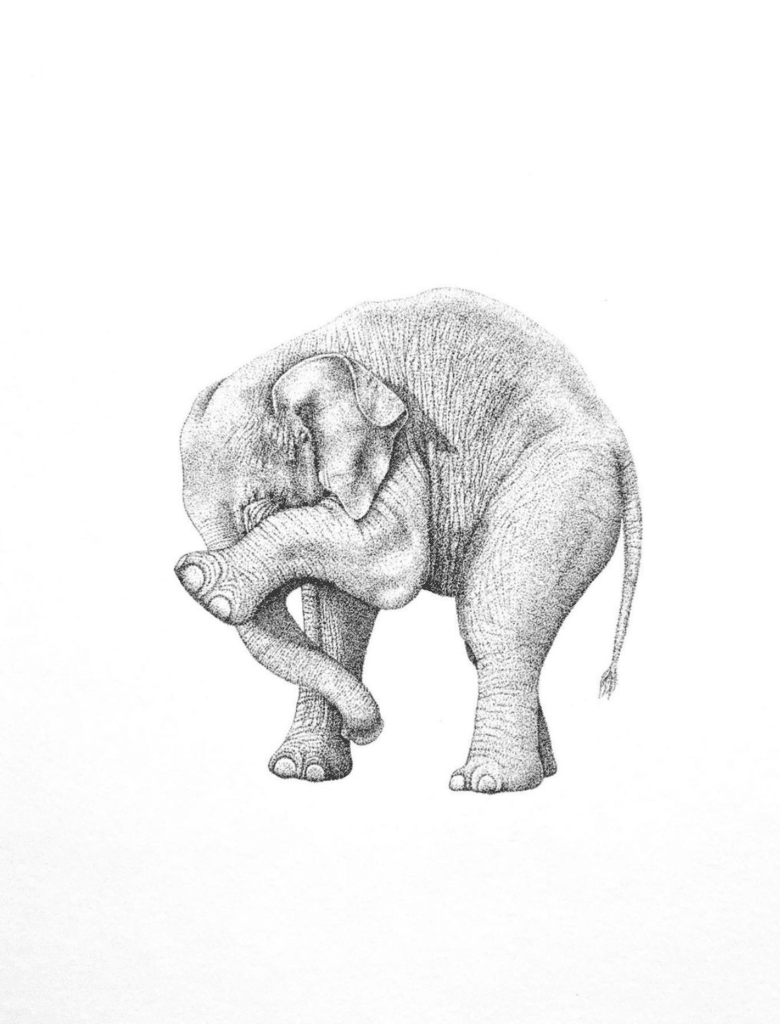
Stippling refers to a drawing technique that involves creating images, patterns, and textures using tiny dots.
Instead of using straight lines or shading, the artist uses a drawing tool of sorts to draw hundreds and thousands of tiny dots or dashes to create smooth gradations of line, tone, and shade.
The dots can be applied using different mediums like ink, pencil, pen, and even in digital format.
Stippled drawing is usually done using a single color, with black and white being used the most. The lightest point is white and the darkest point is
Stippling Technique
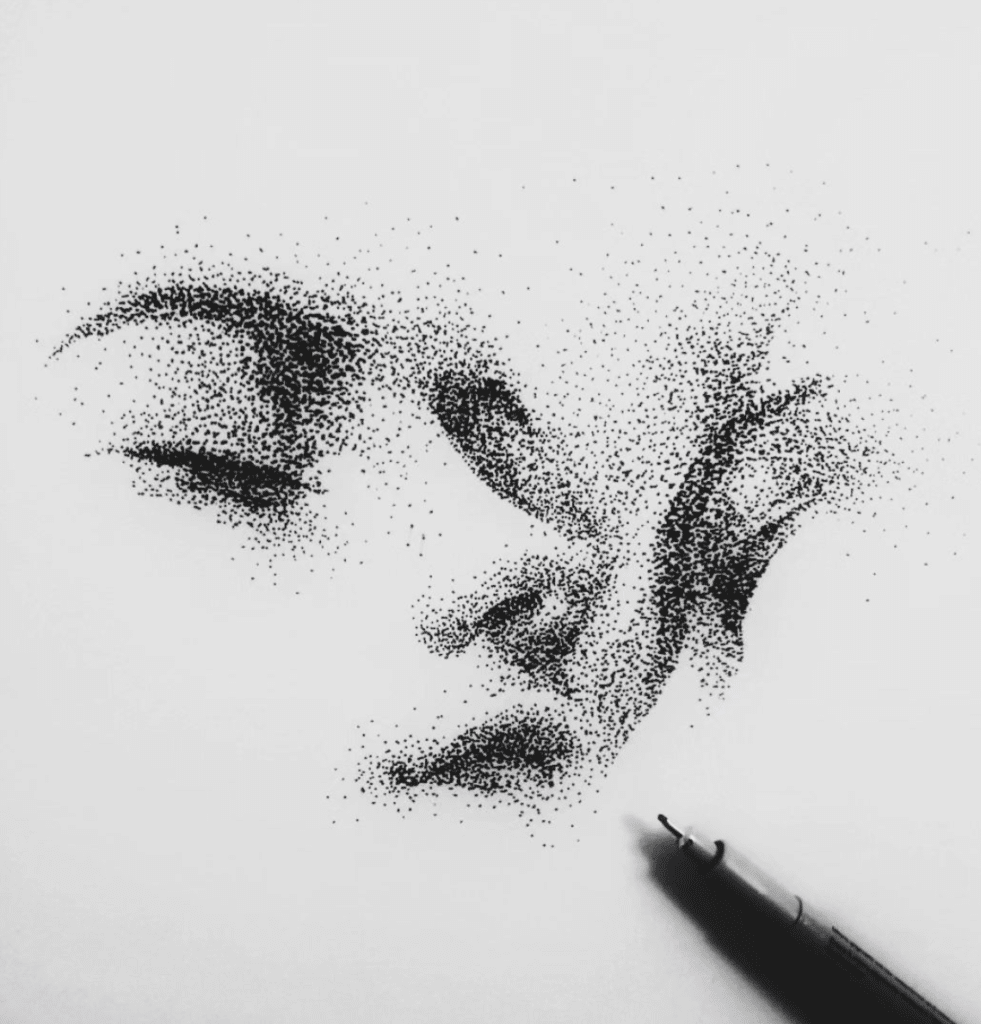
To create a stippling art piece, you start by drawing an outline of the object or image you want to create.
Then, you begin adding dots to the image, varying the size and spacing of the dots to create different tones and textures.
Dots spaced closer together make the area appear darker. Whilst, the farther apart the dots are, the lighter the area will appear.
This technique requires patience and a steady hand, as it can take a long time to create a detailed stippling piece.
**This page may contain affiliate links to products I have used or recommend. If you purchase something from this page, I may receive a small percentage of the sale at no extra cost to you.**
Stippling Vs Pointillism
Stippling art is often compared to pointillism, a painting technique developed in the 19th century by artists such as Georges Seurat and Paul Signac.
While both techniques use small dots to create images, stippling is done with a pen, ink, or pencil, while pointillism is done with paint.
Additionally, pointillism is typically done in a wider range of colors, while stippling is usually done in black and white.
Stippling vs. hatching and Crosshatching
Stippling is also often compared to hatching and crosshatching, two other drawing techniques that involve creating shading and texture using lines.
However, stippling differs from hatching and crosshatching in that it uses dots instead of lines.
Additionally, hatching and crosshatching are typically done with a pen or pencil, while stippling can be done with a wider range of mediums.
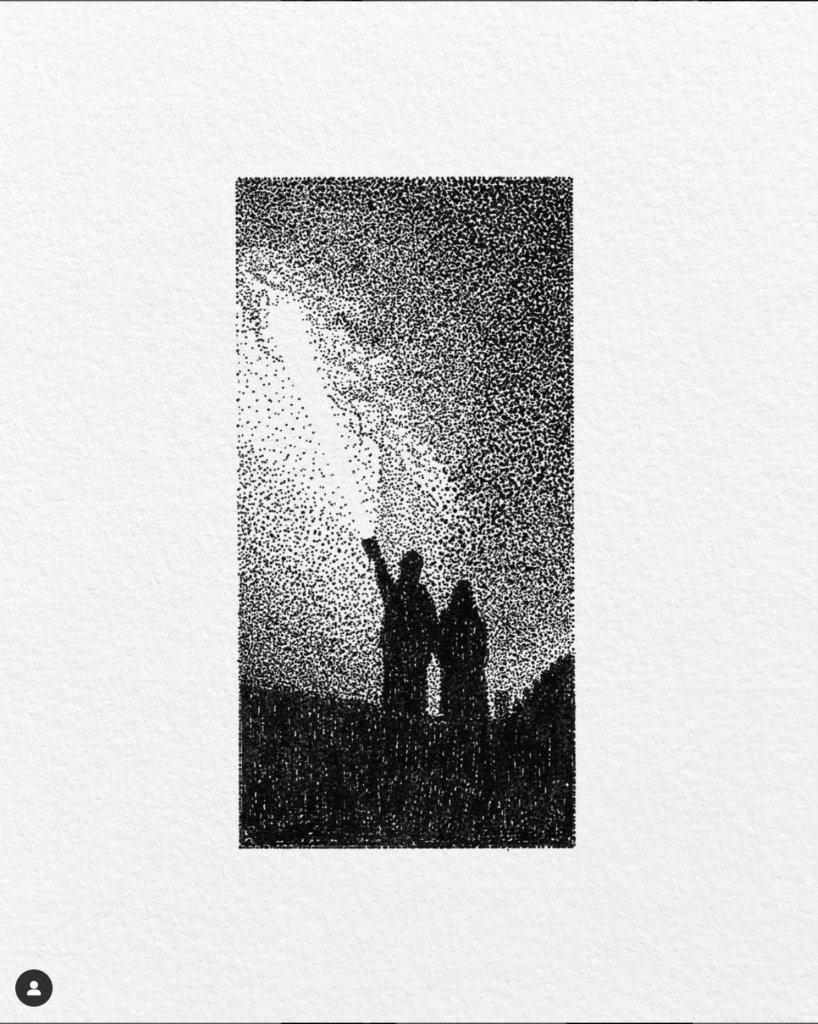
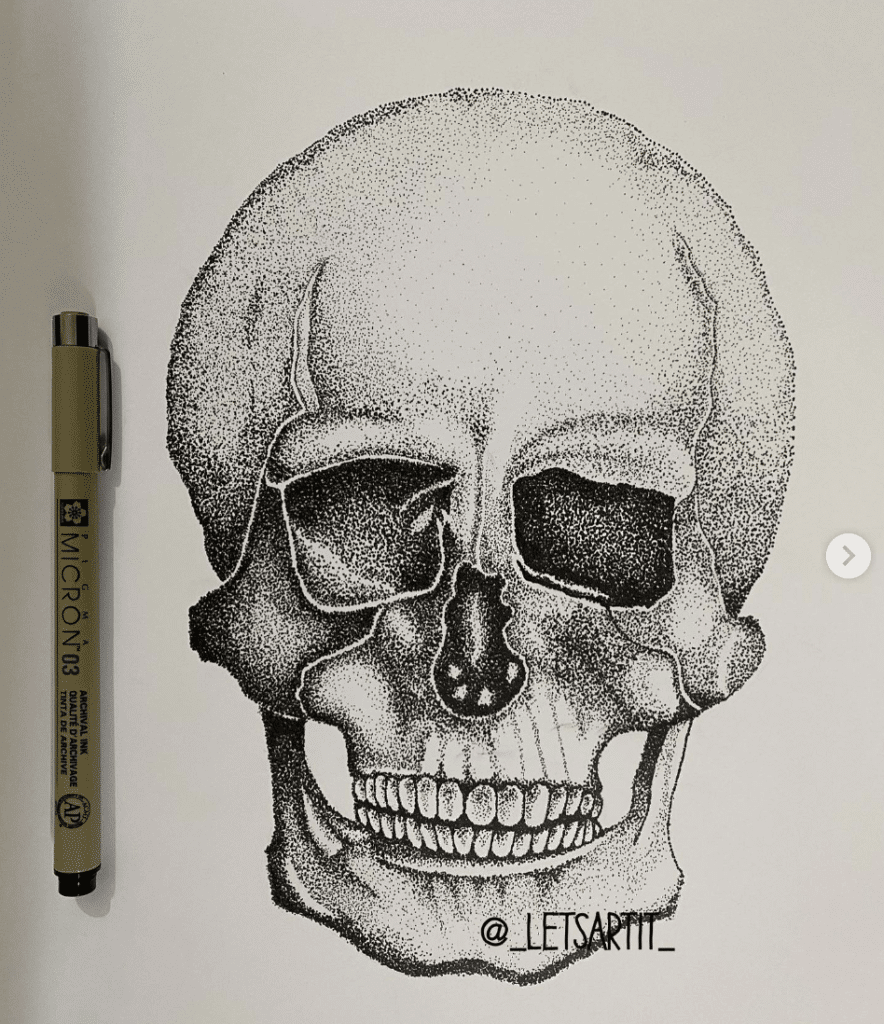
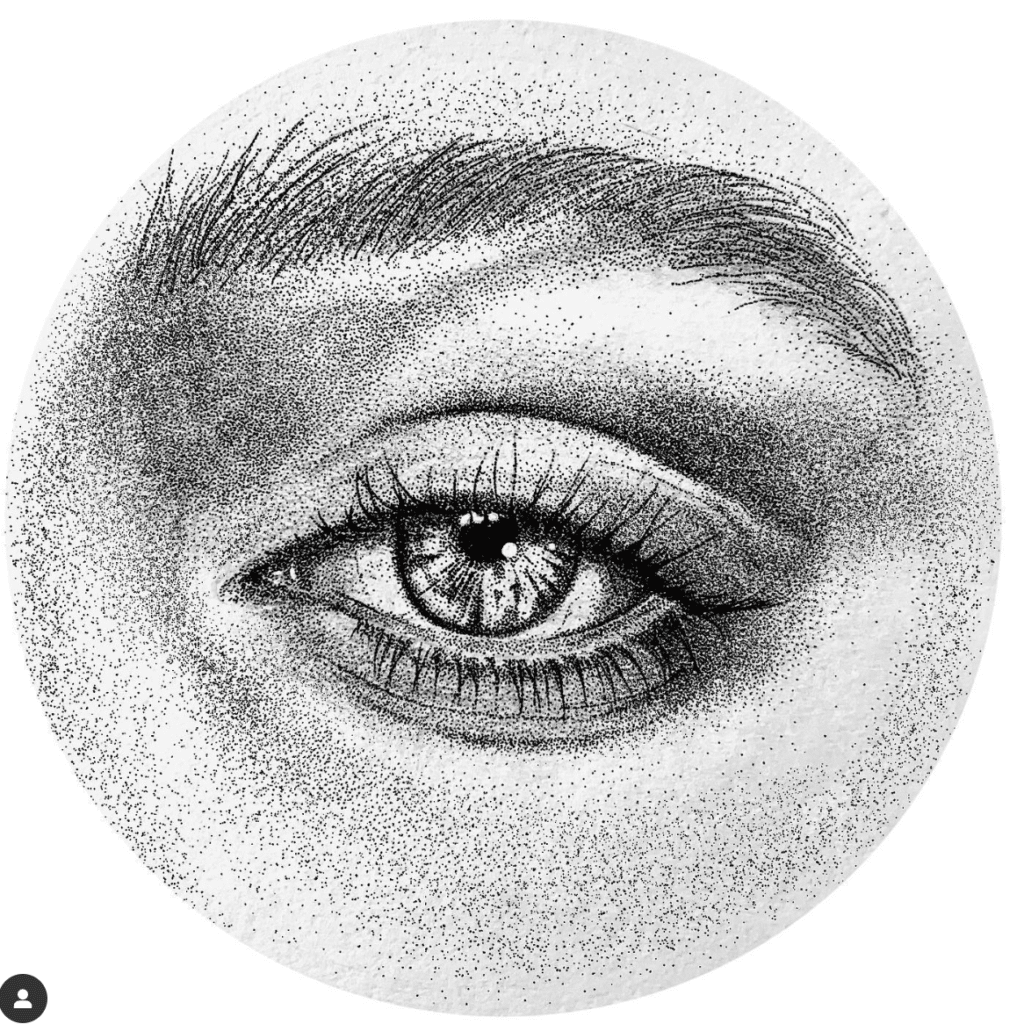
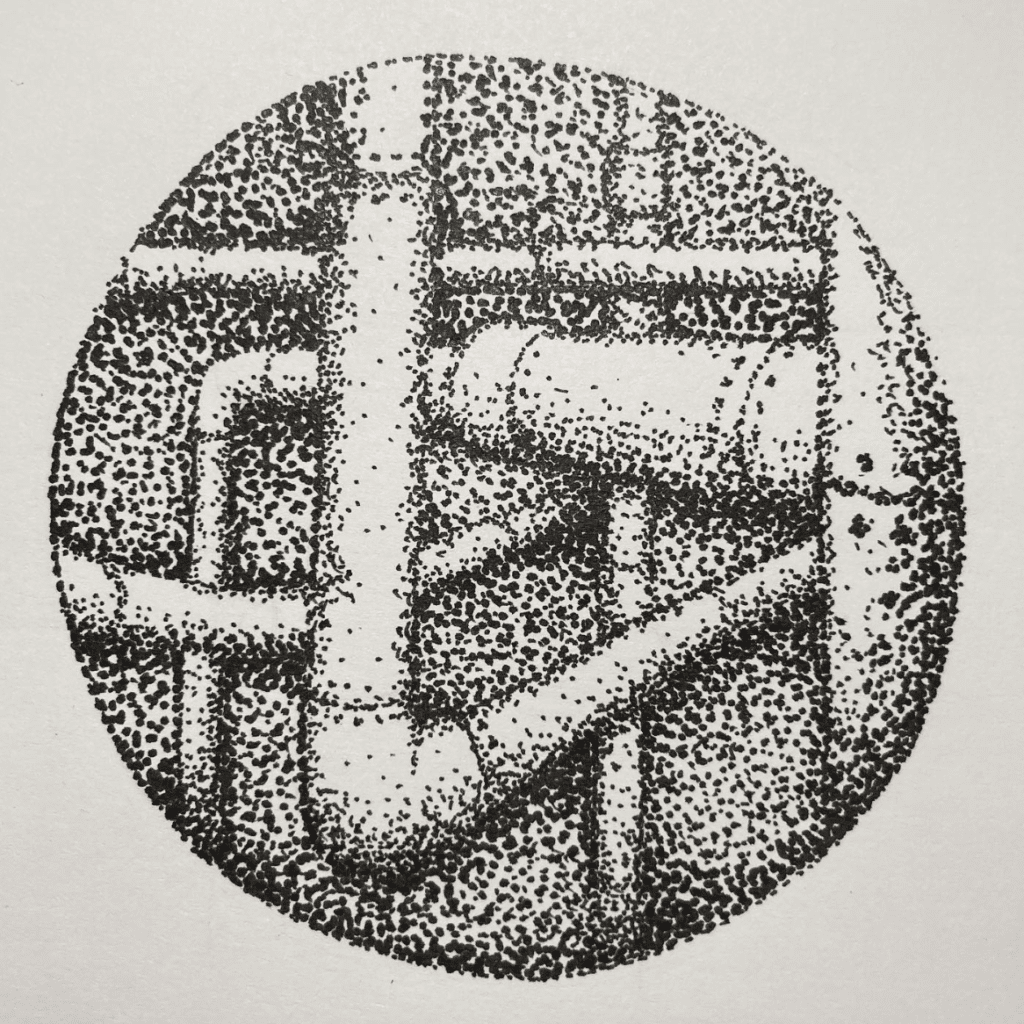
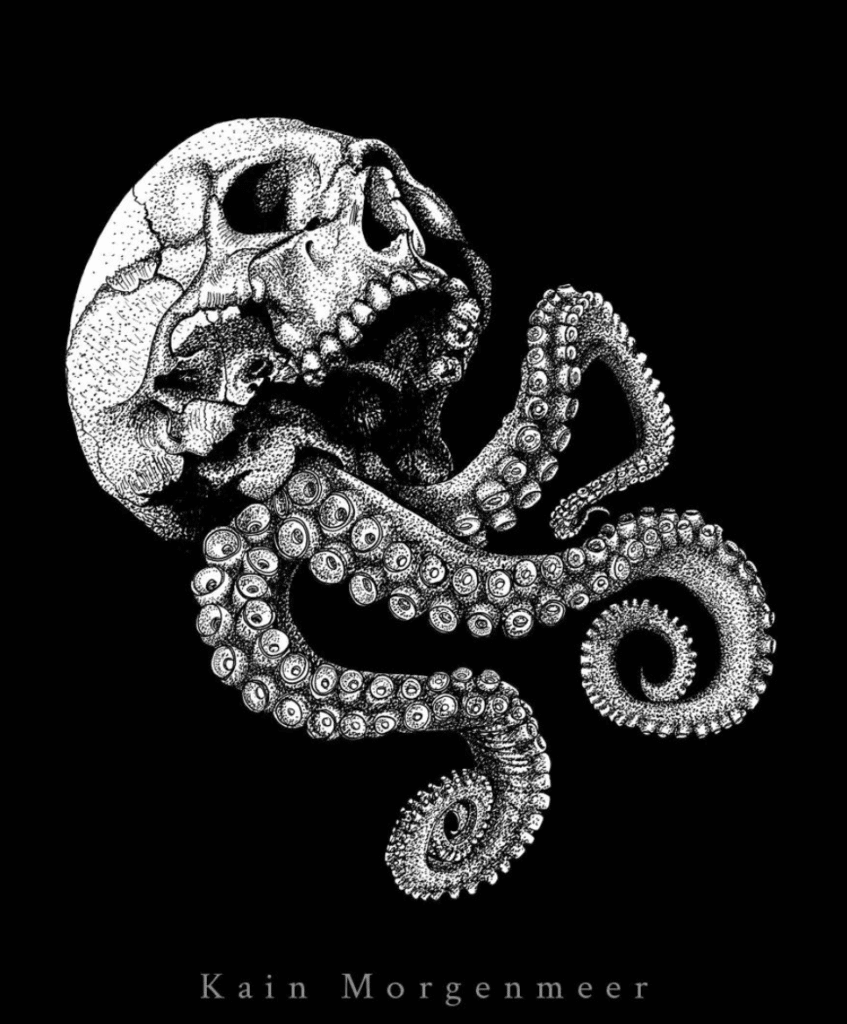
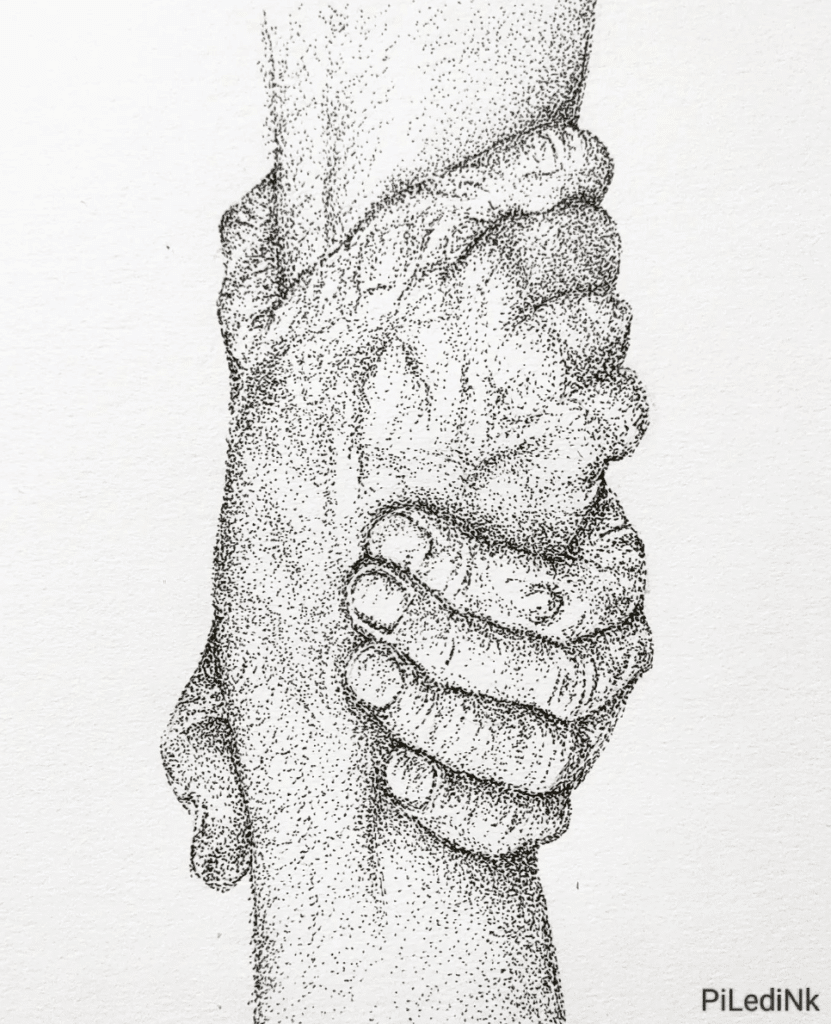
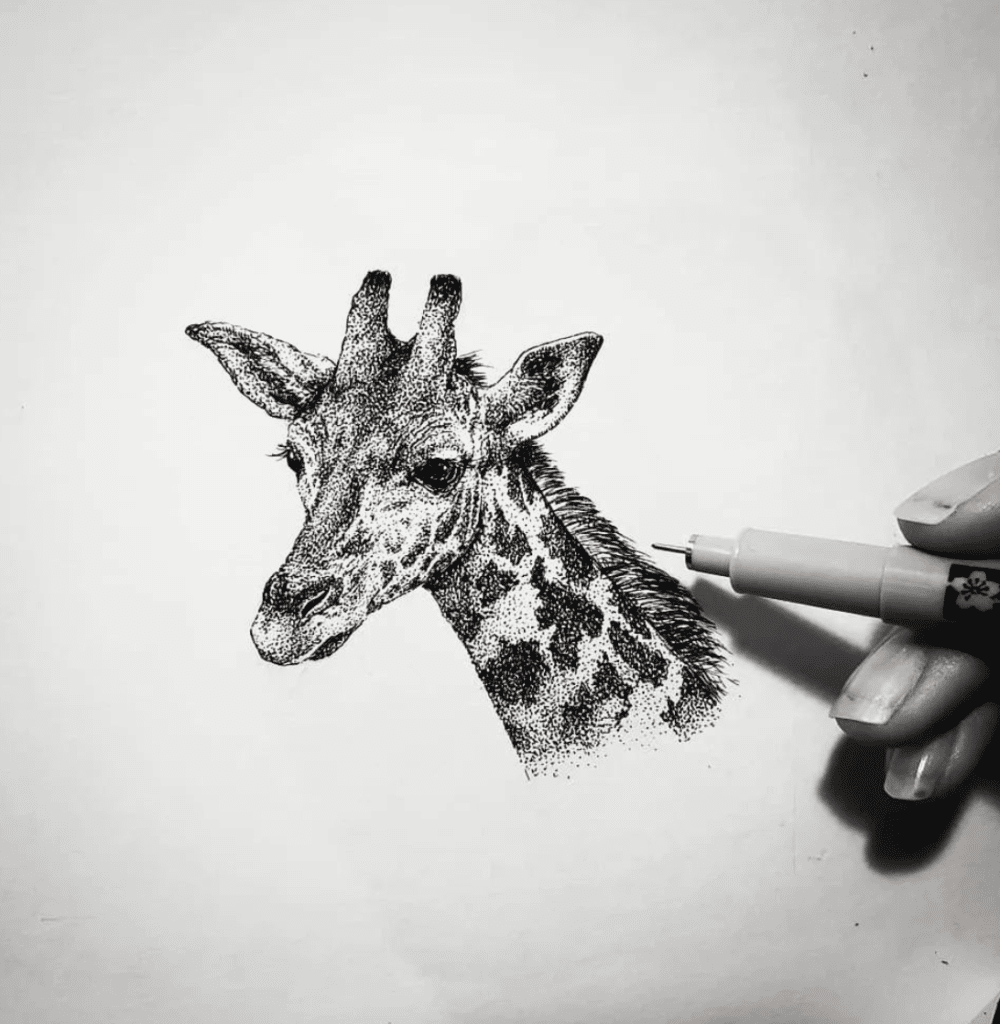
Stippling Art Artists & Examples
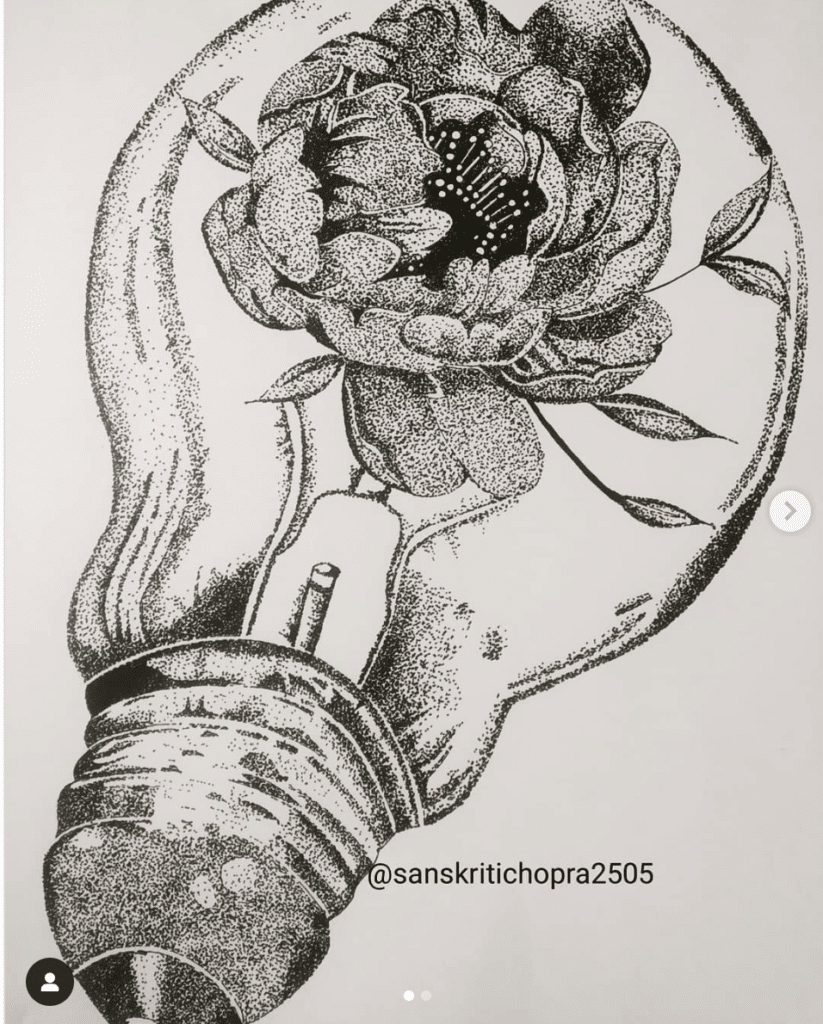
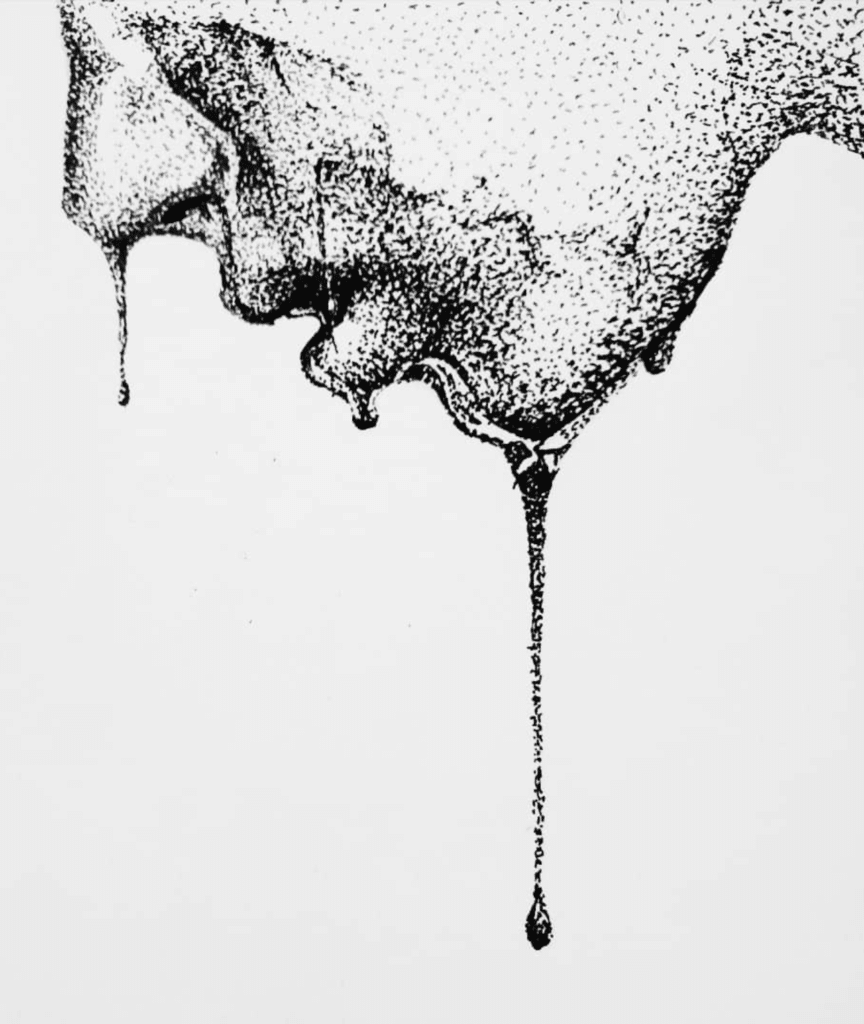
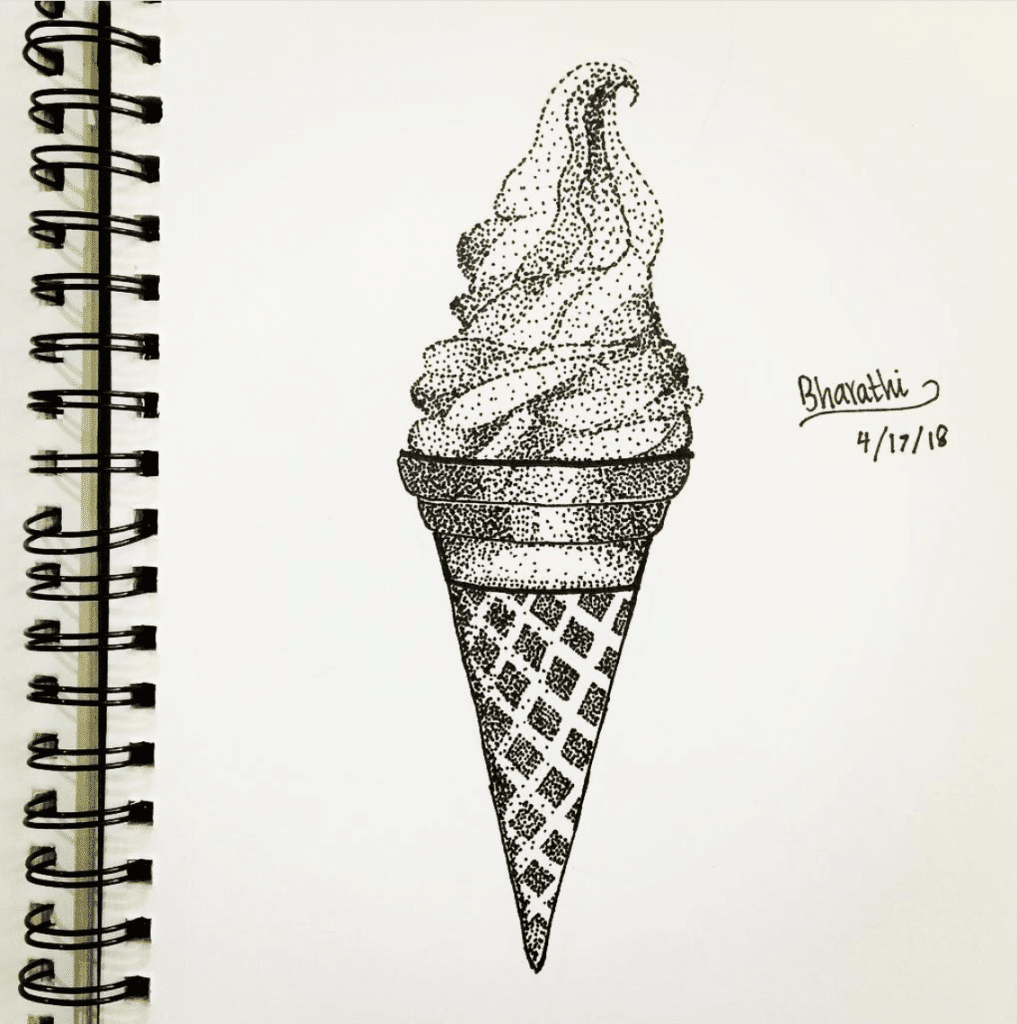
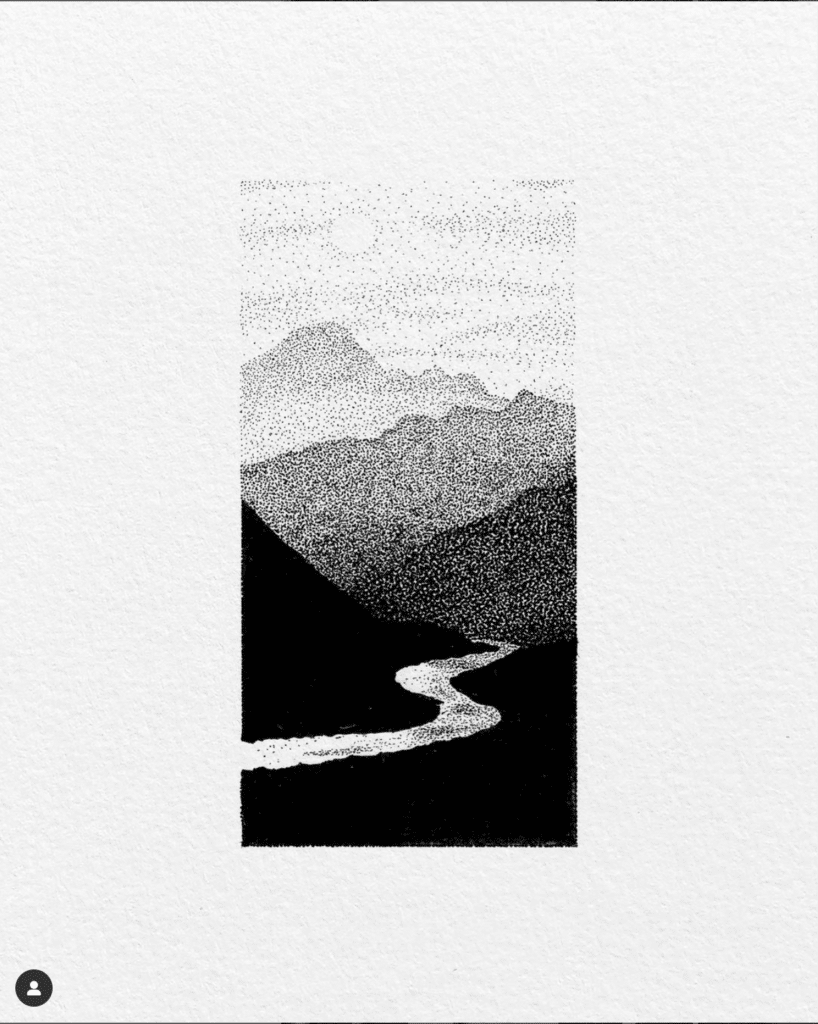
Materials for Stippling Art
Stippling art is a fun and creative way to make beautiful designs and patterns with small dots. To get started, you need to have the right materials.
Here are some suggestions for choosing the best materials for your stippling art.
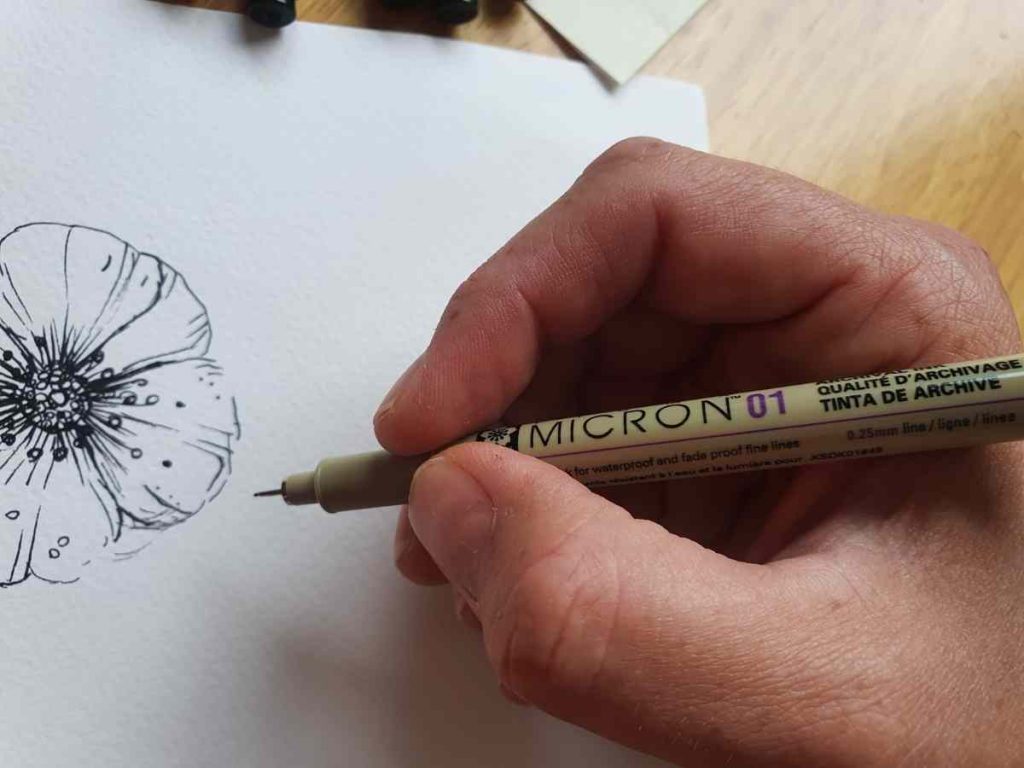
Choosing the Right Pen
The pen is the most important tool for stippling art. You need a pen that can make small, consistent dots. Here are some types of pens that work well for stippling:
- Micron pens: These are popular among artists because they come in a variety of sizes and produce consistent dots.
- Copic pens: These are refillable and come in a range of colors, making them a good choice for artists who want to experiment with different shades.
- Artist’s Loft pens: These pens are affordable and easy to find at most art supply stores.
- Staedtler pens: These are high-quality pens that produce consistent dots and come in a range of sizes.
Experiment with different types of pens to find the one that works best for you. You may prefer a certain brand or size depending on your personal preference and the type of artwork you want to create.
Read my article on How to Use Micron Pens the right way.
Selecting the Paper
The paper you use for stippling art should be smooth and able to handle multiple layers of ink. Here are some types of paper that work well for stippling:
- Bristol board: This is a smooth, heavy-weight paper that is great for stippling. It comes in different thicknesses and is available at most art supply stores.
- Marker paper: This paper is designed to handle a lot of ink and won’t bleed through. It’s a good choice if you want to use markers or other wet mediums in your artwork.
- Watercolor paper: This paper is thick and able to handle multiple layers of ink. It’s a good choice if you want to use watercolor or other wet mediums in your artwork.
When selecting paper, consider the type of ink you will be using and the size of your artwork.
You may prefer a certain thickness or texture depending on your personal preference and the type of artwork you want to create.
Other Supplies
In addition to pens and paper, there are a few other supplies you may need for stippling art:
- Pencil: You can use a pencil to sketch out your design before you start stippling.
- Paint: You can use paint to add color to your artwork.
- Mechanical pencils: You can use a mechanical pencil to create precise lines and details in your artwork.
- Ballpoint pens: You can use a ballpoint pen to create a different type of dot than a traditional stippling pen.
Experiment with different supplies to find the ones that work best for you. Remember, stippling art is all about experimentation and creativity. Have fun and don’t be afraid to try new things!
Creating Stippling Art
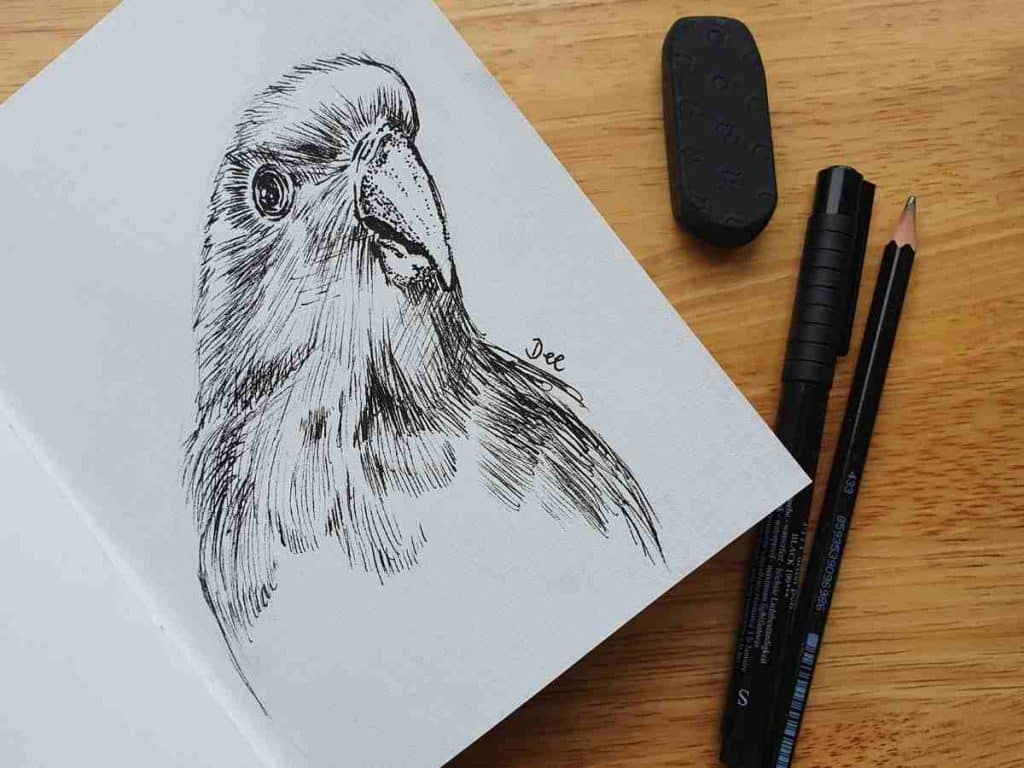
Stippling art is a unique and fascinating drawing technique that involves creating images using small dots.
If you’re interested in creating stippling art, you’ll need to master a few techniques to get started.
Drawing Techniques
Before you start your stippling project, it’s important to have a good pencil sketch of your subject. The more detailed your sketch, the easier it will be to create your stippling drawing.
Once you have your sketch, you can start stippling by using small dots to create your image. You can use different sizes of dots to create different effects and textures.
Shading Techniques
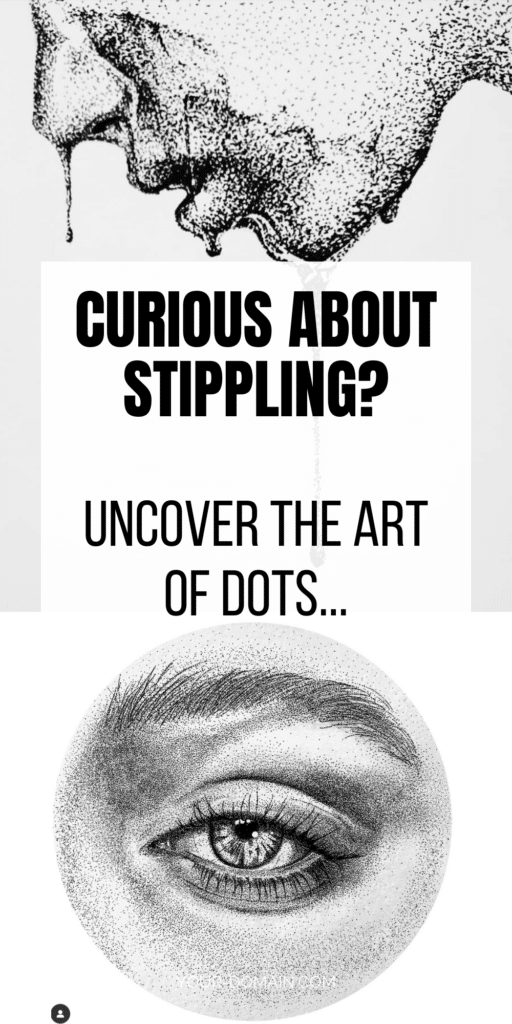
Shading is an important part of stippling art. You can create different shades by varying the size and density of your dots. To create highlights, you can use fewer dots or leave areas of the paper blank.
To create shadows, you can use more dots or create a gradient effect by using larger dots in some areas and smaller dots in others.
Creating Depth and Texture
To create depth and texture in your stippling art, you can use different techniques. For example, you can use thicker dots or apply more pressure to create areas of thicker texture. Read this article for more tips on how to create depth in art.
You can also use thinner dots or apply less pressure to create areas of lighter texture. By varying the placement and consistency of your dots, you can create a unique and interesting stippling drawing.
When creating stippling art, it’s important to have patience and precision. Stippling requires a lot of time and attention to detail, but the end result can be truly stunning.
Experiment with different tools, including pens, pencils, and brushes, to find the right one for your style. With practice, you can create beautiful stippling drawings that showcase your unique artistic talent.
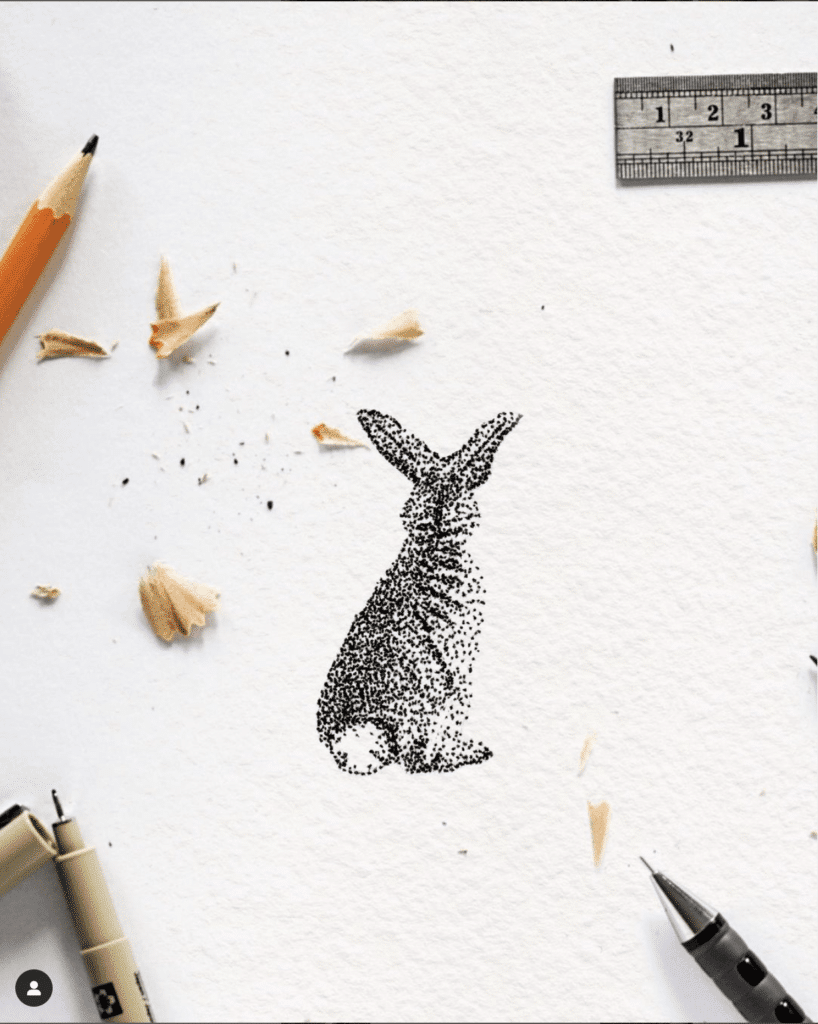
How to Create Stippling Art Step-by-Step
- Materials: Grab a fine liner pen and smooth, thick paper.
- Sketch: Lightly outline your subject with a pencil.
- Dot Density: Dots close together for dark areas, spaced out for light ones.
- Start with Shadows: Begin stippling in the darkest parts.
- Gradual Building: Move to mid-tones, adjusting your dot spacing.
- Layer for Depth: Overlap dots in areas that need to be darker.
- Erase Pencil Lines: Ensure ink is dry first to avoid smudges.
- Admire & Share: You did it!
Practice makes perfect! Keep at the stippling process and enjoy the journey.
Practicing Stippling Art
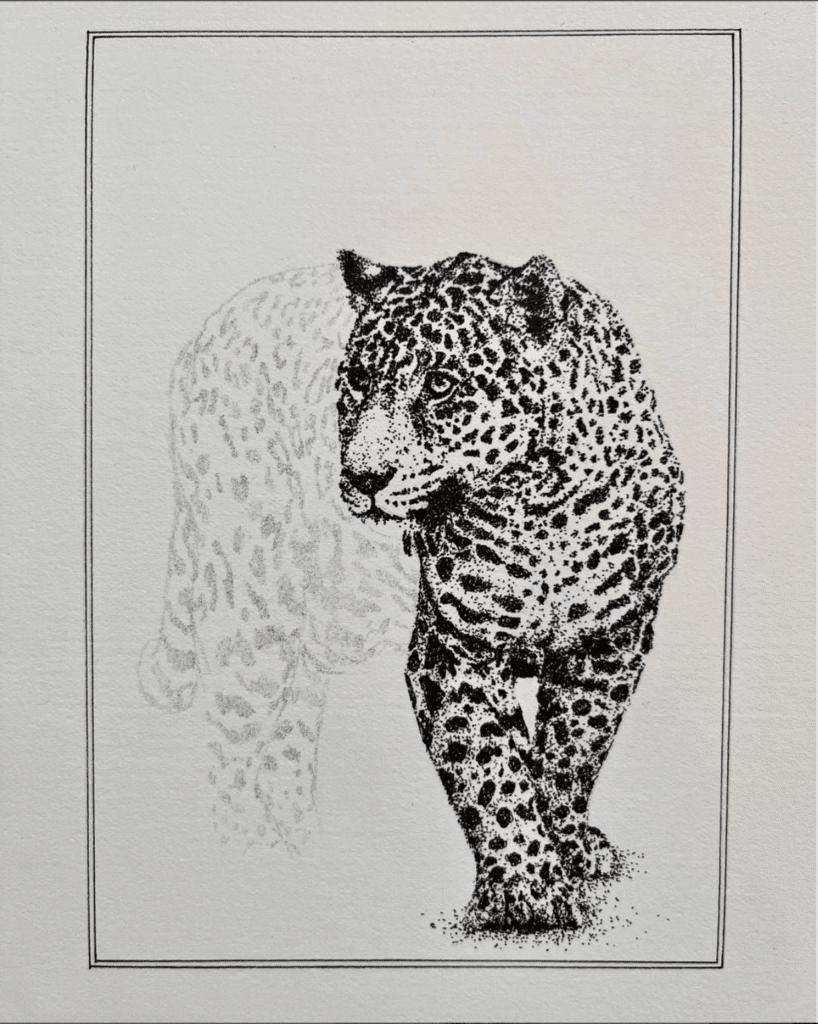
If you’re new to stippling art, practicing is key to improving your skills. Here are some tips for practicing stippling art:
Starting with Simple Shapes
Start practicing with simple shapes, such as circles, squares, and triangles. This will help you get a feel for how to create different textures and tones with dots.
You can also practice stippling still-life objects, such as fruits or flowers, to add more complexity to your practice.
Moving to Complex Images
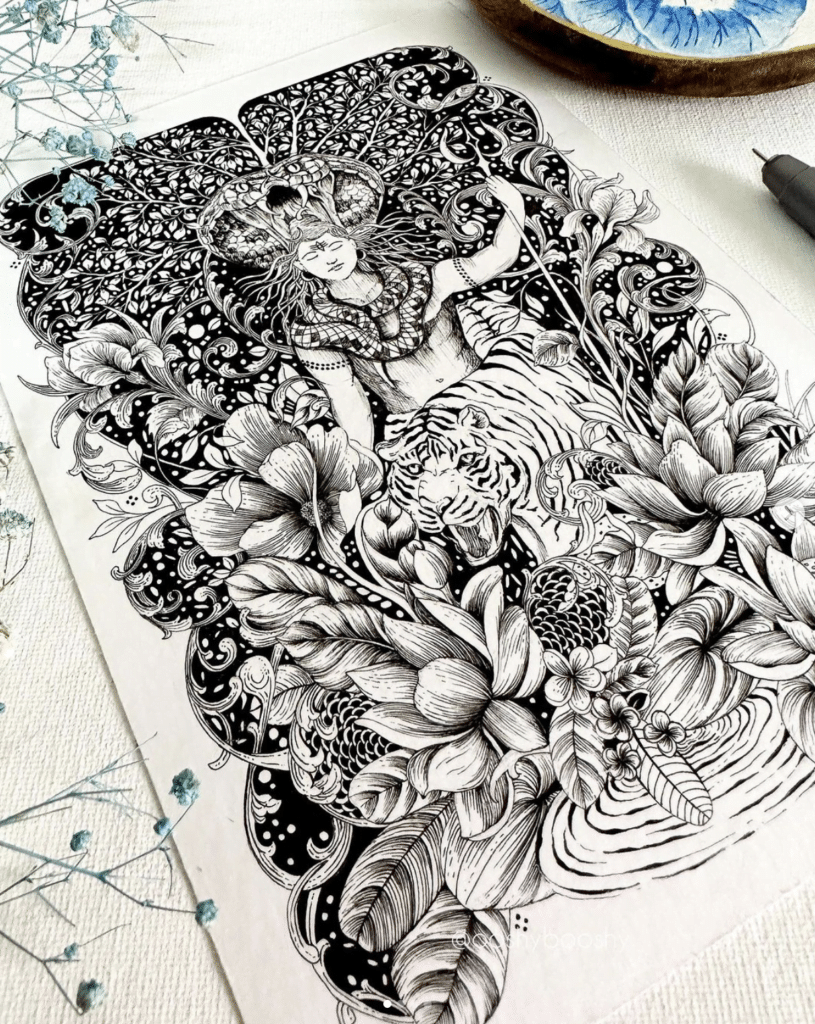
Once you feel comfortable with simple shapes, you can move on to more complex images. You can find images online or in printmaking books to use as references.
Start with images that have fewer details and work your way up to more complex images. Remember to start with a pencil sketch before you begin stippling.
Experimenting with Mediums and Techniques
Experiment with different mediums and techniques to find what works best for you. You can use ink, pen, pencil, or even digital formats to create your stippling art.
Try different dot sizes, densities, and spacing to create different effects. You can also experiment with shading and layering to add depth to your work.
Benefits and Drawbacks of Stippling Art
Stippling art is a unique and creative way to produce beautiful and intricate pieces of art. However, like any other art form, it has its benefits and drawbacks. In this section, we will explore the positive aspects and challenges of stippling art.
Positive Aspects
Relaxing
Stippling art is a relaxing and meditative process that can help you reduce stress and anxiety. The repetitive motion of creating small dots can be soothing and calming, allowing you to focus on the present moment and forget about your worries.
Attractive
Stippling art can produce stunning and attractive results. The use of small dots can create a sense of depth and texture that is unique and eye-catching. The contrast between light and dark areas can also add drama and interest to your artwork.
Forgiving
Stippling art is a forgiving medium that allows you to make mistakes and still produce a beautiful piece of art. Unlike other mediums, such as paint or ink, stippling allows you to easily cover up mistakes or start over without ruining your artwork.
Affordable
Stippling art is an affordable medium that requires minimal supplies. All you need is a pen or pencil and paper, making it a great option for beginners or artists on a budget.
Challenges
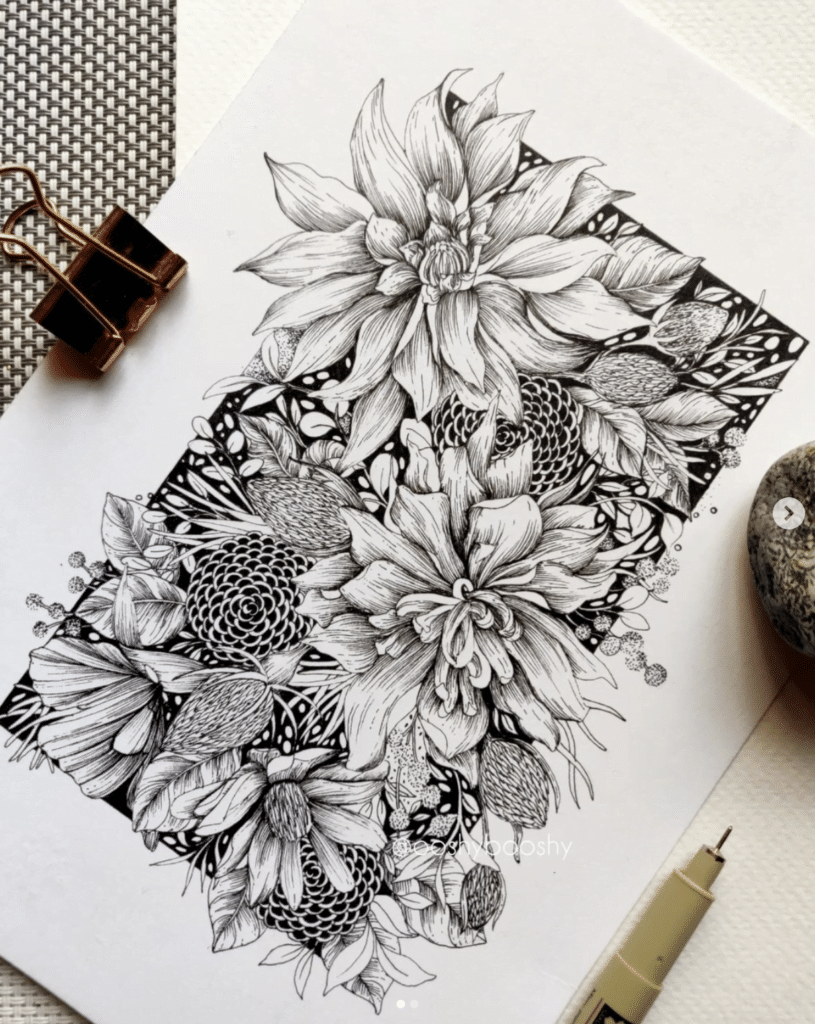
Mistakes
While stippling art is forgiving, it can still be challenging to create a flawless piece. Small mistakes can be noticeable and difficult to correct, requiring a steady hand and patience.
Contrast
Creating contrast and depth can be challenging in stippling art. It can be difficult to achieve the right balance between light and dark areas, and mistakes can be difficult to correct.
Time-Consuming
Stippling art is a time-consuming process that requires patience and dedication. Creating intricate designs and patterns can take hours or even days to complete, making it a challenging medium for those with limited time.
Notable Stippling Artists and Works
Pablo Jurado Ruiz
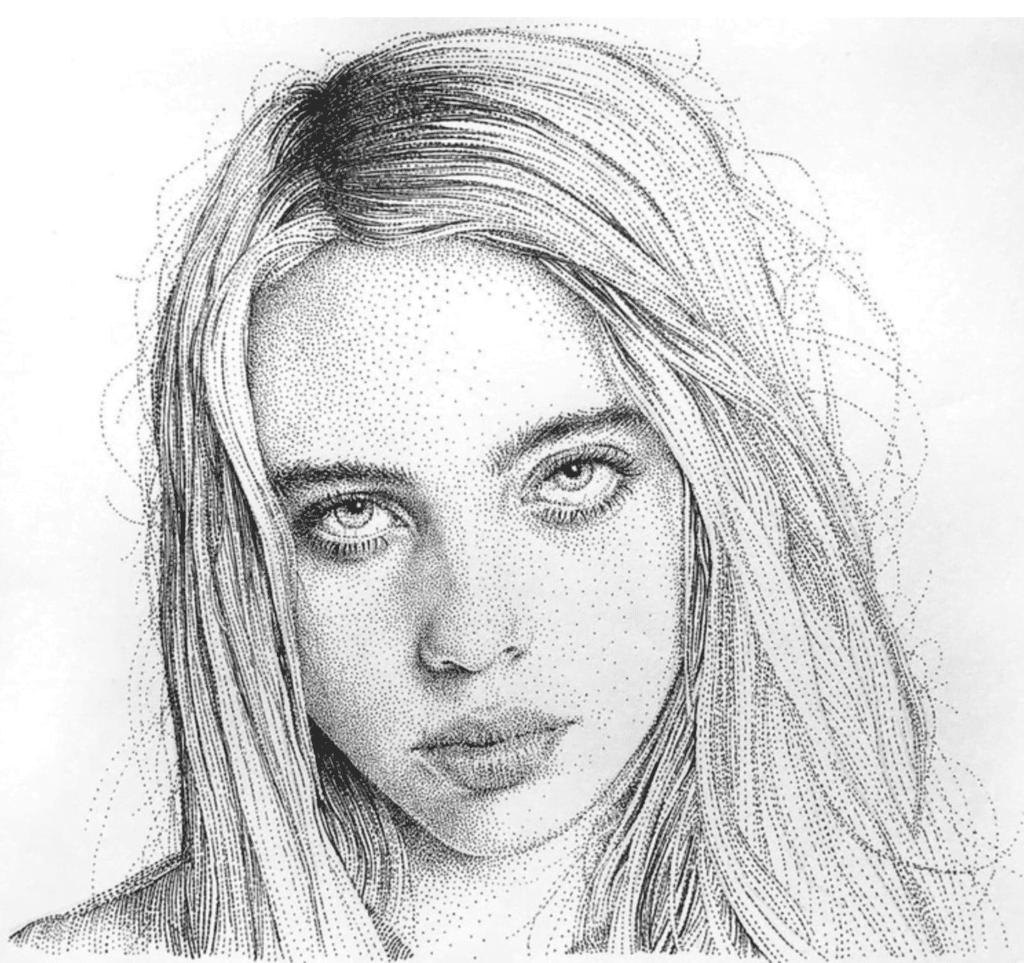
Pablo Jurado Ruiz is a Spanish artist who is known for his incredible stippling art. He has gained a lot of recognition for his work, which is often inspired by nature. Ruiz’s pieces are incredibly detailed and feature millions of tiny dots that come together to create stunning images.
One of Ruiz’s most notable works is his piece titled “The Forest,” which depicts a dense forest scene. The piece is incredibly detailed and features a wide range of tones and shades. Ruiz’s use of stippling in this piece is particularly impressive, as he is able to create a sense of depth and texture that is truly remarkable.
Another notable work by Ruiz is his piece titled “The Wave,” which depicts a large wave crashing against the shore. The piece is incredibly dynamic and features a wide range of tones and shades that help to create a sense of movement and energy.
Other Artists…
While Pablo Jurado Ruiz is certainly one of the most notable stippling artists, there are many other artists who have also made significant contributions to the world of stippling art.
One such artist is Nicholas Baker, who is known for his nature-inspired stippling art. Baker’s pieces are incredibly detailed and feature millions of tiny dots that come together to create stunning images of animals and landscapes.
Another notable stippling artist is David Bayo, who is known for his highly-detailed stippled portraits. Bayo’s pieces are incredibly impressive, as they are composed of millions of meticulously placed, hand-drawn dots.
Other notable stippling artists include Giulio Campagnola, who is credited with inventing the stippling technique, and Georges Seurat, who is known for his use of pointillism, which is a similar technique to stippling.
Frequently Asked Questions
What are some tips for creating stippling art with flowers?
When creating stippling art with flowers, it’s important to start with a basic sketch of the flower you want to create. Then, begin adding dots to create shading and texture. Use a variety of dot sizes to create depth and dimension. Consider using different colors of ink or pencil to add interest to your flower design.
What are some techniques for creating stippling art of butterflies?
To create stippling art of butterflies, start with a basic sketch of the butterfly’s shape and wing pattern. Then, begin adding dots to create shading and texture. Use a variety of dot sizes to create depth and dimension. Consider using different colors of ink or pencil to add interest to your butterfly design. You can also experiment with creating a sense of motion by varying the direction of your dots.
Other articles you may enjoy…
How to Get Good at Drawing Fast: Tips and Tricks for Improving Your Skills Quickly
Drawing Tools Unleashed: Top Picks for Every Artist
The Ultimate Beginners Guide for Drawing on Black Paper with Colored Pencils
