
Last Updated on July 12, 2026 by Dee
Hello, budding artists and flower enthusiasts! Welcome to our step-by-step guide on creating an exquisite rose drawing. You don’t have to be a professional artist or botanist to capture the beauty of a rose on paper, all you need is the right guidance.
That’s where we come in. Whether you’re looking to polish your skills or explore a new hobby, our easy-to-follow tutorials are designed to help you master the art of rose drawing.
Let’s dive in and let your artistic journey bloom!
The first tutorial gives you a step-by-step breakdown of how to draw a rosebud and then how to paint it using a watercolor wash.
The second tutorial is how to draw an open pink rose from the side (also how to add a watercolor wash).
The third tutorial is how to draw an open, full red rose, using pencil, pen, and then coloring with Arteza Watercolor Brush Pens.
*This page may contain affiliate links to products I have used or recommend. If you purchase something from this page, I may receive a small percentage of the sale at no extra cost to you.**
So let’s begin our step by step tutorial…
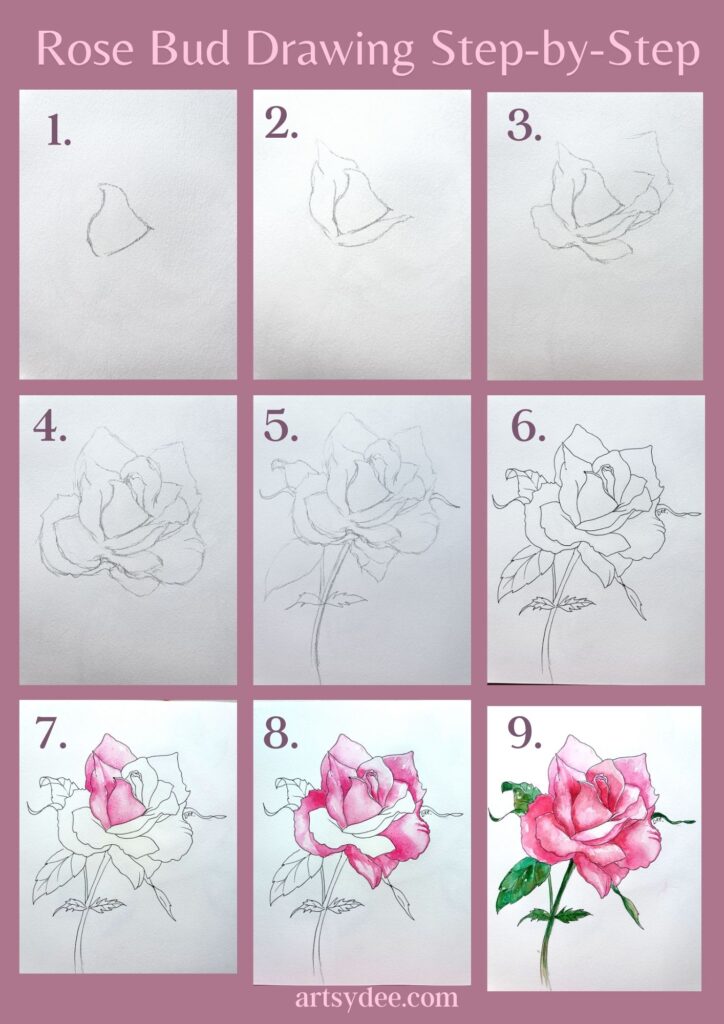
Pink Rose Drawing (side view) Step-by-Step
Step 1: Draw the first petal.
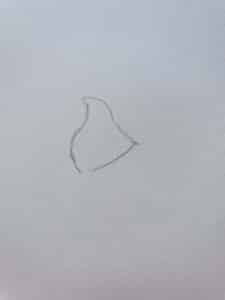
Lightly draw the first petal of the rose using soft pencil marks. This becomes the shape that anchors the rest of your drawing.
Step 2: Start filling in the additional rose petals.
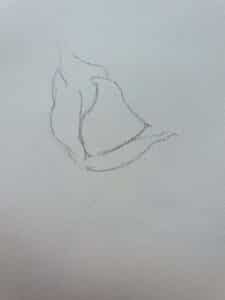
Start drawing in the first few rose petals around the center.
Step 3: Further rose petals.

Continue drawing in the next rose petals.
Step 4: Final Rose Petals.

Draw the last rose petals.
Step 5: Rose stem and rose leaves.

Draw the long rose stem and the rose leaves.
Step 6: Go over the rose outline in pen.
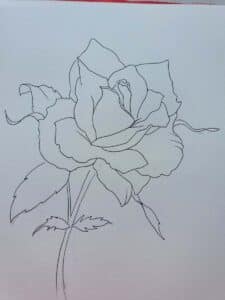
Using a permanent fine liner, go over the pencil outline using a pen. Once you have erased the pencil marks, you will have a pen drawing of a rose.
Step 7: Start paint watercolor washes onto the first rose petals.

To add color to your rose drawing, you can once again use watercolor washes.
I started out by painting washes of Rose Madder onto the first rose petals.
Step 8: Continue washes on rose petals.
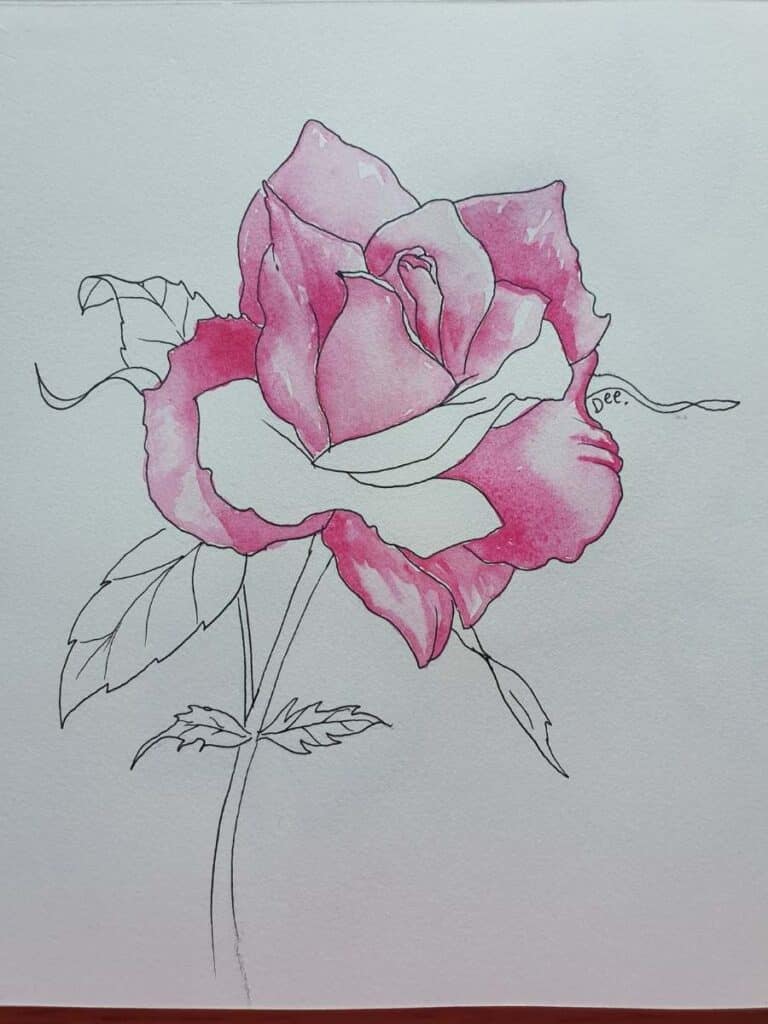
Continue layering your washes of Rose Madder to build up shadow and form.
Step 9: Paint rose stem and leaves.

Using Windsor Green paint the stem and the leaves.
How to Draw a Rose Bud
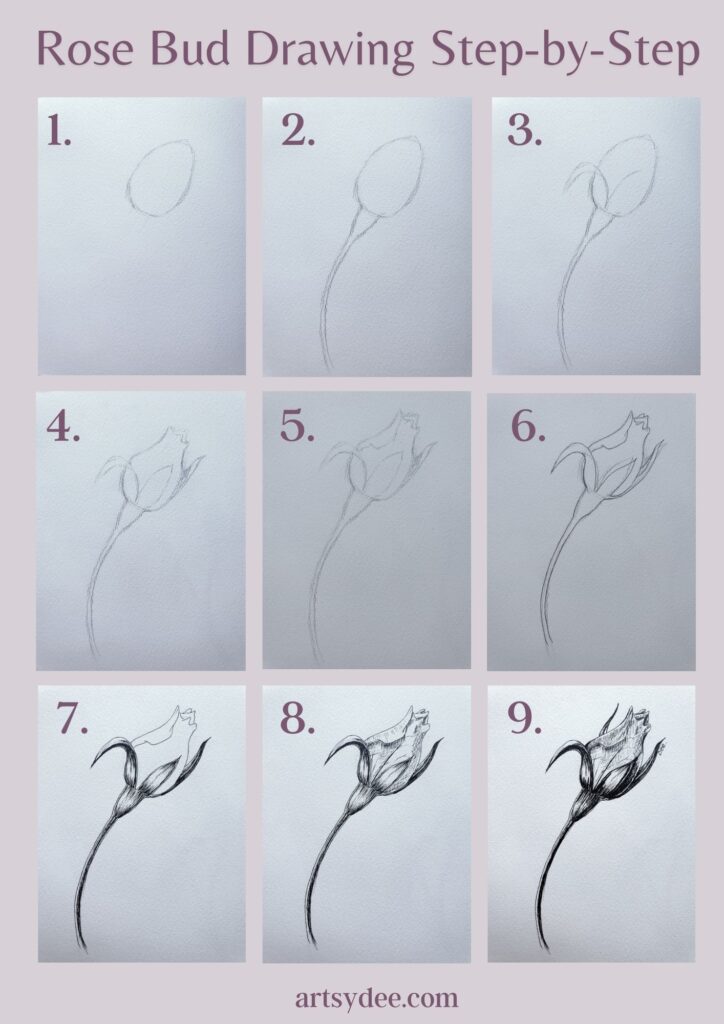
Step 1: Composition and rough drawing of the general shapes of the rosebud

I recommend using a 2B lead pencil to first softly sketch out the general shapes and curved lines of the head of the rosebud. Make sure you are applying only a very light pressure onto the pencil to achieve very light pencil marks on the page.
I started my rosebud drawing by sketching out the slightly curved line of the oval shape of the head of the rosebud. The petals would fit into this shape.
Step 2: Draw the rosebud stem.

When drawing roses I find that a long rose stem attached to the rosebud gives it and elegant appeal. Draw two long curved lines attached to the rose bud.
Step 3: Draw the first leafy petals.
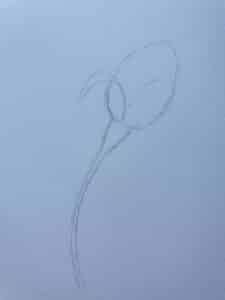
Lightly draw the tapering leaves that are curling open, and the rose unfurls.
Step 4: Draw the shape of the rosebud itself.

Draw curved lines of the rose itself.
Step 5: Draw the overlapping petal.
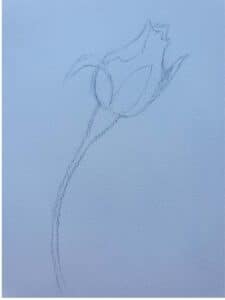
Draw the petal that overlaps the bud on the left-hand side.
Step 6: Go over in pen.
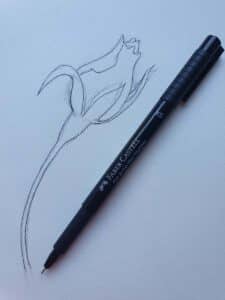
Once your pencil outline is completed, you can go over it in a permanent pen (I like to use Sakura Micron Pens because the ink flows really well and you can get very fine lines).
Step 7: Start shading the rose stem and first rose leaves.
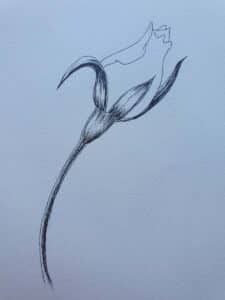
Using hatching, shade the stem and the first outer leaf petals of the rosebud.
Step 8: Start shading the rosebud.
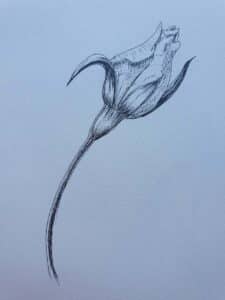
You can now start adding hatching and cross-hatching to the rosebud itself.
Step 9: Build up shading.

Continue shading the rosebud and the stem until you are satisfied that you have created realistic shadows and highlights on your rose.
Blue Watercolor Rosebud
If you would like to color your rosebud, you can do so using washes of watercolor.
Once you have defined your shapes using your initial color you can then work into them using a technique called wet-on-wet.
Wet-on-wet is where you paint you paint your watercolor paint onto a watery surface. The color then blooms and bleeds and creates interesting washes of color. This is less controlled than wet-on-dry, but I love watching how the watercolor pigment creates gorgeous textures and patterns as it dries.
Step 1: Paint the stem and rose leaves.

Using Windsor Green, paint the stem and base leaves of the rosebud. You can see that I don’t cover the entire stem or leaves with watercolor paint because I want to create loose highlights on the forms.
Step 2: Paint first layer of blue rosebud.

Using French Ultramarine, paint a first layer of watercolor on the rose bud, making sure to render shadows with more color, and highlights with less.
Step 3: Final layer of blue on Rosebud.

Paint a final layer of blue on the rosebud to define shadows and create depth.
Step 4: Dab blue rosebud.
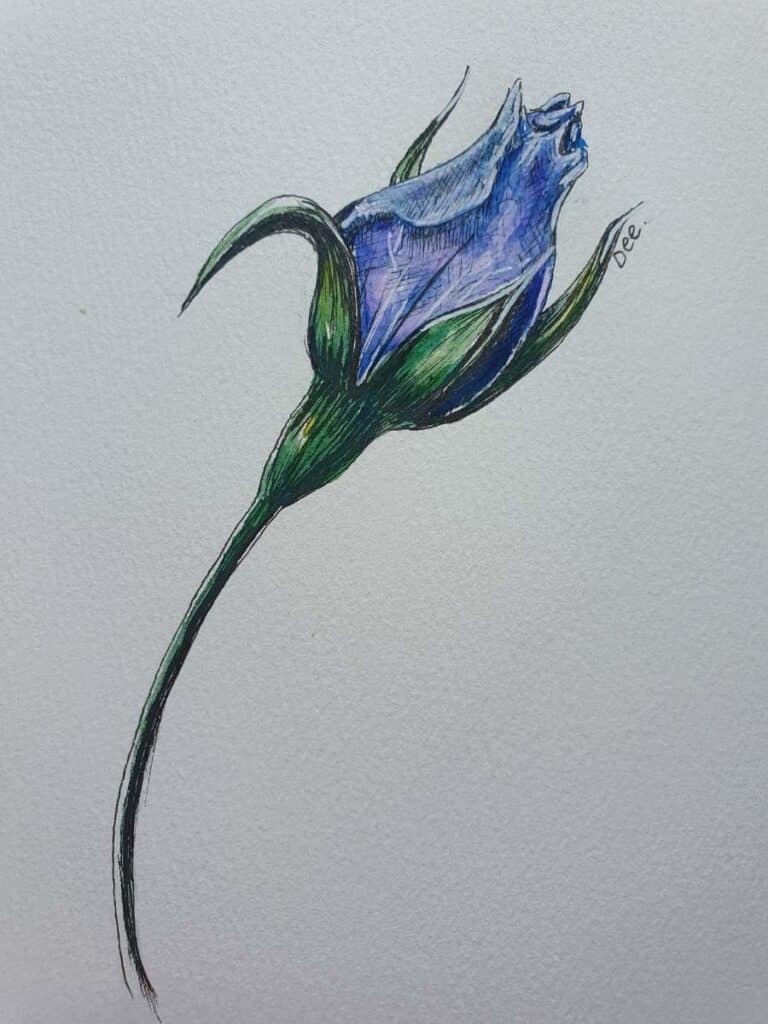
Using a piece of kitchen towel, dab excess watercolor pigment off the rosebud to create more highlights and a light quality to the final rosebud.
Red Rose Drawing with Watercolor Brush Painting
Step 1: General outline of open rose.

Using a rose drawing reference, lightly draw the rose shape and petals onto your watercolor paper.
Step 2: Fill in rose petals from the middle outwards.
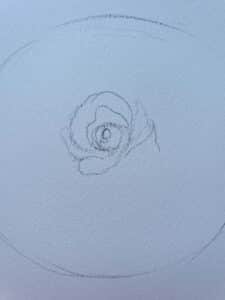
I like to work from the middle of the rose outwards because it enables me to create the rose petals in their natural order.
I filled in my middle rose petal first, then I filled in rose petal 2 and rose petal 3. After that, I worked on rose petals 4 and 5 as you can see here:
Step 3: Sketch in final rose petals.

I then completed the rose drawing by sketching the final rose petals.
Step 4: Sketch rose leaves on the edges.

Using rose leaves as a reference, sketch rose leaves on the rose drawing.
Step 5: Go over rose drawing in pen.

Once you have completed your rose drawing, use a fine liner pen to go over the rose drawing. This will reinforce the rose outline and give it solidity.
Step 6: Red Watercolor Brush Pens for the Center petals.
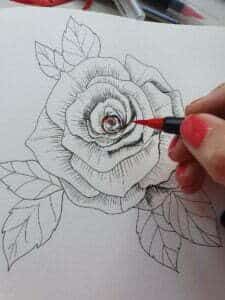
I start out by painting on an area of the petal using the red watercolor brush pen.
I then go back over the painted area with a watery brush and I work in circular motions to allow the ink to spread and bleed on the petals.
Step 7: Continue coloring the petals with a red watercolor brush pen.

I continue to fill in rose petals with washes of color.
Step 8: Color Green Tea Watercolor Brush pen into the rose petals and as a first layer on the leaves.

Using the rose petals as a reference, paint Green Tea Watercolor brush pen onto the rose petals and also onto the rose leaves.
Step 9: Color leaves using Crocodile Green Watercolor Brush Pens. Final product.

Lastly, I completed the rose leaves using Crocodile Green Watercolor Brush.

List of materials and supplies needed to do your own rose drawing, or rose watercolor!
2B, 4B, 6B, and 8B Pencil
Scrap piece of paper for testing colors
300gsm Watercolor Paper: If you want to add a wash to your drawing you should definitely do your drawing on a good-quality, heavy paper that doesn’t buckle.
Soft Bristle Round or Filbert Brush
Watercolor pans or tubes. I am currently using the Windsor and Newton Watercolor Pan. The colors are rich and the tray itself is portable and easy to use.
Watercolor Brush Pens. I use Arteza Real Brush Pens and absolutely love their versatility and brightness of color!

Conclusion
We’ve reached the end of our step-by-step rose drawing tutorials. Remember, art is all about practice and patience. Don’t worry if your roses don’t look perfect on the first try; every stroke you make adds to your growth as an artist.
Other articles you may enjoy…
Top Tips for Painting Beautiful Pen and Ink Watercolor Flowers
The Ultimate Beginners Guide for Drawing on Black Paper with Colored Pencils
The Best Tape for Watercolor Paper
Rose Drawing: FAQ
Do I need to know how to draw before trying these rose tutorials?
No. Each of the three tutorials starts with light pencil marks and builds one petal at a time, so you’re never staring down a blank page. Work from the middle of the rose outward like I do — it lays the petals down in their natural order and keeps the shape balanced. If your first rose looks a little wonky, that’s completely normal; roses are forgiving. If you’d rather colour a ready-made outline while you build confidence, my printable watercolour template sets (£8 / ~$10) give you the linework to paint straight away over on my Payhip shop.
What supplies do I need to draw and paint a rose?
Keep it simple. A soft pencil (anything in the 2B to 8B range), a kneadable eraser, a permanent fine liner like a Sakura Micron, and a good heavy watercolour paper around 300gsm so it won’t buckle when you add a wash. For colour you can use watercolour pans or brush pens — I painted these roses with Winsor & Newton Cotman paints and Arteza Real Brush Pens.
What’s the difference between the three rose tutorials?
The first walks you through a pink open rose from the side, finished with a soft watercolour wash. The second is a pencil-and-pen rosebud you can leave as line work or colour blue using wet-on-wet washes. The third is a full red rose drawn in pencil, inked, then brought to life with Arteza watercolour brush pens. Start with whichever one calls to you.
Which watercolour colours did you use on the roses?
For the pink rose I layered Rose Madder to slowly build up shadow and form. The blue rosebud uses French Ultramarine over a Windsor Green stem and leaves. On the red rose I worked with a red brush pen plus Green Tea and Crocodile Green for the foliage. Don’t feel tied to those exact names — any reds, pinks and greens you already own will work beautifully.
What is wet-on-wet, and when should I use it?
Wet-on-wet means painting pigment onto paper you’ve already dampened with clean water. The colour blooms and bleeds on its own, giving those soft, slightly unpredictable washes that are lovely for petals. Wet-on-dry — paint straight onto dry paper — gives you far more control for edges and detail. I use both across these tutorials, and switching between them is half the fun.
Do I have to use pen, or can I keep it as a pencil drawing?
Totally up to you. Going over your outline with a permanent fine liner and then erasing the pencil gives you a clean ink drawing that holds up well under a wash. But a soft pencil rose with a little hatching and cross-hatching for shadow is beautiful on its own. Skip the pen and colour entirely if that’s the look you’re after.
How do I keep my watercolour from buckling the paper?
Use a heavier paper — 300gsm is my go-to — and don’t drown it. Build your colour in thin layers rather than one soaked pass, and dab off excess pigment with a piece of kitchen towel to lift highlights (that little trick softens the blue rosebud beautifully). Taping the sheet down at the edges helps hold it flat while it dries.