Last Updated on March 16, 2026 by Dee
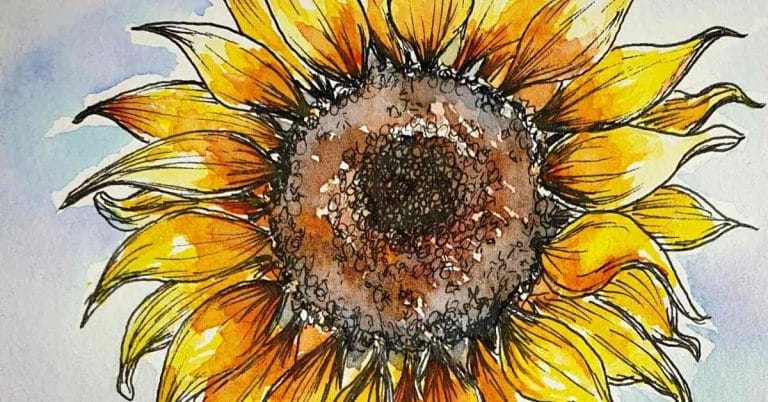
The Best Painting and Drawing Supplies for ArtistsWhenever I look at a sunflower, I am filled with joy, hope, and the magic of nature. There is such a powerful quality to sunflowers; it’s no wonder they have been popular subject matter for artists throughout history.
**This page may contain affiliate links to products I have used or recommend. If you purchase something from this page, I may receive a small percentage of the sale at no extra cost to you.**
Table of Contents
- So how do you do a realistic sunflower pencil drawing?
- Sunflower Pencil Drawing: Step-By-Step
- Step 1- Collecting your reference material
- Step 2: Decide on the size of your drawing
- Step 3: Composition and a rough drawing of the general shapes of the sunflower
- Step 4: Defining Form
- Step 5: Go over the pencil marks in pen
- Step 6: Begin shading
- Step 7: Shade the stem, leaves, and final details
- Step 8: Paint washes of your lightest color
- Step 9: Layers of washes to the darker area of the flower
- Step 10: Washes of green on the stems and the leaves
- Step 11: Final Details
- Remember the following when drawing…
- List of materials and supplies needed to do your own sunflower pencil drawing, sunflower pen drawing, or sunflower painting!
- Conclusion
So how do you do a realistic sunflower pencil drawing?
Sunflower Pencil Drawing: Step-By-Step
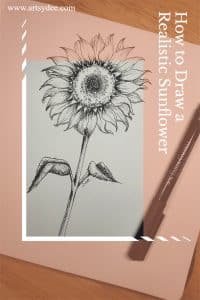
*Disclaimer: Originally I drew this sunflower in pencil and then when I realized that you could hardly see the pencil sketching in my photos, I decided it would be better to go over the pencil in pen. The pen drawing is far bolder and easier for the eye to see shapes and forms.
If you want to work solely in pencil, then you can follow the tips in my step-by-step guide, which will turn out just as realistically. You should also add some grading to your sunflower drawing. A good idea is to practice your shading techniques on a scrap piece of paper before you begin your drawn flowers!
[Related article: 136 Drawing Ideas for Adults]
Step 1- Collecting your reference material
Whenever you paint a plant or flower, it is a good idea to get a clear and good-quality reference image to work from.
Work from your imagination
You can work from your imagination, but the truth is that most people’s brains leave out important information about the original flower. As a result, the flower may become more stylized or simplified than the original.
If you want to paint a flower or plant more abstractly or expressionistically, working with a more stylized, simplified drawing is absolutely fine. In this case, drawing from your imagination would work well.
In this drawing demonstration, I wanted to capture the smaller details of the center of a sunflower, as well as the curling, wavy petals.
[Related article: How to Get Ideas for Drawing: 31 Ways to Find Unique Ideas]
Work from your own photos
Drawing from your own photos is a great way to develop unique ideas and compositions. You also have first-hand experience of what the sunflower looks like in a real-life situation. This gives you a better idea of how the subject “sits in space.”
Work from a royalty-free stock photo
Because I wanted a level of naturalism in my artwork, I chose to work from a photograph of a sunflower that I found on unsplash.com.
If you cannot get your own photographs of your chosen subject matter, you can always use free images from unsplash.com or pexel.com. There are many free stock photo sites on the web, but these two are the ones I have used the most for good reference photos.
Step 2: Decide on the size of your drawing
I find that working on an A4 or A3 sheet of watercolor paper is a good size to start with for botanical art. The sunflower I painted is on an A4 sheet of paper.
I recommend sticking to at least A4 in size because if you work any smaller, you may struggle to get a good amount of detail in your drawing or painting.
Interestingly, working on a larger surface is much easier than on a smaller surface.
With a larger sheet of paper, you can accentuate details, and there is space to enlarge tiny areas. Your pencil marks and brush strokes can be bolder and wider – and there is more room for error.
Step 3: Composition and a rough drawing of the general shapes of the sunflower
Once you have decided on the paper size you will be working on; you can think about your composition and then draw it out in pencil.
Think carefully about how you will position the sunflower on your page.
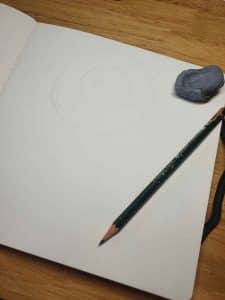
I recommend using a 2B lead pencil to softly sketch out the general shapes of the sunflower petals, leaves, and stems. Make sure you apply only a very light pressure onto the pencil to achieve very light pencil marks on the page.
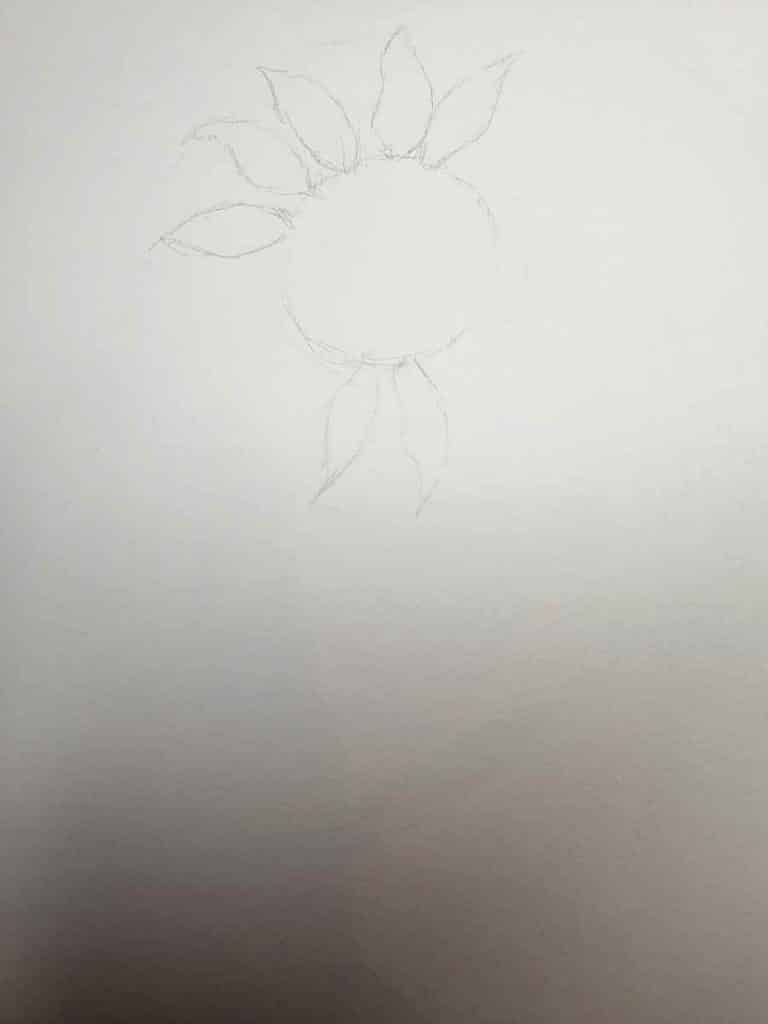
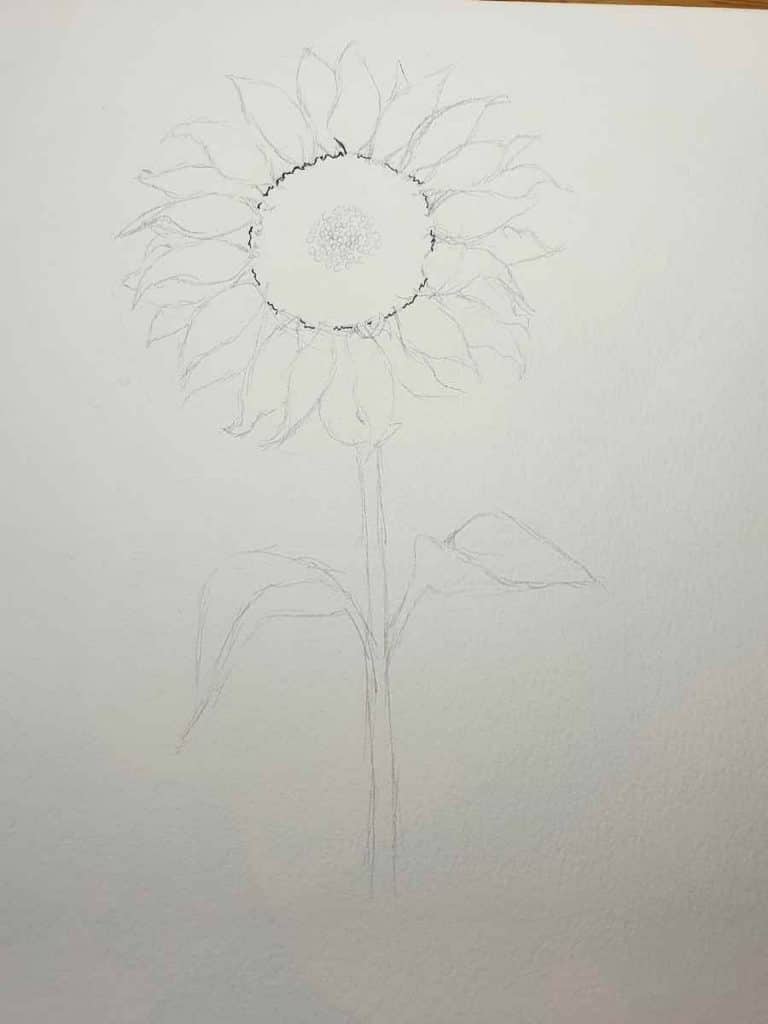
I started my sunflower pencil drawing by sketching out the general circle shapes of the sunflower’s center and the circle that the petals would fit into. As you can see, the pencil mark is very light, but hopefully, you can see the general shape.
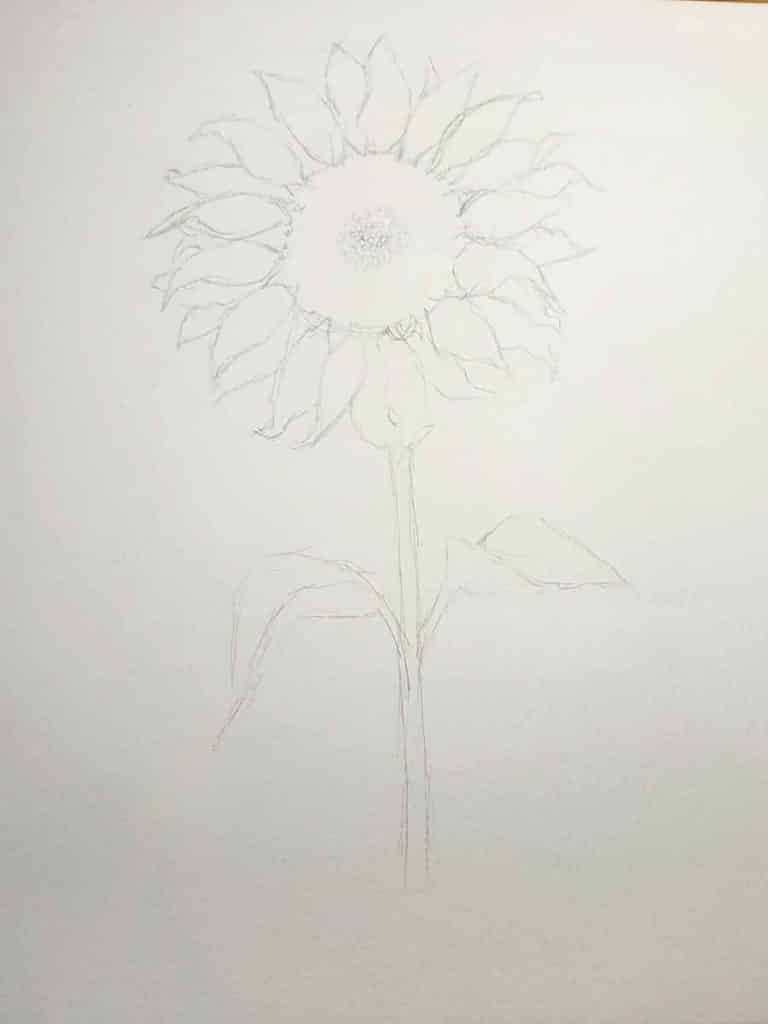
Step 4: Defining Form
Once you have sketched the light general shapes within the sunflower, you can start going over the petals, stem, and leaves again and making changes and alterations to your shapes to make your subject matter look more accurate. I use a kneadable eraser because I find it great to manipulate its shape so that I can erase lines in small places and awkward angles!
At this stage of the process, you can also use your artistic license to add elements like additional leaves, stems, or buds to your artwork to complete the composition.
Step 5: Go over the pencil marks in pen
Once you have pencil sketched the general shapes of the sunflower and have a good idea of how it is positioned, then you can start going over your pencil lines with a pen.
Because I will complete this illustration with watercolor washes, I have chosen a fine-liner pen that is both permanent and waterproof. I like to use the Faber Castell Pitt Pen XS to begin, and then I move onto a size S nib later on when my shapes are more defined.
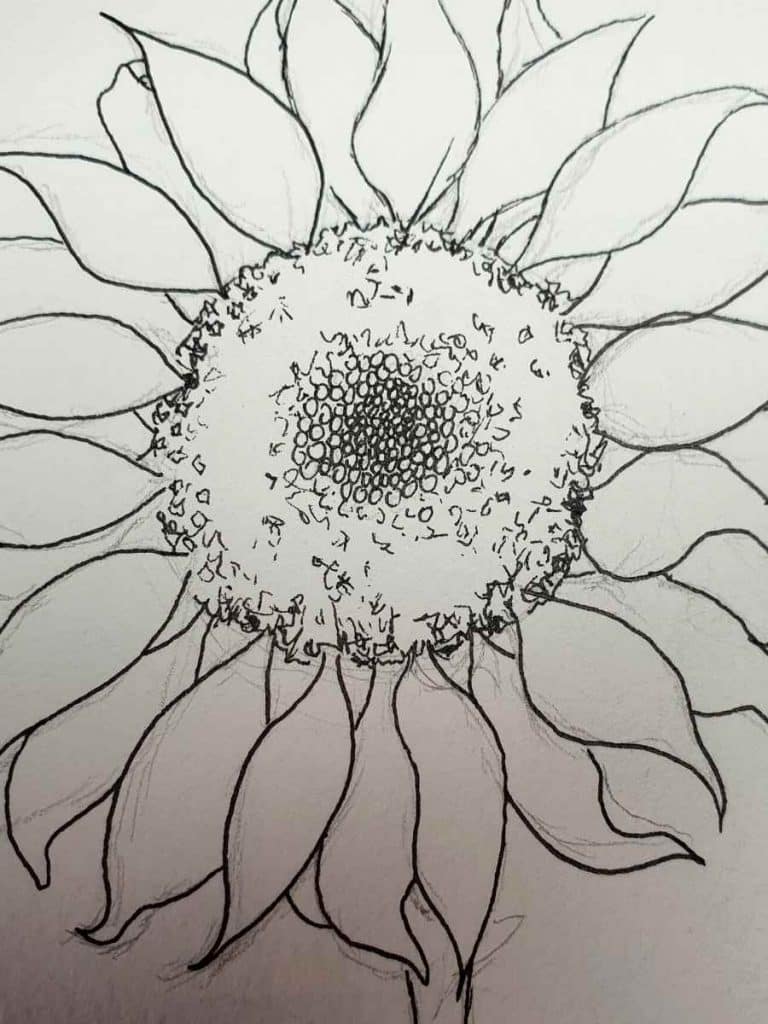
As you can see, I decided to start by inking the sunflower’s center and then the petals, stems, and leaves.
You will also see that when I start drawing with my pen I ‘sketch’ with it. I like to have loose lines when I begin and as the drawing progresses the lines become more solid in certain areas.


Step 6: Begin shading
Remember to check where your light source is! This is so important to draw forms accurately and get a sense of three-dimensionality. Your shadows will fall opposite your light source.
In the pictures, I begin shading the sunflower’s petals using hatching lines to build up shadow areas and define highlights. The shading is denser towards the start of the sunflower petals and is lighter on the mid-section of each petal. Shading the petals in this way generally helps to give your petals a more three-dimensional appearance.
I then move on to shading the sunflower’s center using small, tight circles and then to looser circles and marks on the middle area.
I also shade more tightly on the edge of the sunflower center to create a shadow where the petals meet the flower center.
I shade the leaves using hatching as a shading technique once again.
You can use several shading techniques to shade in your sunflower drawing – cross-hatching, hatching, scribbling, stippling, and grading. You can use these shading techniques for pencil, pen, markers, and pastels (pretty much all dry media) to achieve shadows, highlights, and a sense of three-dimensionality.
[Related Post: How to Improve your Drawing…Follow These Top Tips!]
I find that using a combination of shading techniques to build up the density of form and deepen my shadows works well.


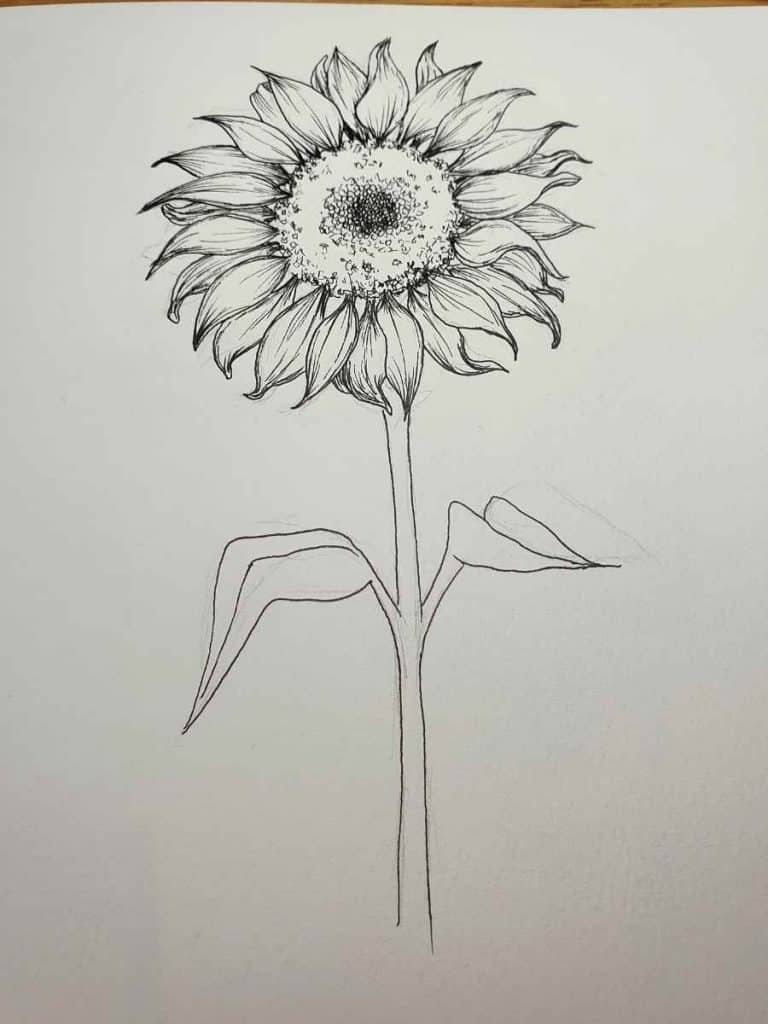


Step 7: Shade the stem, leaves, and final details
Continue to deepen your shading and shadows and use fine cross-hatching to create a sense of shadow on the stem and the leaves of the sunflower.
Carefully observe your drawing and deepen any shadows that need to be darker while lightening your highlighted areas. Use your kneadable eraser to remove final pencil marks to lighten specific areas.
If you want to take your pencil drawing a step further, you can turn it into a sunflower watercolor painting. Add color to your sunflower by applying soft washes of watercolor paint over the pen.

Step 8: Paint washes of your lightest color
As you begin painting with watercolor, you will use a wet-on-dry technique. Essentially that means you are putting paint on your paintbrush and then painting directly onto the dry surface of the page. This is a good way to start because you have more control over the areas you are painting color.
Once you have defined your shapes using your initial color you can then work into them using a technique called wet-on-wet.
Wet-on-wet is where you paint you paint your watercolor paint onto a watery surface. The color then blooms and bleeds and creates interesting washes of color. This is less controlled than wet-on-dry, but I love watching how the watercolor pigment creates gorgeous textures and patterns as it dries.
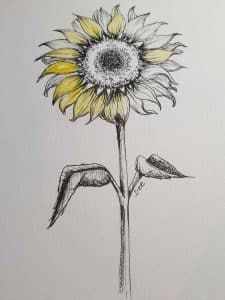
I started by painting very soft washes of rose pink over the sunflower’s petals.
[Related Post: How to Paint Gorgeous Cherry Blossoms]
Step 9: Layers of washes to the darker area of the flower
Continue to paint layers of washes on top of one another to build depth and deepen shadow areas. As you can see, I used orange over the shadow areas to add interest and depth to the petals. I also used dark blue to accentuate shadows closer to the sunflower’s center.
Step 10: Washes of green on the stems and the leaves
Paint light washes of green on the stem.
Step 11: Final Details
Lastly, I painted the sunflower’s center using washes of orange, brown, yellow, and dark blue. I worked in a dab-like motion and allowed the colors to bloom.

Remember the following when drawing…
Make sure to stand back regularly to observe how your drawing is developing. You must also give yourself mental and visual breaks to continue to draw accurately.
Remember to keep your pencil sharp. This is important because often we get so engrossed in our drawing that we forget that a sharp pencil helps with fine lines and details.
It is always a good idea to have a scrap piece of paper nearby to test your shapes and shading techniques!
List of materials and supplies needed to do your own sunflower pencil drawing, sunflower pen drawing, or sunflower painting!
2B, 4B, 6B, and 8B Pencil
Scrap piece of paper for testing colors
300gsm Watercolor Paper: If you want to add a wash to your drawing you should do your drawing on good-quality, heavy paper that doesn’t buckle.
Soft Bristle Round or Filbert Brush
Watercolor pans or tubes. I am currently using the Windsor and Newton Watercolor Pan. The colors are rich, and the tray is portable and easy to use.
Conclusion
Drawing a sunflower is a fun and easy sketching project for beginners and more advanced artists interested in creating illustrations and exploring how to draw flowers. I hope you have found my advice on techniques and materials to be useful as you begin your sunflower pencil drawing!
Other articles you may enjoy…
Looking for things to draw on your hand? 50 Easy drawing ideas for 2023
How to Draw a Lily | Easy Lily Flower Drawing Tutorial
The Best Paper for Ink Drawing: 10 Sheets That Work Wonders
How to Store Drawings: Tips & Tricks for Keeping Your Artwork Safe
Learn How to Start Drawing – 22 Easy Tips to Get you Started!
What is the Best Drawing Book? 11 Top Books on How to Draw for 2022
Spider Web Drawing | 3 Easy Step-by-Step Tutorials
Wondering How to Draw a Wolf? (Wolf Drawing Tutorial 2022)
101 Cool Designs to Draw | Easy Ideas for Drawing Fun!
🎬 Love video tutorials? Subscribe to my YouTube channel for weekly art tutorials and creative inspiration!
Frequently Asked Questions About Sunflower Pencil Drawing
What are sunflower pencil drawing and why are they useful?
The Best Painting and Drawing Supplies for Artists Whenever I look at a sunflower, I am filled with joy, hope, and the magic of nature. There is such a powerful quality to sunflowers; it’s no wonder they have been popular subject matter for artists throughout history. **This page may contain affiliate links to products I have used or recommend.
So how do you do a realistic sunflower pencil drawing?
*Disclaimer: Originally I drew this sunflower in pencil and then when I realized that you could hardly see the pencil sketching in my photos, I decided it would be better to go over the pencil in pen. The pen drawing is far bolder and easier for the eye to see shapes and forms.
What watercolor supplies work best for sunflower pencil drawing?
For sunflower pencil drawing, I recommend starting with a basic watercolor set (student grade is perfect), cold press watercolor paper (140lb/300gsm), and round brushes in sizes 6 and 10. The templates and printables in this post are designed to work with any skill level and supply set.
How do I download the free sunflower pencil drawing printables?
Just use the Grow.me download box in this post — create a free account (takes 30 seconds), confirm your email, and refresh the page. Once unlocked, you will have access to ALL free sunflower pencil drawing and every other free printable across artsydee.com!
Thank you for sharing . Your work is beautiful and inspiring. I am retired and learning to draw and paint I find this enjoyable and it gets me out doors . Again thanks
Hi Tom, Thanks so much for your message! It is always great to get feedback and know that my tutorials are helping people in their creative journeys:)