Last Updated on March 21, 2023 by Dee
Palm trees are a great way to add some tropical flair to your home decor. Whether you want them for summer, winter, or any time in between, these beautiful plants will make any room feel like a vacation getaway. In this article, we’ll go through how to draw a palm tree – first using pen, and then how to color your palm tree drawing with watercolor!
There are 14 steps total so if you only have 2 minutes now that’s totally fine! You can bookmark this page and come back to finish the rest later 🙂
Palm trees are a symbol of summer and vacation! You can’t help but imagine the sound of the ocean, and the smell of the salty sea when you see a palm tree 🙂
They represent how the life cycle continues – they’re always growing even when we can’t see them.
How to Draw a Palm Tree Step by Step
Step 1: Define the Palm Tree Trunks
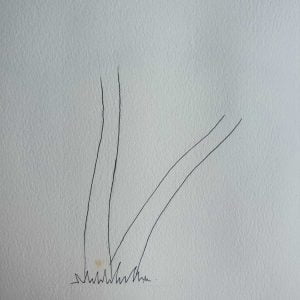
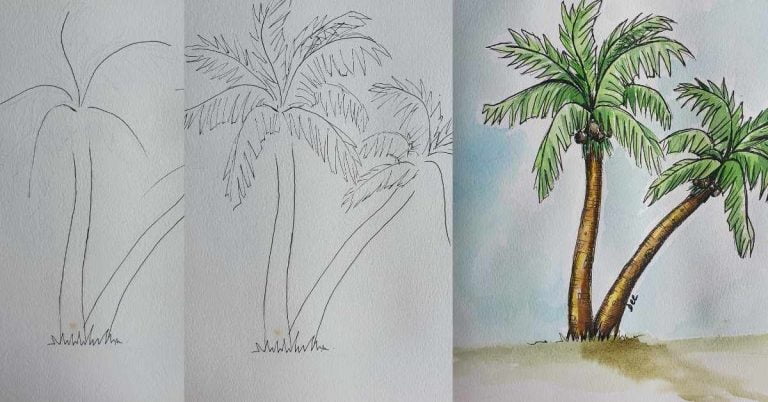
Using a permanent pen, draw in the shapes of the palm tree trunks. Draw the first trunk vertically, and the second trunk leaning over to the right. I also draw grass where the trunks emerge from the ground.
Step 2: Palm Tree Leaves Center Vein
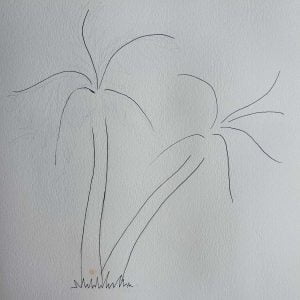
For each palm tree leaf, draw a single line where the palm tree leaf vein would be. This helps to give us a starting point for defining the shape of the leaves.
[Related article: How to Draw Tree Roots]
Step 3: Draw the Shape of the Palm Tree Leaves
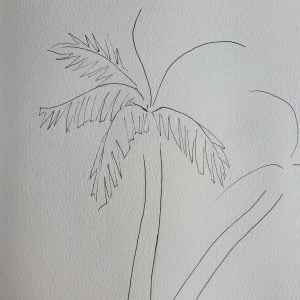
Using the inner palm tree vein as a starting point, draw in the shape of the leaves around it. You will see that I do not draw every single separate leaf on the larger leaf, but rather, I draw clusters of leaves to give the impression of a large palm tree leaf.
Step 4: Continue the Palm Tree Leaves
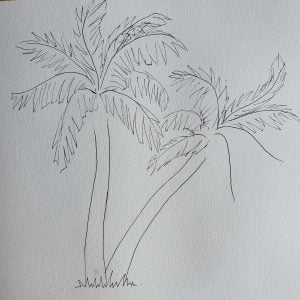
Complete the palm tree leaves on the first palm tree, and begin drawing the shapes of the palm tree leaves on the second palm tree.
Step 5: Complete the Palm Tree Leaves
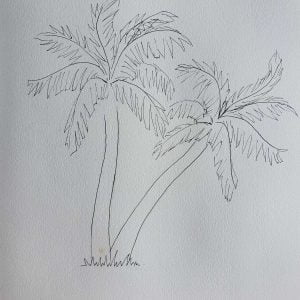
Finish drawing the shapes of the palm tree leaves.
Step 6: Begin Shading the Palm Tree Trunk
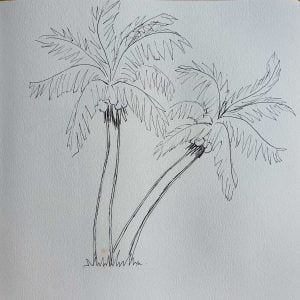
Start shading the trunk of the palm tree using hatching and cross-hatching to develop shadow areas.
Step 7: Complete Shading the Palm Tree Trunk
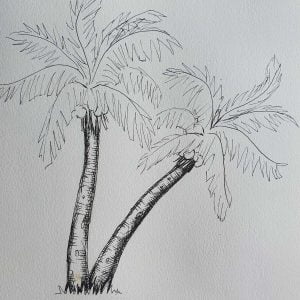
Finish shading the palm tree trunk using hatching and cross-hatching. I have also added small circular forms to add interest and texture to the Palm Tree Trunks.
Step 8: Begin Shading the Palm Tree Leaves
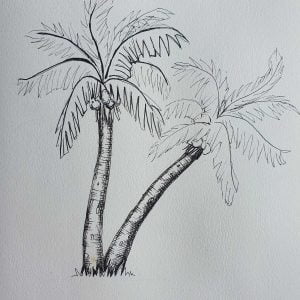
Start shading the palm tree leaves.
Step 9: Complete the first Palm Tree
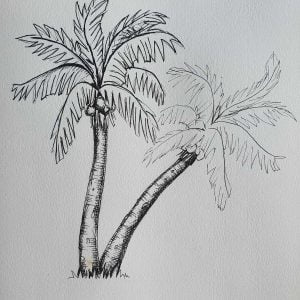
Finish off shading the leaves on the first palm tree and begin shading the second palm tree leaves.
Step 10: Complete the Second Palm Tree
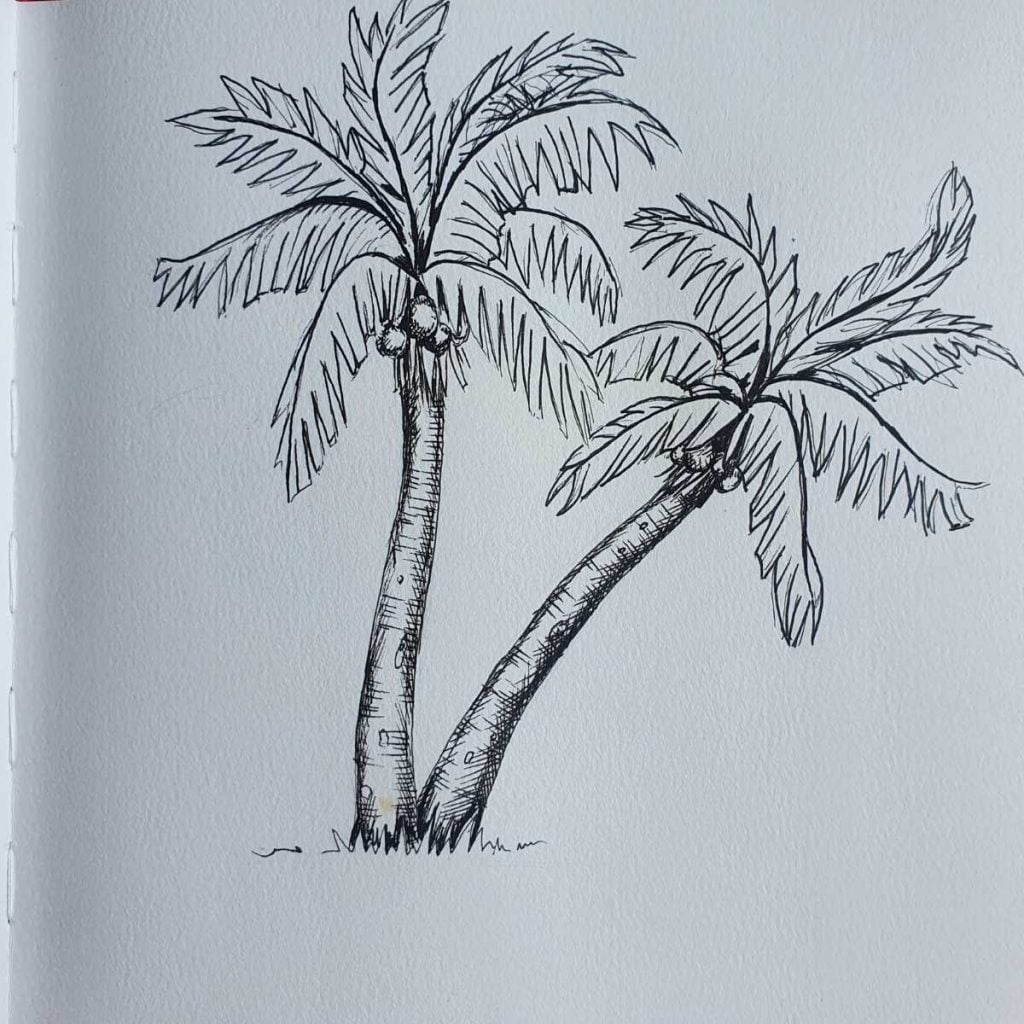
Finish shading the leaves on the second palm tree.
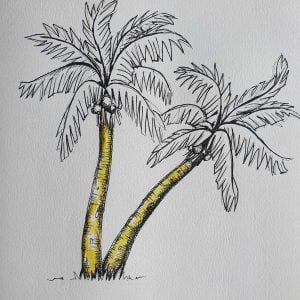
Step 11: Turn Your Palm Tree Drawing into a Watercolor Palm Tree!
[Related Article: Watercolor Palm Tree]
When you first start painting with watercolors, you’ll use a method known as wet-on-dry. Basically, you’re putting paint on your paintbrush and then painting right onto the page’s dry surface. This is a fantastic place to start because you have more control over the colors you use.
After you’ve defined your forms with your initial color, you can use a method called wet-on-wet to wash them in.
Wet-on-wet painting is when you use watercolor paint to paint on a wet surface. The color then blooms and bleeds, resulting in intriguing color washes.
Although less controllable than wet-on-dry, I enjoy seeing the watercolor pigment dry and produce beautiful textures and patterns.
I started by painting these watercolor palm trees using a wash of Cadmium Yellow Hue.
Step 12: Second Wash Layer on Palm Tree Trunks
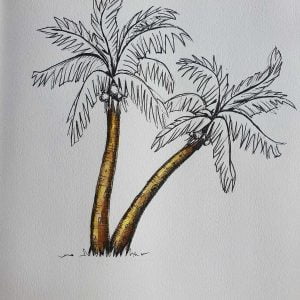
Paint a wash of Raw Umber over the Cadmium Yellow hue to create depth and shadow. Paint more of the Raw Umber on the sides of the palm tree trunks.
Step 13: First Watercolor Wash on Palm Tree Leaves
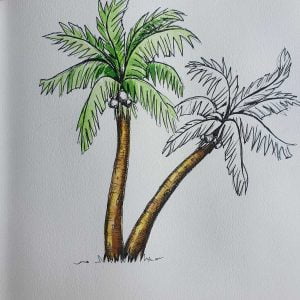
Paint a wash of Viridian Green over the Palm Tree Leaves.
Step 14: Paint Shadows into Palm Tree Leaves
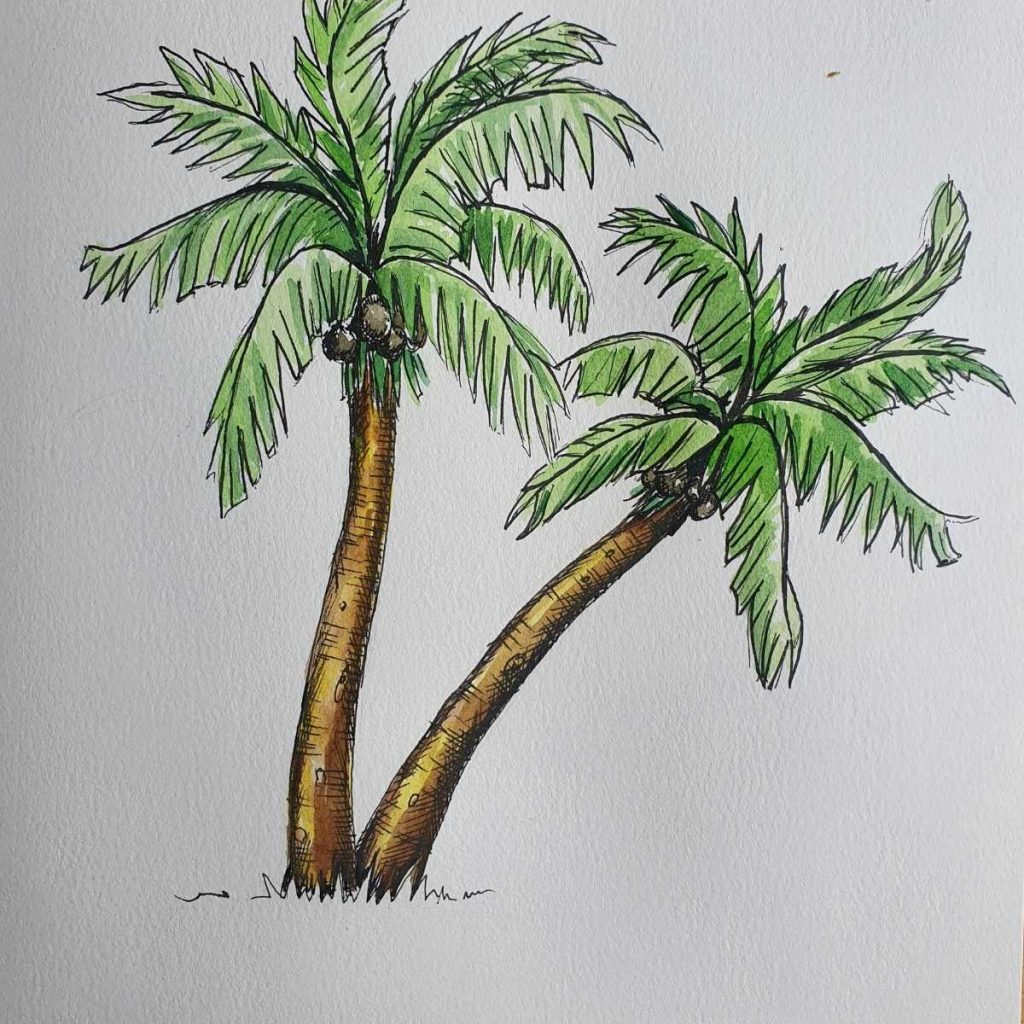
Paint Washes of Hookers Green into the shadows of the palm tree leaves. To create a greater sense of realism and three-dimensionality, paint the Hookers Green into the base areas of the leaves and avoid the center area and tips of the palm tree leaves.
What Materials Do you Need to Do a Palm Tree Drawing?
To draw your own pineapple, all you’ll need is a pencil, a permanent ink pen, and paper. You can also add a watercolor wash to your finished drawing for more of an impact!
I have listed the basic supplies needed for your own pen ink and watercolor drawing below.
Supplies Needed for Drawing Palm Trees
2B Pencil
Faber Castell Pitt Pens
Kneadable Eraser
Scrap piece of paper for testing colors
300gsm Watercolor Paper: If you want to add a wash to your drawing you should definitely do your drawing on a good-quality, heavy paper that doesn’t buckle.
Soft Bristle Round or Filbert Brush
Watercolor pans or tubes. I am currently using the Windsor and Newton Watercolor Pan. The colors are rich and the tray itself is portable and easy to use.
What Can You Do With Your Palm Tree Drawing?
Palm trees look super cool in your home decor! They’re a great way to add some color and life to any room.
Also, you can get them year-round, not just during the summertime like many other plants.
You can frame your Palm Tree Drawing and use it as wall art, for card making, for art journal pages, photo albums, junk journaling, and more!
More Pen Ink and Watercolor Drawing Tutorials:
[Explore Using Pen Ink and Watercolor]
[How to Draw a Hibiscus Flower]
Conclusion
Your palm tree drawing is all done! Now you have a piece of beautiful art that can be used for anything. It may be the perfect scenery for your bedroom wall, or it might just hold some sentimental value or a reminder to spend time with nature and not let yourself get too wrapped up in work.
Hopefully, my advice on pen and ink, and watercolor wash techniques, and which materials to use will help you figure out how to draw a palm tree. Whatever you decide to do with this artwork, I hope it brings joy into your life. Happy drawing!
Best view i have ever seen !
Thank you for this tutorial! I like to only draw in pencil, because every time I paint I make a bloody mess. Even for the drawing part, you made me draw something I’m pretty proud of (as someone who only draws occasionally)! I hope this tutorial goes to more enthusiasts like me.
Thank you so much for the awesome feedback! Glad it inspired you! xxx