Last Updated on March 21, 2023 by Dee
Spider Web Drawing

Have you ever tried to draw a spider web? They can be tricky because they’re so delicate and intricate.
But with a few simple steps, you’ll be able to create your own spider web drawing or cobweb drawing masterpiece in no time!
If you have been wondering how to draw spider webs, in this blog post, I’ll show you three different ways to draw a spider web step by step. So whether you’re an experienced artist or just starting out, there’s sure to be a method here that works for you. Let’s get started!

Tutorial 1: Spider web drawing – a realistic web drawing
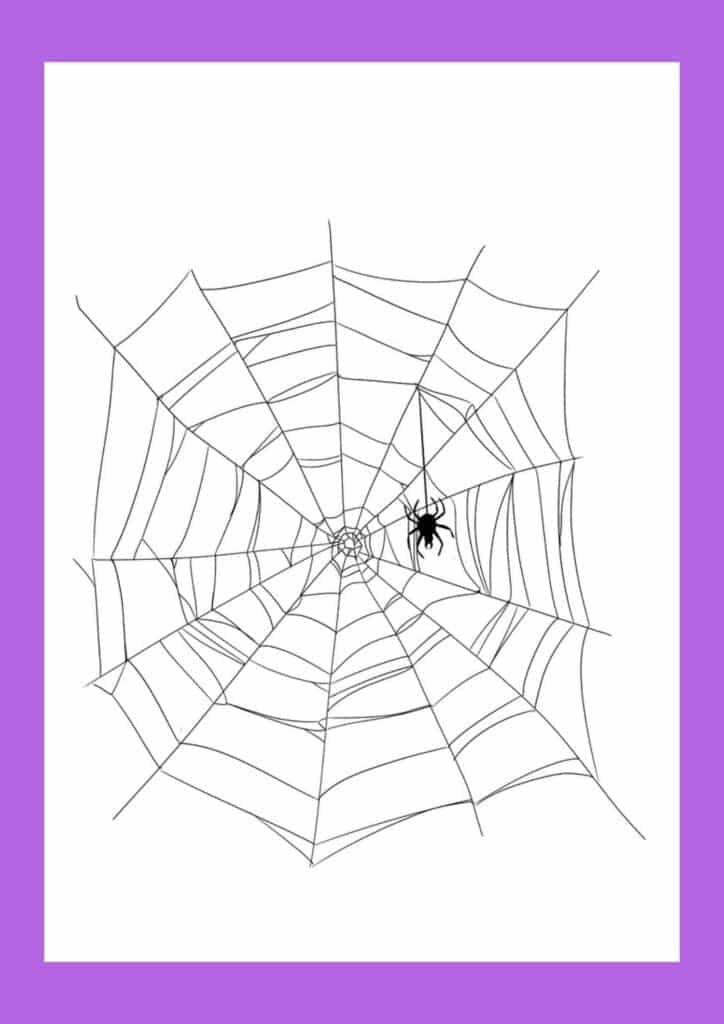
Spider-web drawings can easily be done when one is familiar with the basics. This drawing tutorial focuses on drawing a realistic spider web step-by-step.
It is important to remember to start your spider web drawing using a 2B pencil. This pencil is soft enough for you to achieve a mark without pressing too hard. I recommend that whenever you start drawing you should start off softly. Working in this way will make it easy to erase any mistake you make without leaving marks on the page.
To make your spider web drawing easy, start off working on a few strands of the web at a time. In this way, your drawing will look as if more effort was put into it and it will definitely appear more realistic.
**This page may contain affiliate links to products I have used or recommend. If you purchase something from this page, I may receive a small percentage of the sale at no extra cost to you.**
How do you draw webbing?
The first thing you’ll need to know how to do is to draw spider webbing. Spider web drawings can be created in many different ways, but the most common way to draw a spider web is to use a series of curves and lines that are closely spaced together.
Later on, in this article, I will also include some steps on how to draw a spider on your webbing.
Follow these steps below to do your own realistic spider web drawing…
Step 1: Draw an irregular circle

Start your web as a spider does, by beginning with an irregular shape. It is almost a hexagon, but not quite. The shape must not be perfect and the lines can be a bit wobbly.
There are, of course, very perfect spider webs in nature, but if you want to do a realistic spider web drawing, you should add some imperfect lines.
Step 2: Draw diagonal lines shooting off the center

Draw 6 freehand lines coming off the irregular shape you drew in the middle of your page. These start to form the structure of your web, and they are essentially the lines that secure your web to a surface.
Step 3: Draw in another 7 spider web lines

Add 7 lines shooting out from the center shape so as to add structure to the spider web.
Step 4: Create an irregular concentric shape around the center

Draw wavy lines linking one structural spider web line to the next. This will form an irregular concentric circle that starts giving us a sense of the spider web developing.
Step 5: Add another irregular concentric shape

In this same manner as the previous step, draw another irregular concentric shape. You can leave quite a bit of space between the two concentric shapes because a realistic spider web tends to have holes or spaces between the lines, and sometimes those spaces are extended. This gives us a sense of sticky and wispy cobwebs.
Step 6: Draw more irregular cobwebs

Continue to sketch in more and more lines to build up your spider web drawing. Once again, don’t try to make it symmetrical or evenly spaced. Keep the space irregular.
Step 7: Add more lines to the edges of the cobweb

Continue to draw in more lines to build up your spider web drawing.
Step 8: Last detail to the center of the spider web drawing

Finally, add some small line details to the inside shape of the spider web drawing to finish it off.
How to draw a spider hanging from a web
What would a spider web be without a spider right? If you’re looking to add a spider drawing to your web then follow the steps below.
Spiders are incredible creatures, and they’ve fascinated humans for thousands of years. It’s estimated that there are more than 40,000 species of spider living on earth today–and the number is constantly increasing.
Spiders play an important role in our environment because they help control populations of other insects like flies and mosquitoes, which can carry diseases like malaria. Spiders and their webs are quite incredible and very beautiful.
For this next step-by-step drawing tutorial, I have decided to add one single spider with a spherical body and eight legs.
This particular spider shape gives us the impression of a button spider. I will be placing the spider off-center to the right-hand side so that the picture is balanced well.
If you would like to draw a spider web with spiders, follow the tutorial above and then follow these two easy steps below to add a spider!
Step 1: Draw a vertical line attached to a large circle and a small circle.

Step 2: Sketch in 8 legs from the center of the large circle. The spider legs spread outward and taper off into sharp ends. Make sure to shade your spider black.
Tutorial 2: Easy spider web drawing
As you can see from the tutorials above, there are many ways to do a spider web drawing. The step-by-step tutorial below will show you how to draw an easy spider web in 4 simple steps!
Follow these 4 simple steps to do a simple spider web drawing…
Step 1: Draw a circle in the middle of your paper.

Step 2: Draw 8 diagonal lines coming off the center circle.
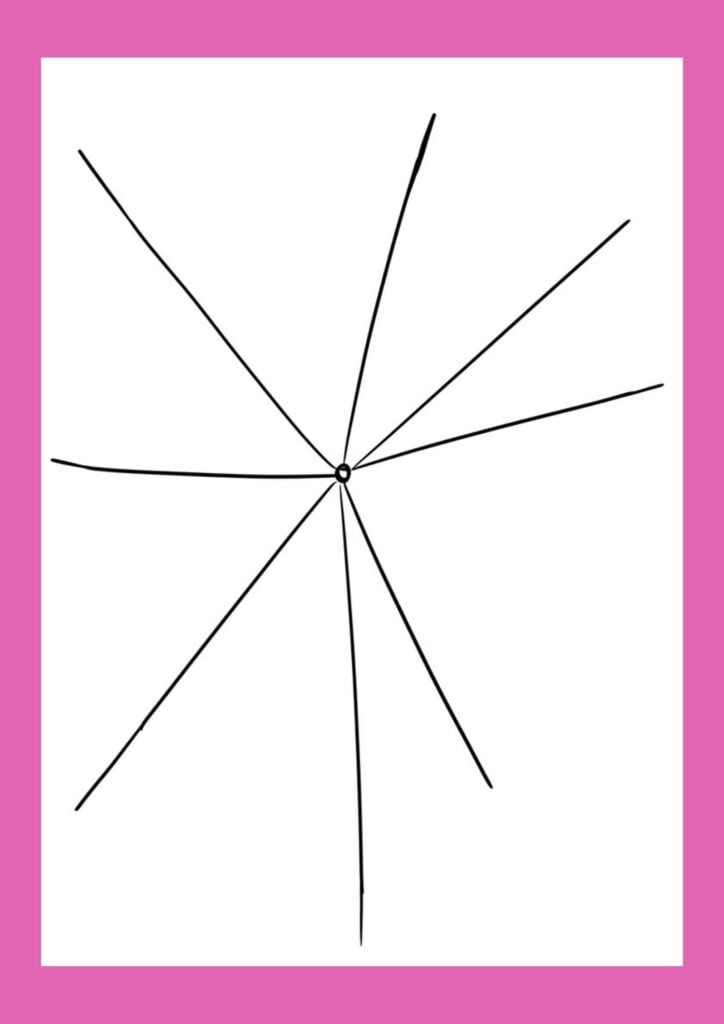
Step 3: Connect the lines with wavy lines to develop the spider web effect.

Step 4: Fill out your spider web with more lines.
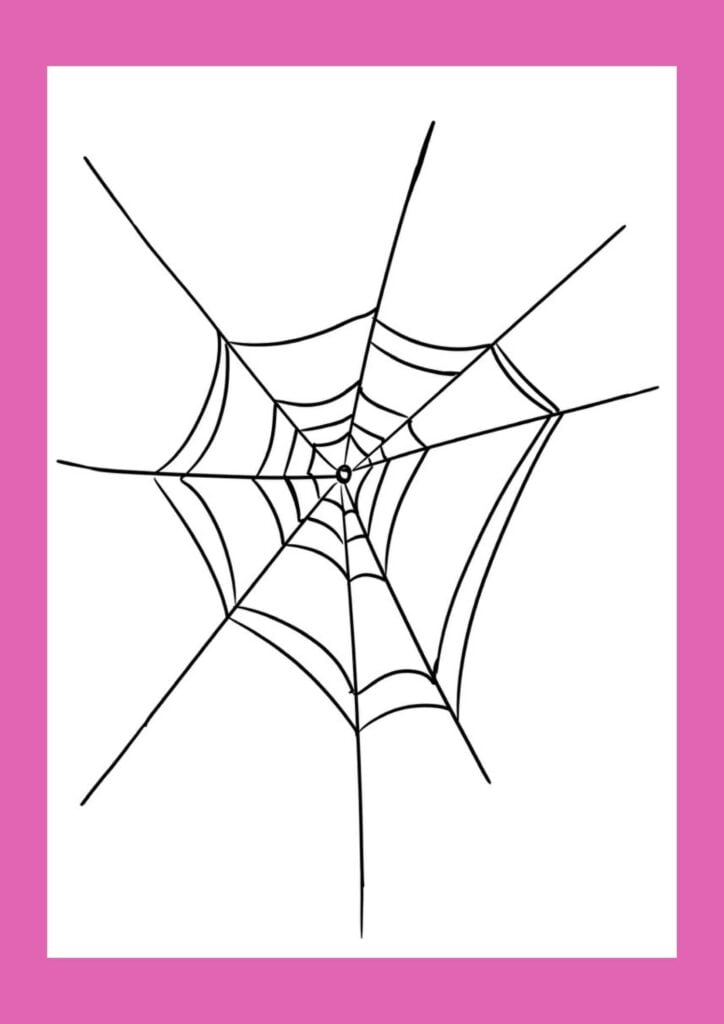
Step 5: Add more lines to define the edges of the cobweb.

Tutorial 3: How to draw spider webs in a corner
Perhaps you are wondering how to draw spider webs in a corner…
Step 1: Draw a curved line in the corner of your page.
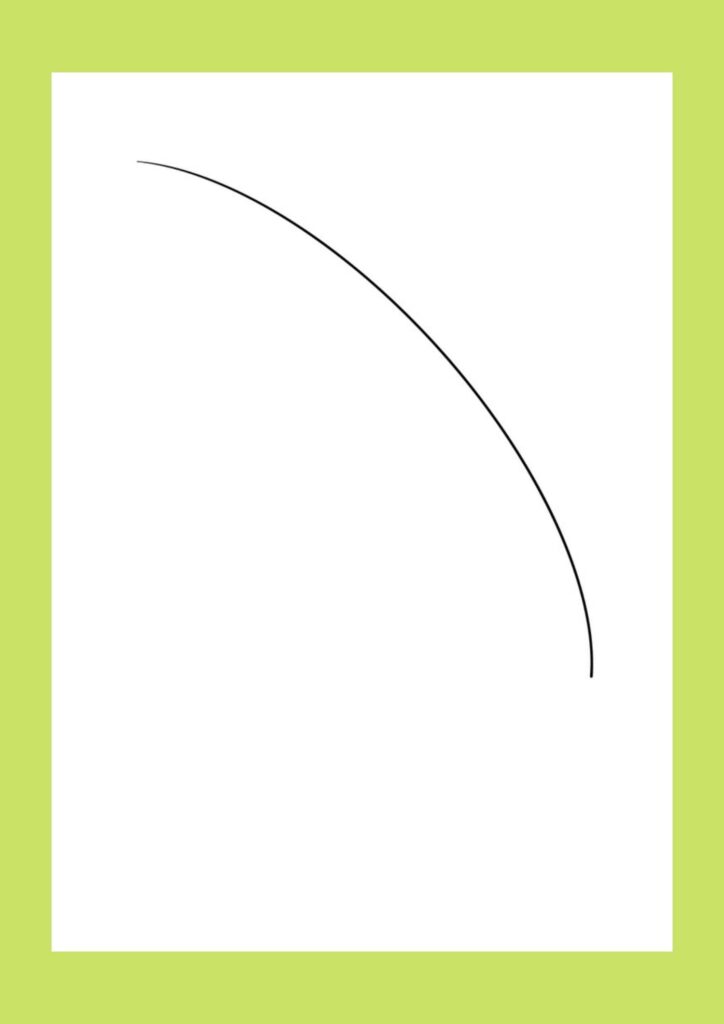
Step 2: Sketch in some irregular circles above the curved line.
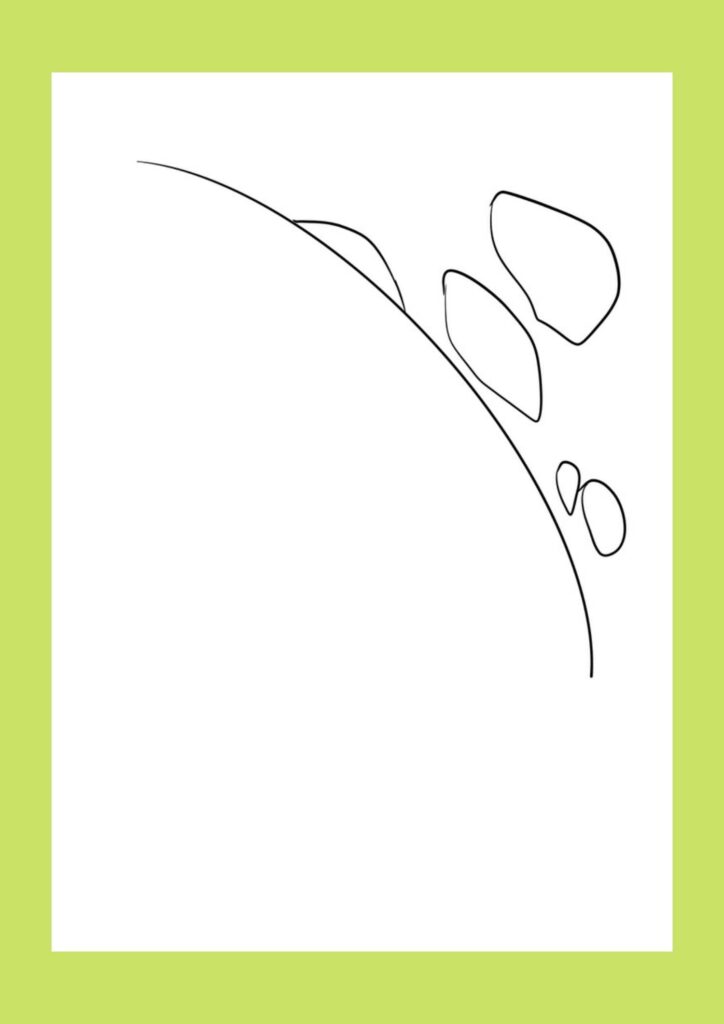
Step 3: Add connecting lines to join the circles.
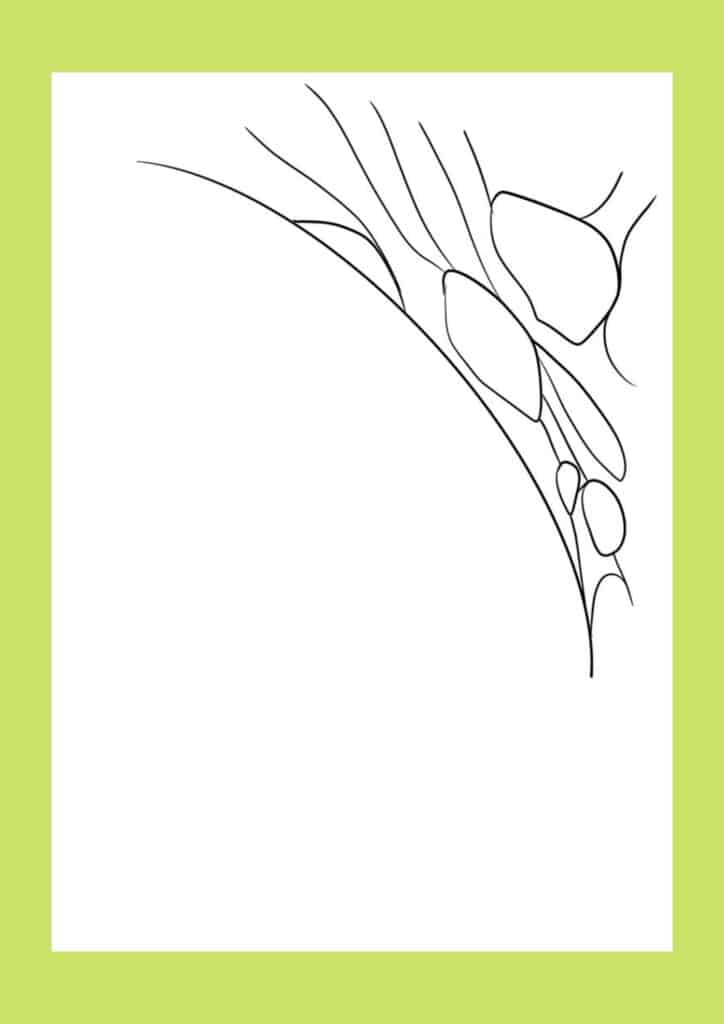
Step 4: Add a line to define the edges of the cobweb.
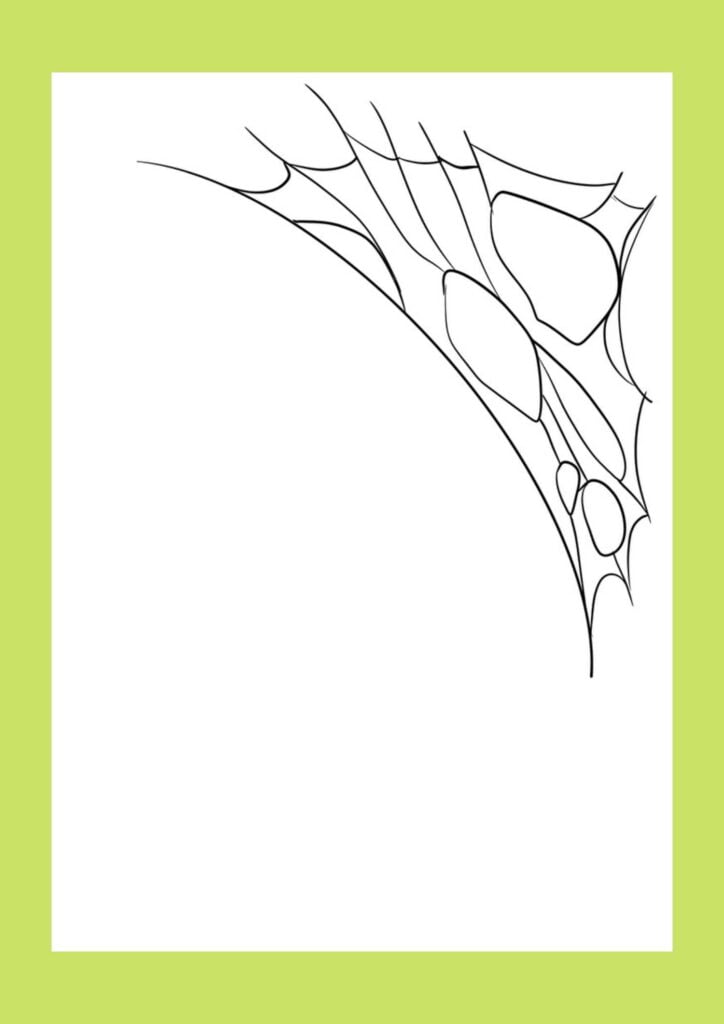
Step 5: Draw more lines to add density to the spider web.

Step 6: Finish off the spider web drawing by adding more lines to the web.

Art Supplies for your own Spider Web Drawing
To follow my spider web drawing tutorials, you will need some supplies to get started! These are my recommendations based on what I use 🙂
Pencils
A higher number pencil will give you more control over the darkness of your lines, while a harder/lower number will produce lighter lines.
I used a 2B graphite pencil for these spider web drawing tutorials, but you can use other levels depending on your preference.
Graphite Pencil Sharpener
When you are experimenting with different levels of darkness in your lines, it is important to have a pencil sharpener on hand.
This will enable you to produce fine lines for detailed work and shading.
Colored Pencils (also check out my article on what the best colored pencils are for artists...)
Pencil Grips
You may find using a grip helps you gain more control over your drawing.
Kneadable Eraser
A kneaded eraser is important, as you will need it to erase finer details and make corrections.
Paper
Heavyweight drawing paper or A3 sketch pad. (Check out my article on Choosing the Right Mixed Media Sketchbook)
Digital Art
Of course, you can also use an iPad and Procreate to create an amazing piece of digital art too!
[Check out my article on the best iPad for Procreate!]

Conclusion
With these step-by-step tutorials, you will be able to start creating your own spider web drawing in no time! Once you have mastered the art of drawing spider webs, try adding spiders for an extra touch.
Spiders can really bring your spider web drawings to life! Have fun with it and happy drawing!
Other articles you may enjoy…
[How to Draw a Mushroom in 15 Easy Steps]
[Free Bat Template Printables]
[3 Simple Steps to Create an Outline Drawing]
1 thought on “Spider Web Drawing | 3 Easy Step-by-Step Tutorials”